")
Last updated - December 6, 2022
A portfolio website is an online showcase of the work you have produced, as well as your abilities and experiences. It is also known as a digital portfolio or an e-portfolio. A website, blog, or even a video channel might be used. It may contain your résumé, a list of your education and experience, pictures of past assignments or designs, audio and video, diagrams and schematics, process flows, and more.
The first step to attracting the attention of a potential employer and landing a new job is building a portfolio website. However, you must first ensure that you are familiar with portfolio design in order to do so.
Before we move ahead with the article, check out the video on this topic for a simple and smooth demonstration.
Motives for building a portfolio website
A portfolio website will increase access to your work and provide more people with a sense of your skills, regardless of the medium(s) you use. They complement the details in your CV and cover letter by robustly and visually displaying your abilities and initiatives. Additionally, they let you compile all of your work into one location, even if it is from other disciplines.
Now that we understand the importance of a portfolio website, let us take a look at the two methods to create the same.
Method Number 1 – WordPress
This method utilizes WordPress to create a portfolio website. Before we start, keep in mind that we need a host for this to work. Check out Best Managed WordPress Hosting 2022 to choose from a large variety of hosting services.
Now that we have selected a hosting provider, go to your WordPress Dashboard > Appearance > Themes > Add New and select a theme that you like from the number of options available.
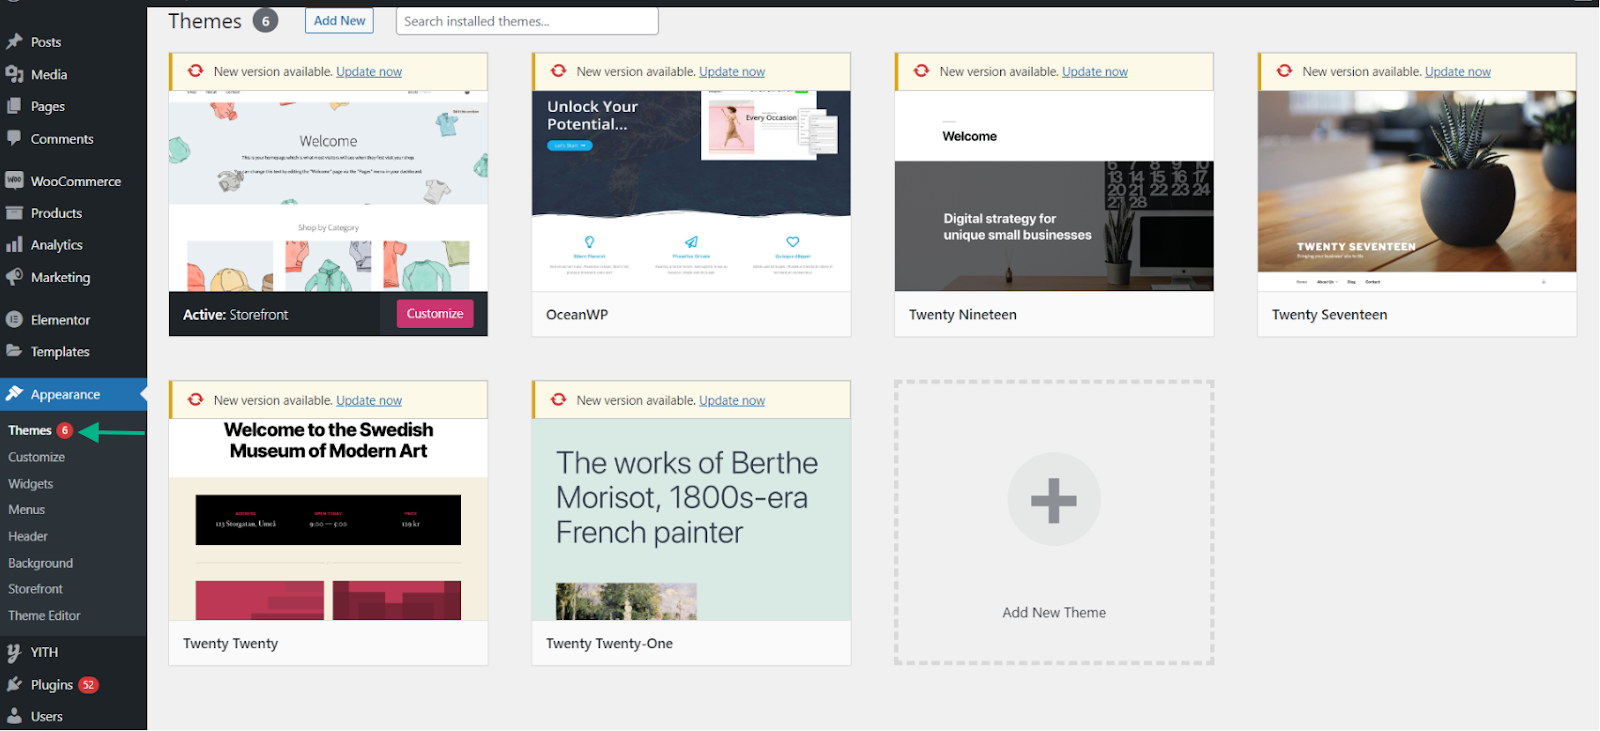
For the sake of this demonstration, we will be using the theme “Astra”. Go to the search bar and enter the name of a theme if you have a specific one you want.
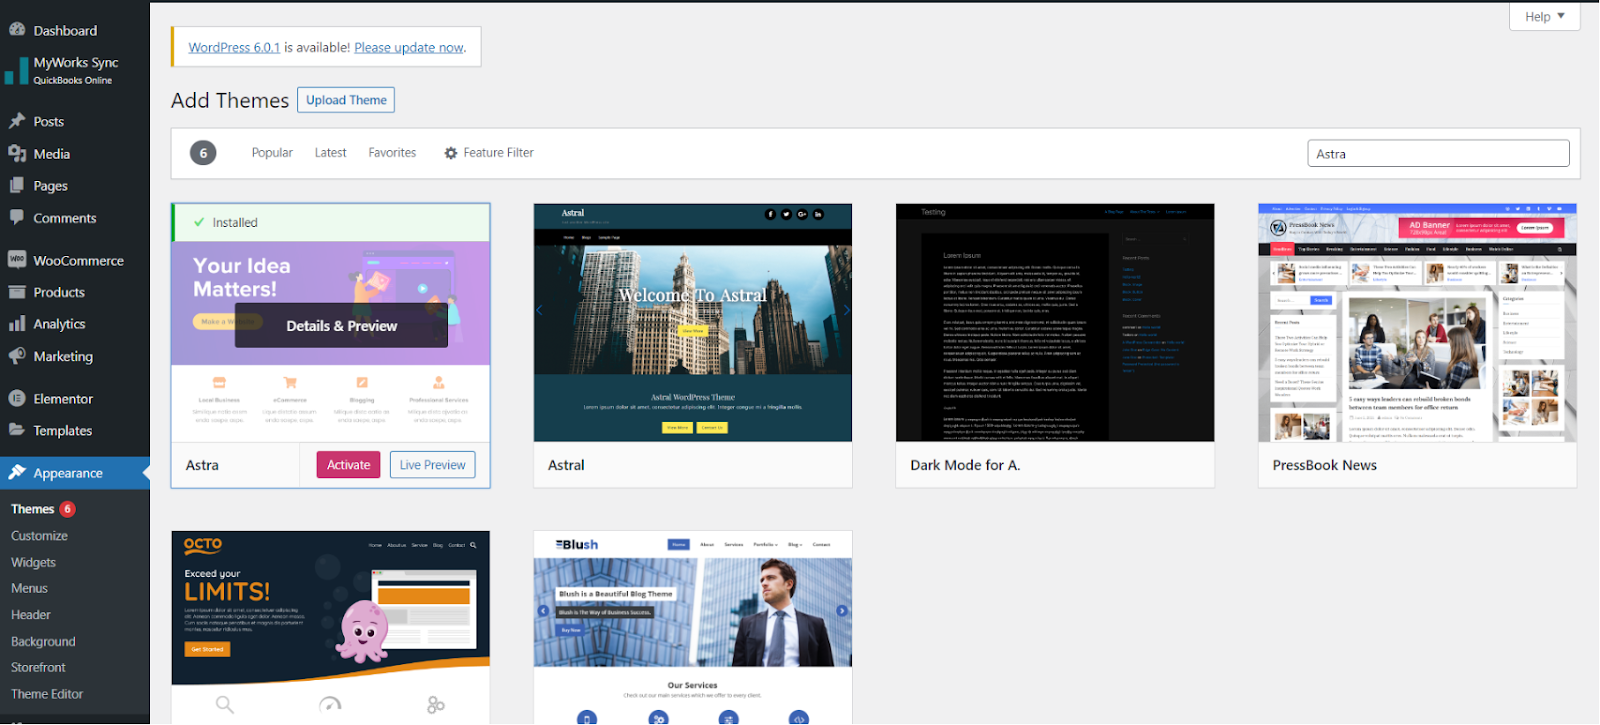
Once you complete installing and activating the theme, you may go ahead and click Visit Site under your website name in the top left corner of the WordPress dashboard.
Once you land on your site, Click + New and then select Page at the top of the screen.
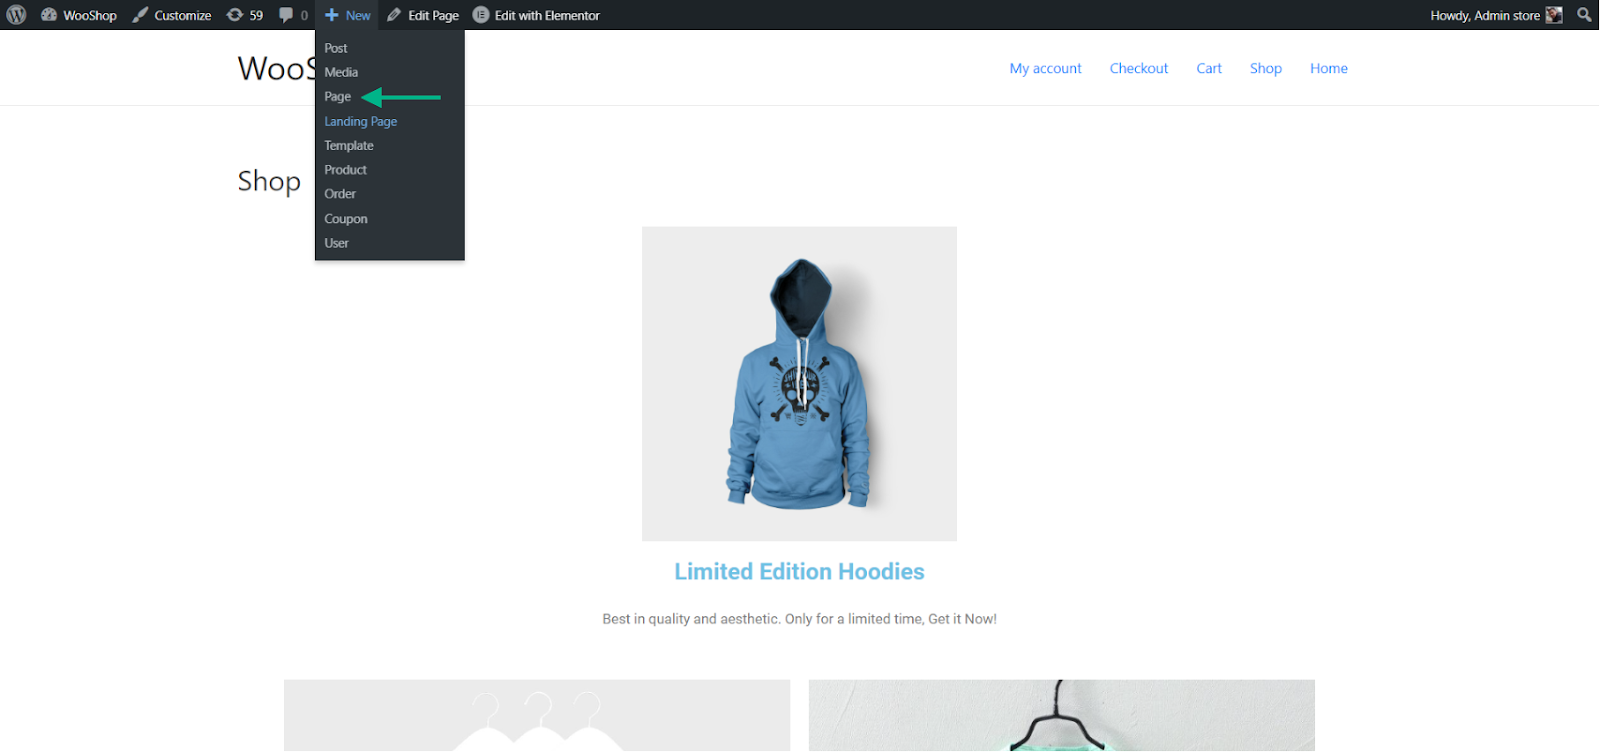
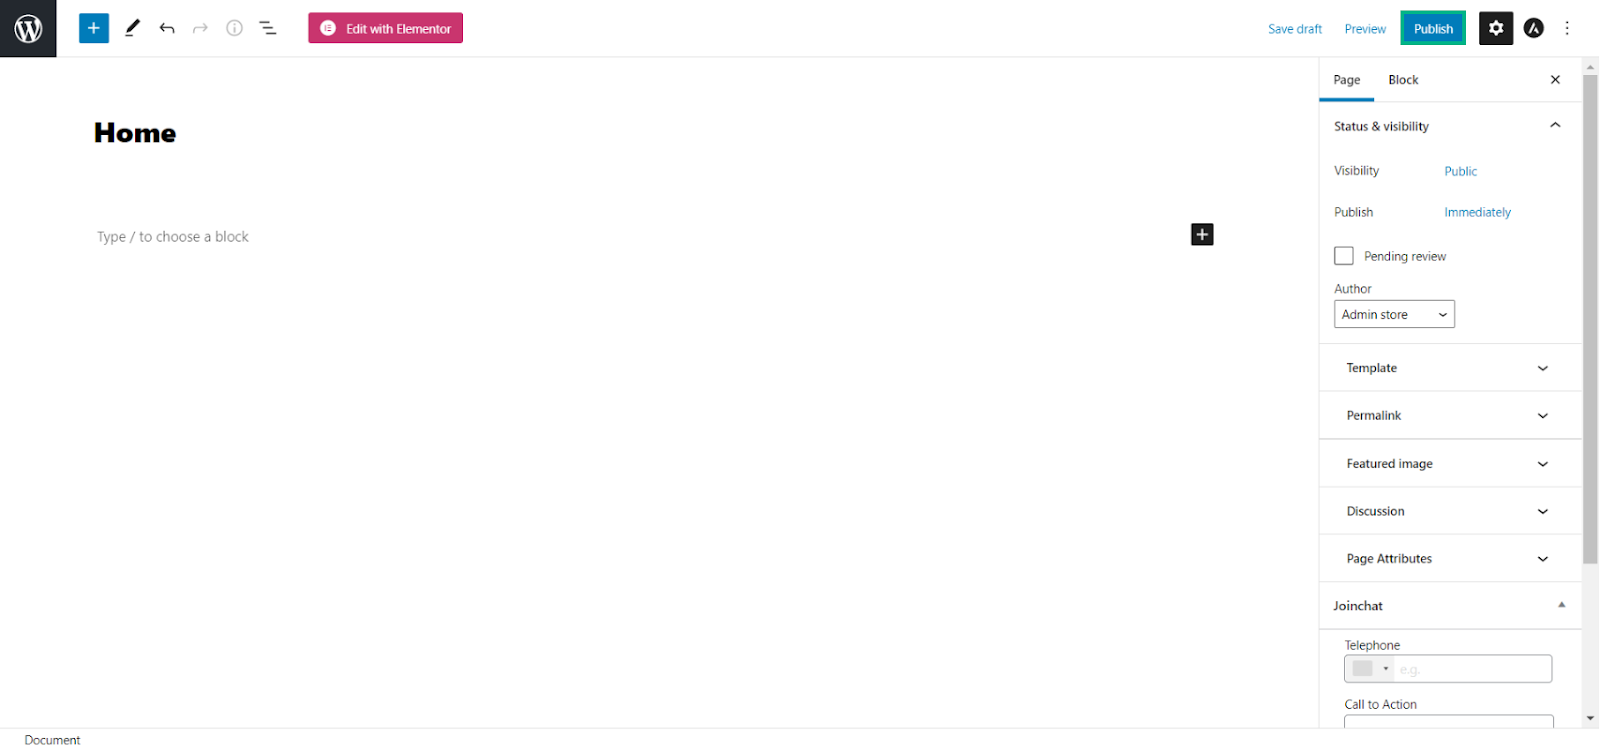
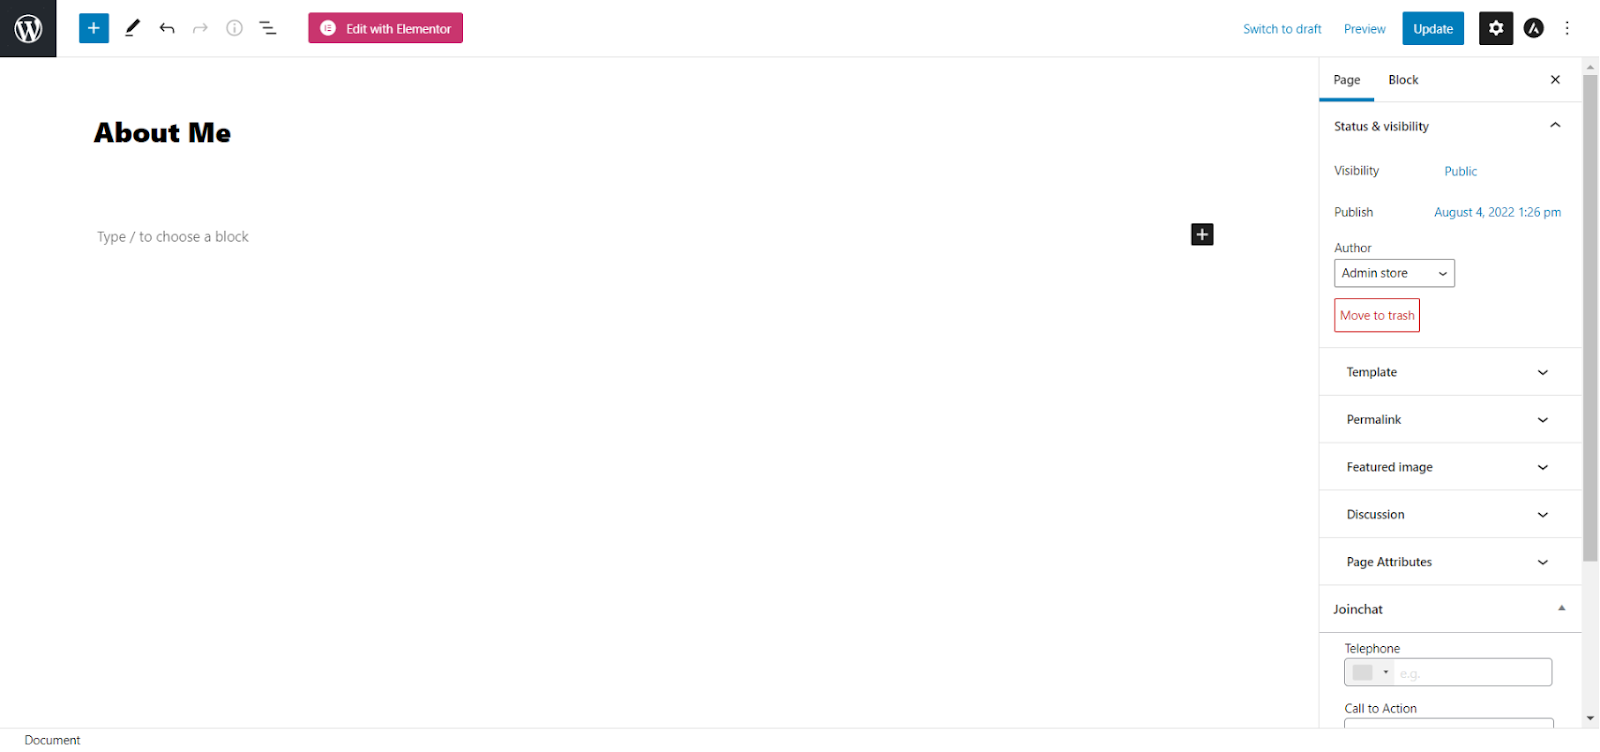
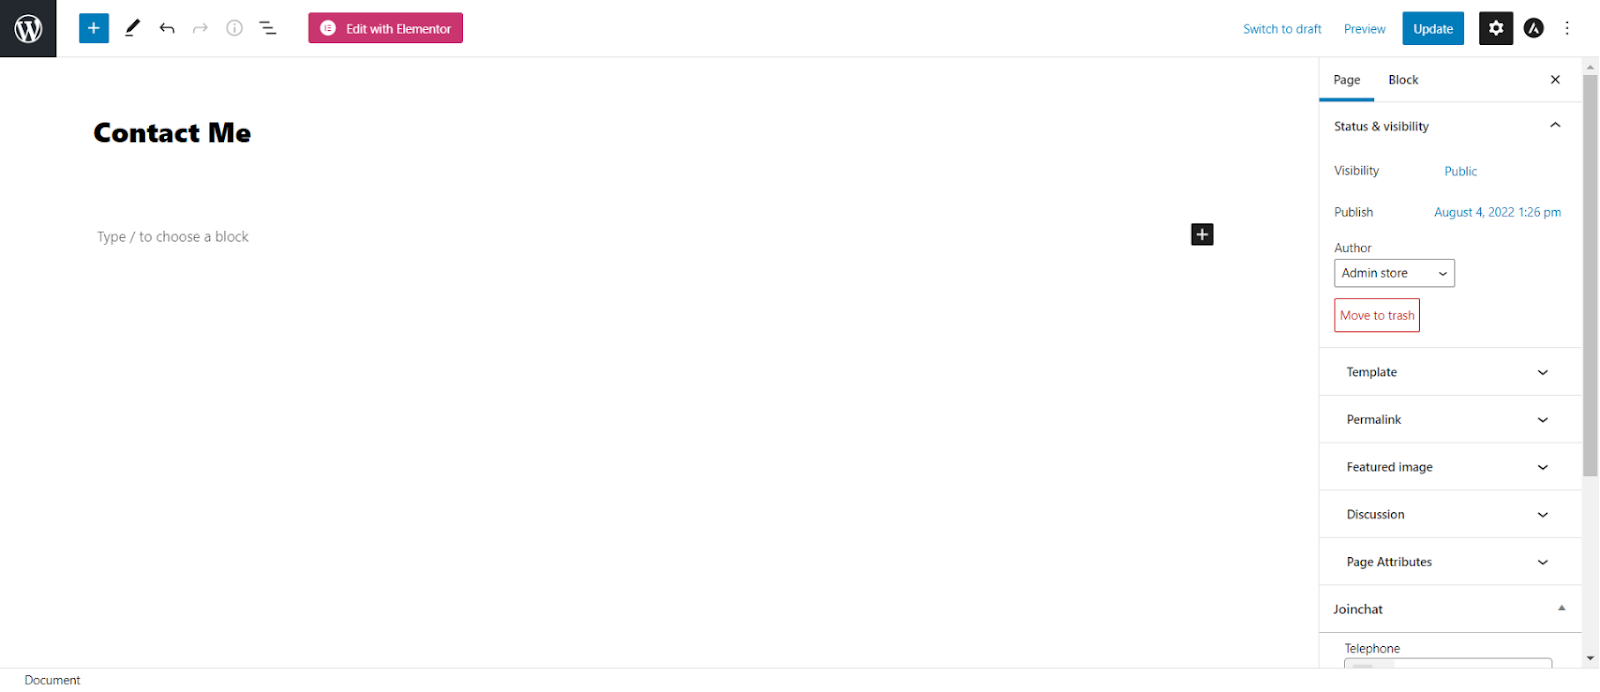
In the title of the empty page, enter “Home” and click Publish. Go ahead and create two more pages and give them the title “About Me” and “Contact Me”. Once you are done, go ahead and publish the pages.
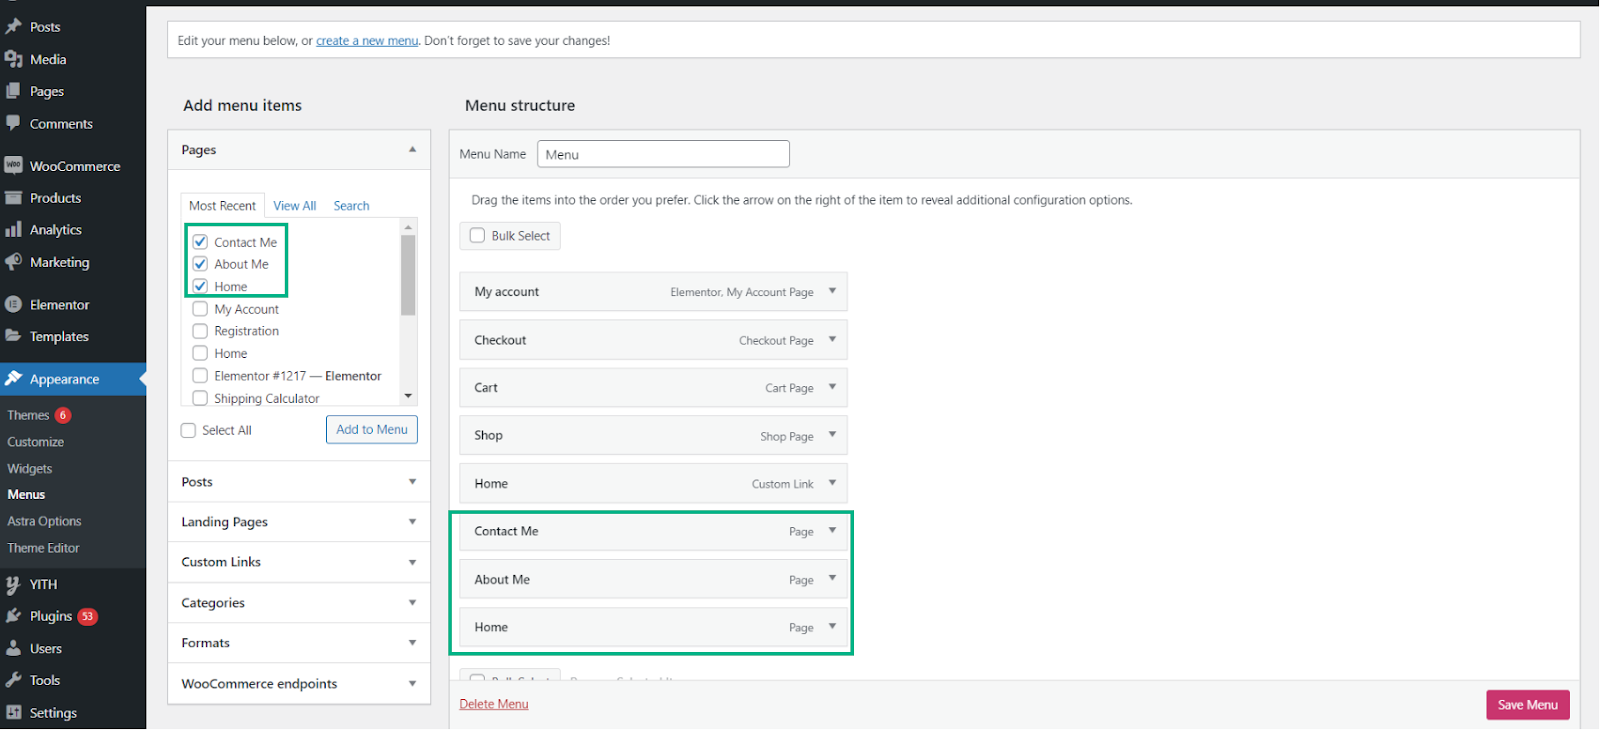
Now that we have created three pages, we will need a menu in order to keep them organized. In order to do so, go to WordPress Dashboard > Appearance > Menu.
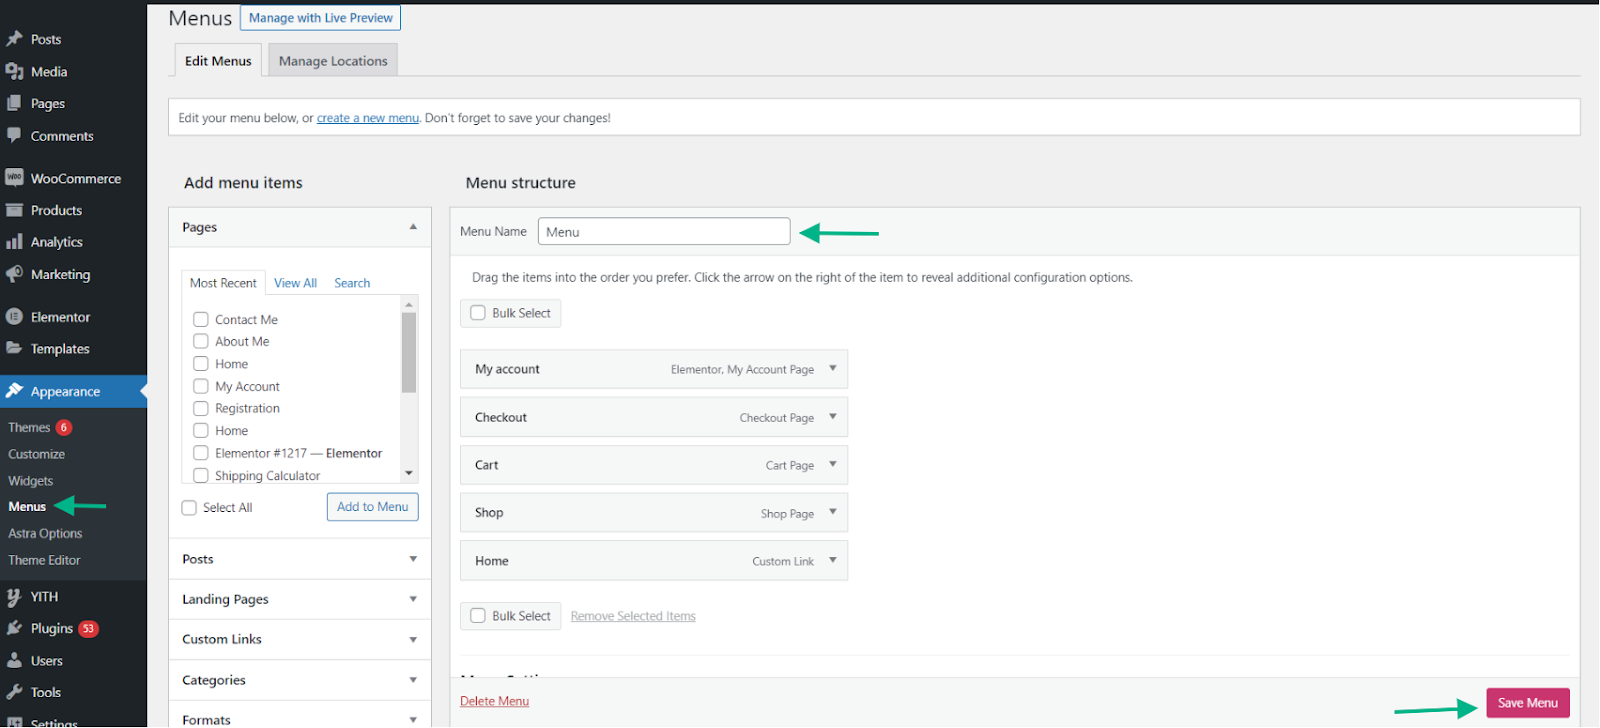
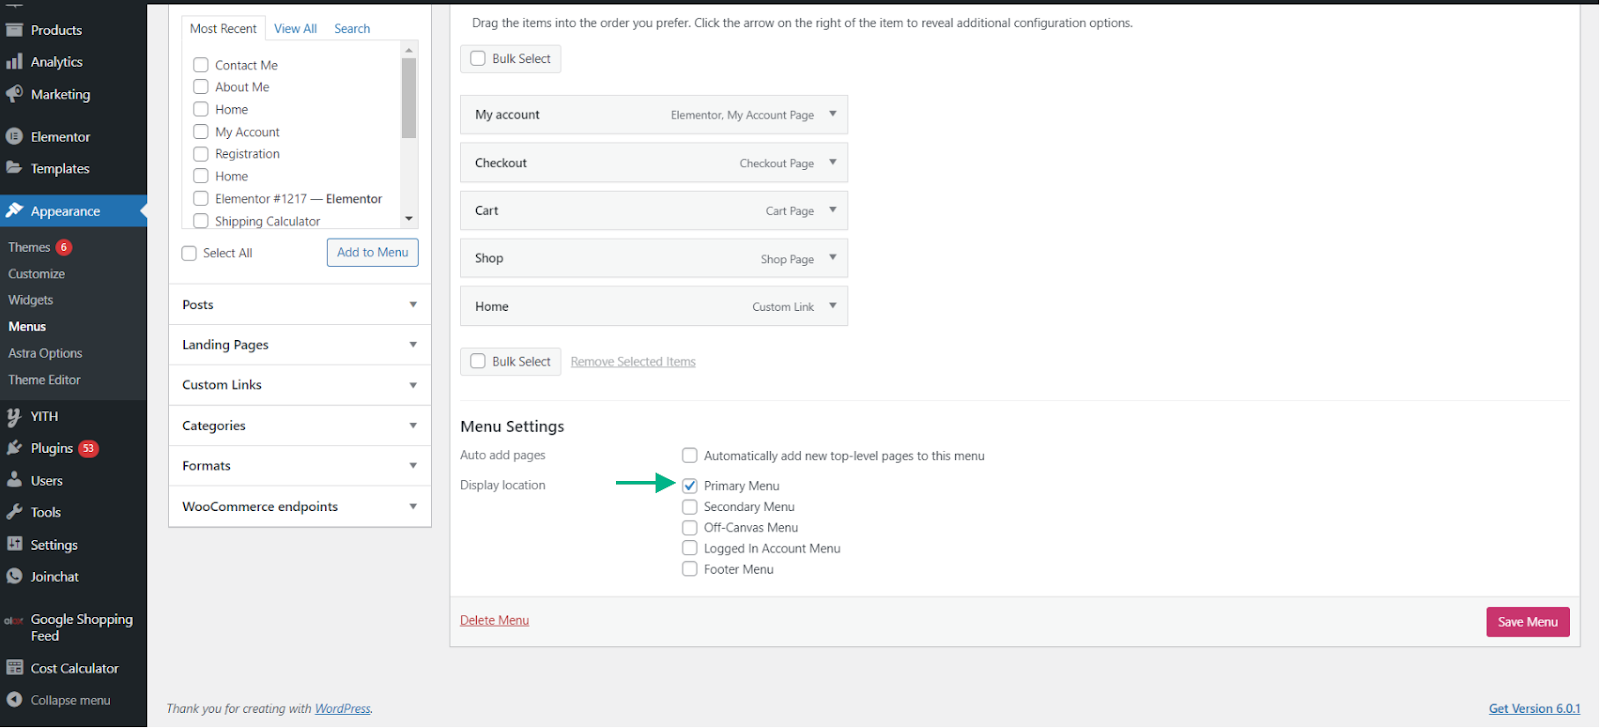
You may go ahead and enter the name of the “Menu” in the Menu Name field. Once that is done, scroll down to the Menu Settings and enable Primary Menu. Click Save Changes after completion.
On the same settings page, you will find Add Menu Items on the left side. Click View All under Pages and select the three pages we created recently and click Add to Menu. Click Save Changes after completion.
Now head over to the site as we did before. You will notice that the pages are visible on the website’s dashboard.

Assign the “Home” page as the landing page
Click Visit Site beneath your website name in the top left corner of the WordPress admin. Click Customize > Homepage Settings and select A Static Page. This will create another section called Homepage. Under the same section, in the drop-down menu, select “Home”.
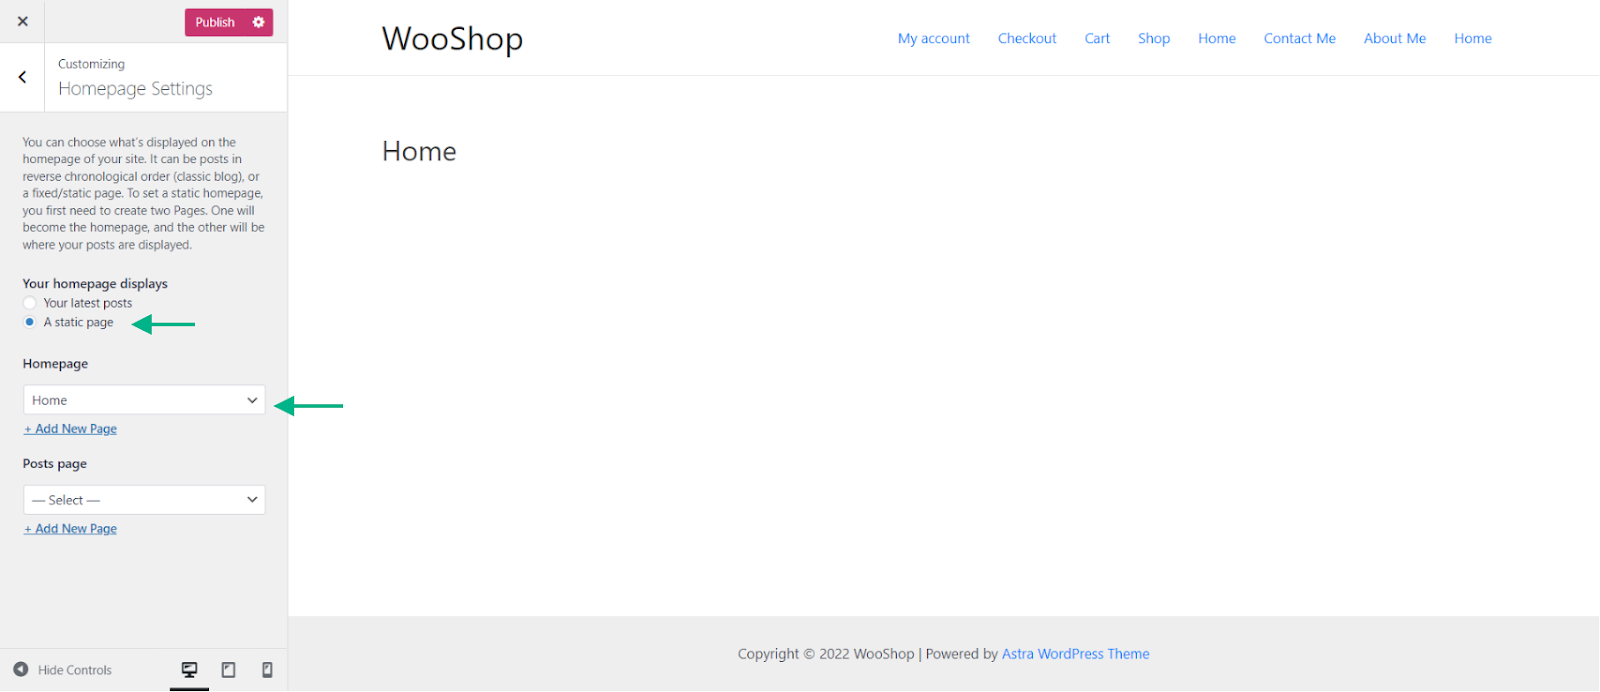
Once you have completed the above steps, click Publish.
Creating a Portfolio
In order to create a portfolio, we will need a page builder. For the sake of this demonstration, we will be using Elementor. You may go ahead and download it from the link provided.
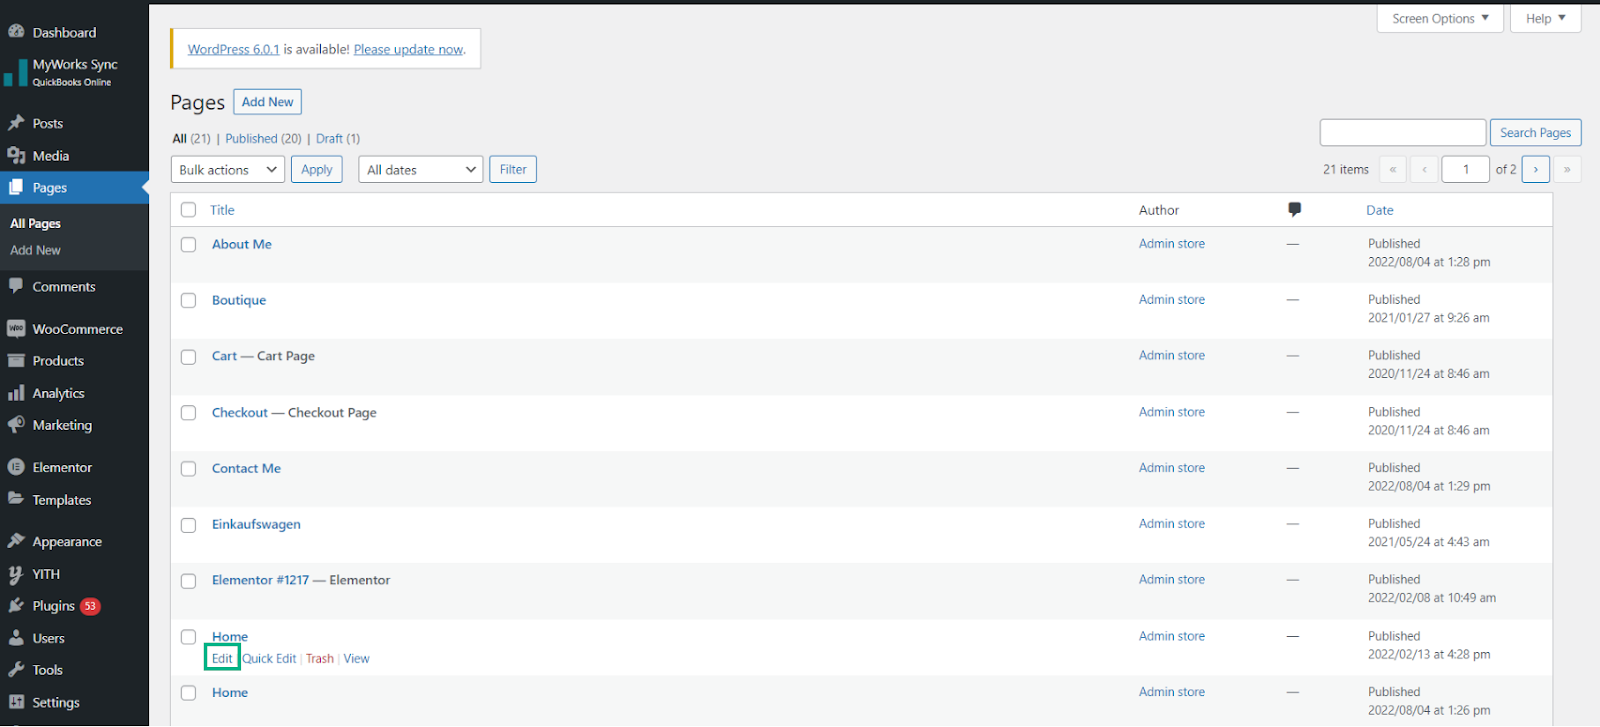
Once the installation and activation are complete, you may go ahead and start editing your recently created pages by going to Dashboard > Pages and clicking Edit under the respective page.
Once you land on the page, click Edit with Elementor on the top. This will open a panel on the left of the screen with a large variety of drag and drop features.

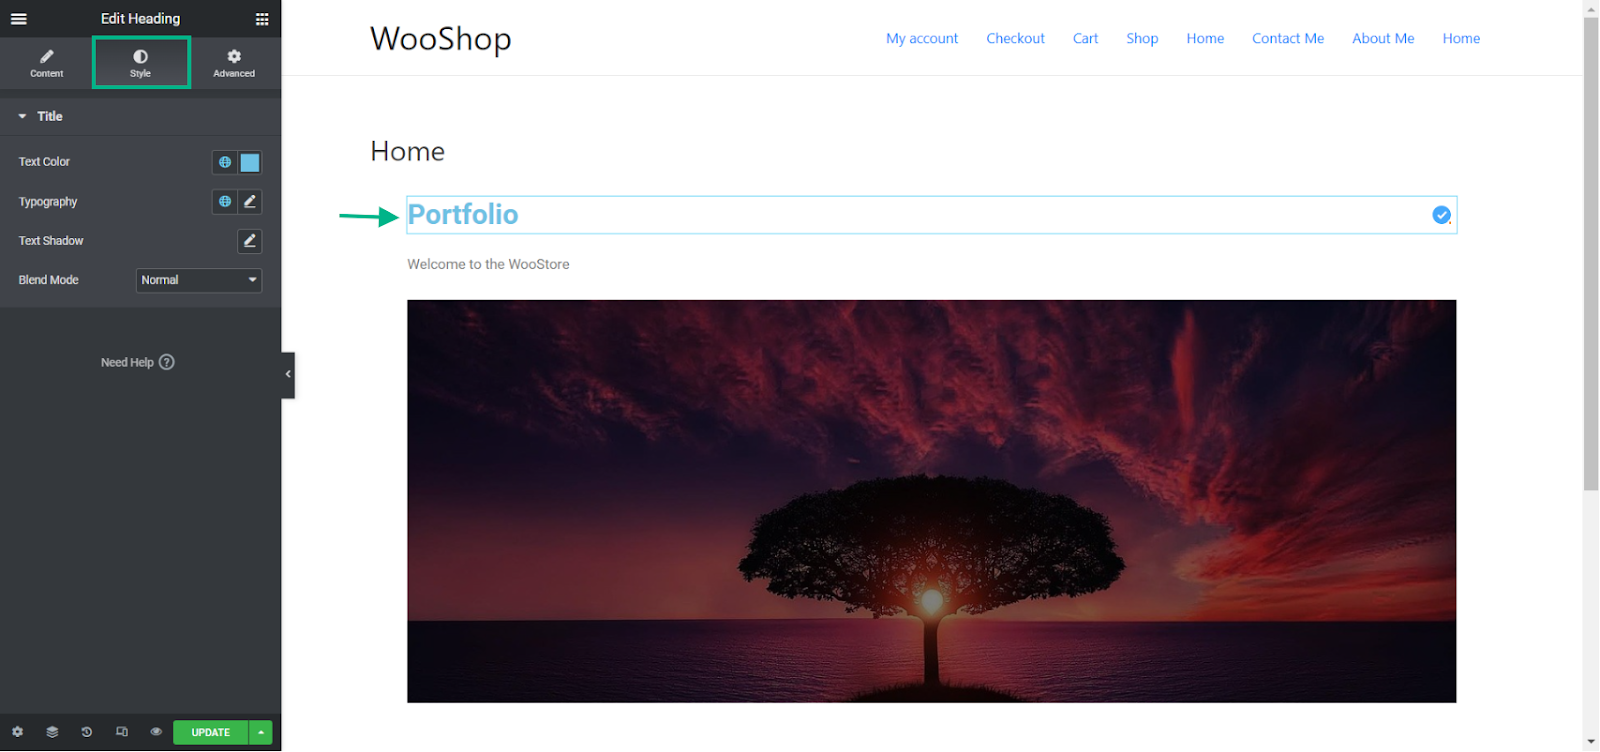
Go ahead and add a heading, a few columns, images, and buttons to your liking. You may do this by dragging and dropping the respective block onto the page.
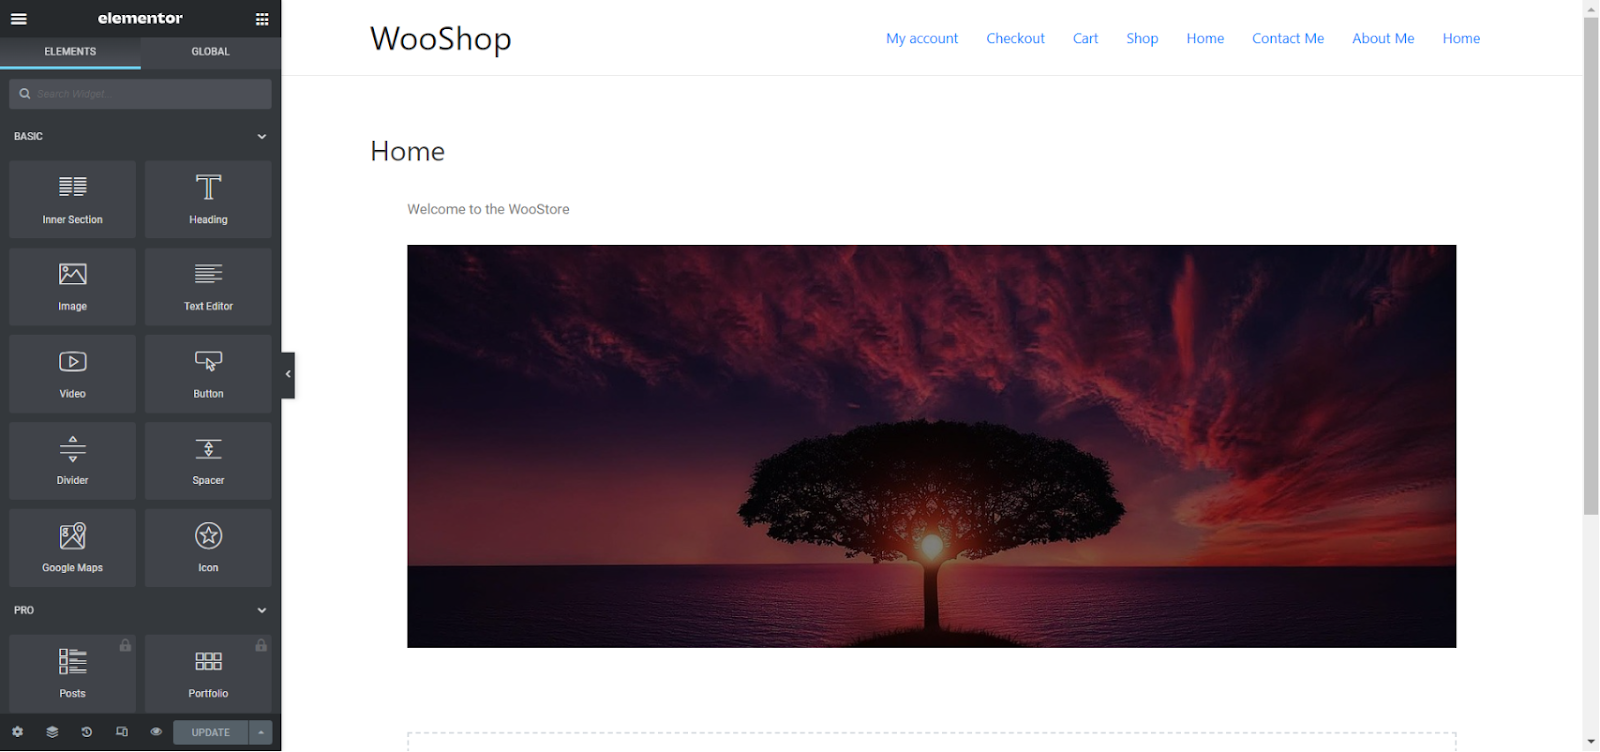
You may go ahead and customize the font style, color, and other aspects of that block by clicking on the block and customizing the settings under the Style tab on the left side panel.
Once completed, you may go ahead and customize the “About Me” and “Contact Me” pages the same way as in the previous steps.
You may create an N number of pages and add as many fields as wish, depending on the requirement of the portfolio.
If you have any queries regarding how to use Elementor, check out Complete Elementor Page Builder Tutorial (with Video).
Now that we have gone through the first method of setting up a portfolio website, let us take a look at the second method.
Method Number 2 – Wix
This method is comparatively easier to use as Wix provides us with pre-installed templates to work with. In order to begin creating a portfolio, you must first create an account on Wix. You may do so by clicking the link above.
Wix allows you to sign up using Google, Facebook, or your email address. In the next step, it will ask you the type of website you are building. You may select Portfolio from the drop-down and click Next.
The next few steps are similar to the one before. You must enter details such as the name of your website, the goals behind creating your website, and elements to add to your website such as chat windows and forms. Fill in the information to your specifications.
In the last step, you will be provided with two options, Start Now and Choose a Template. Click on the latter option.
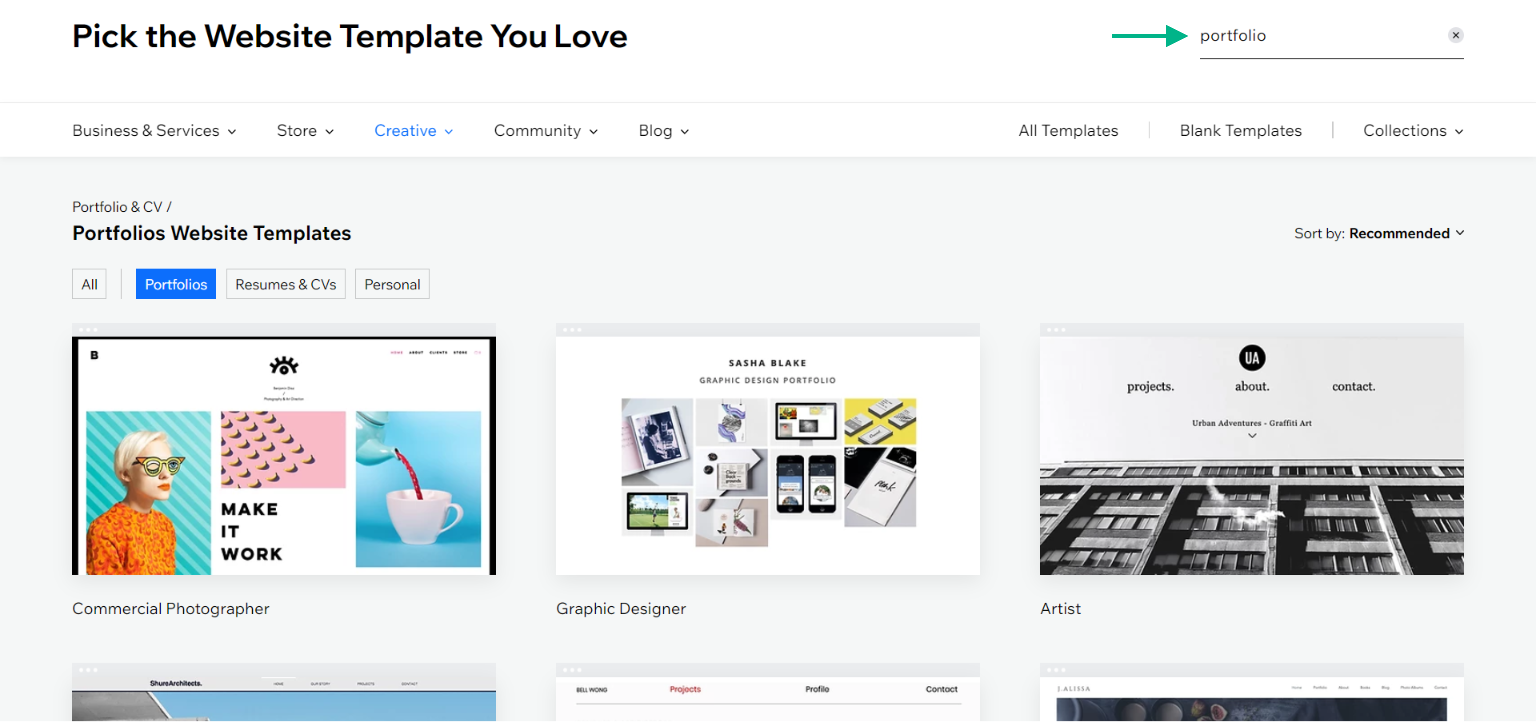
This will direct you to the template selection page with a large collection of templates. To ease the selection, you may also search for a specific template. Since we are creating a portfolio, we will search for “Portfolio”.
Choose a template from the options available and click View by hovering over the design. This is to make sure you are satisfied with the design, as we cannot change the template once you begin customization.
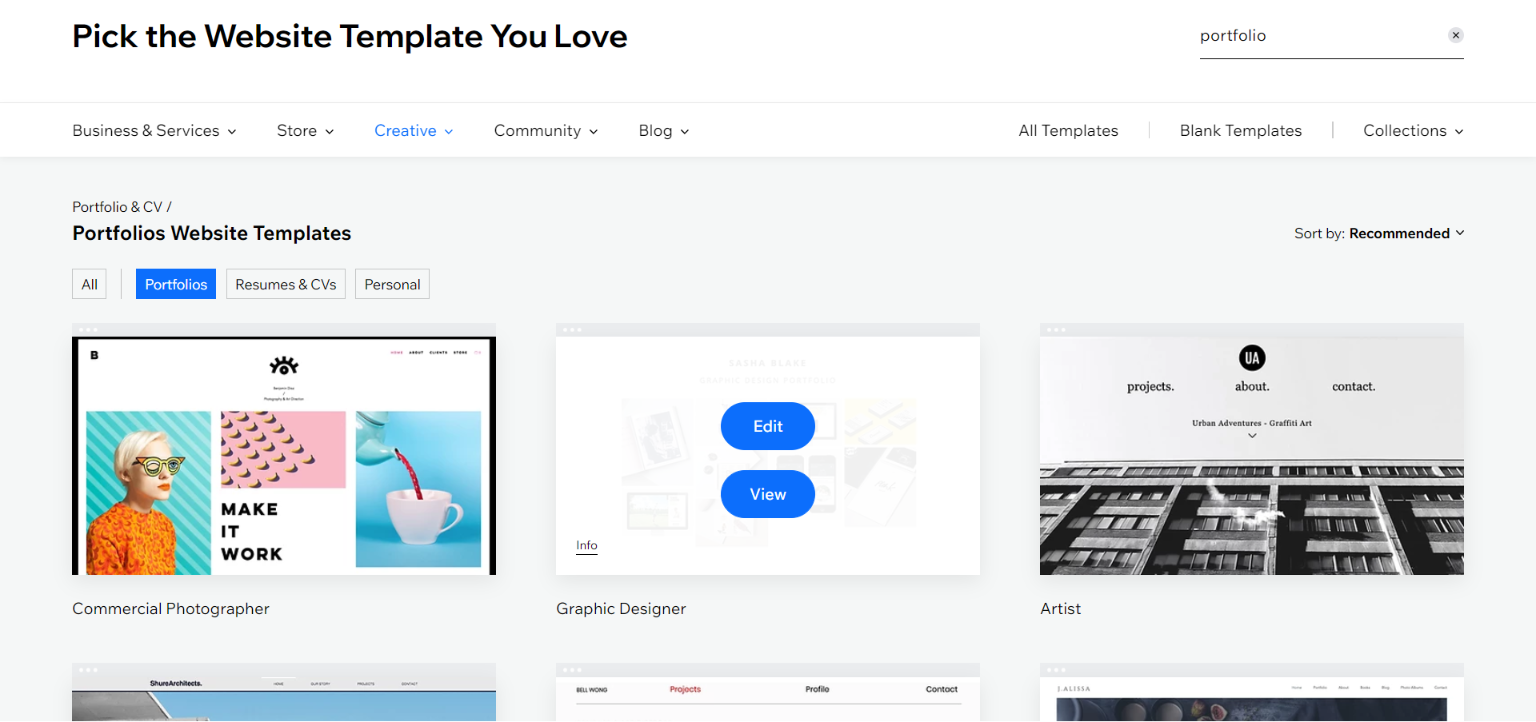
In order to edit the template, click Edit by hovering over it. Now that the template is ready to be edited, go ahead and change the title, information, and images to your preference.
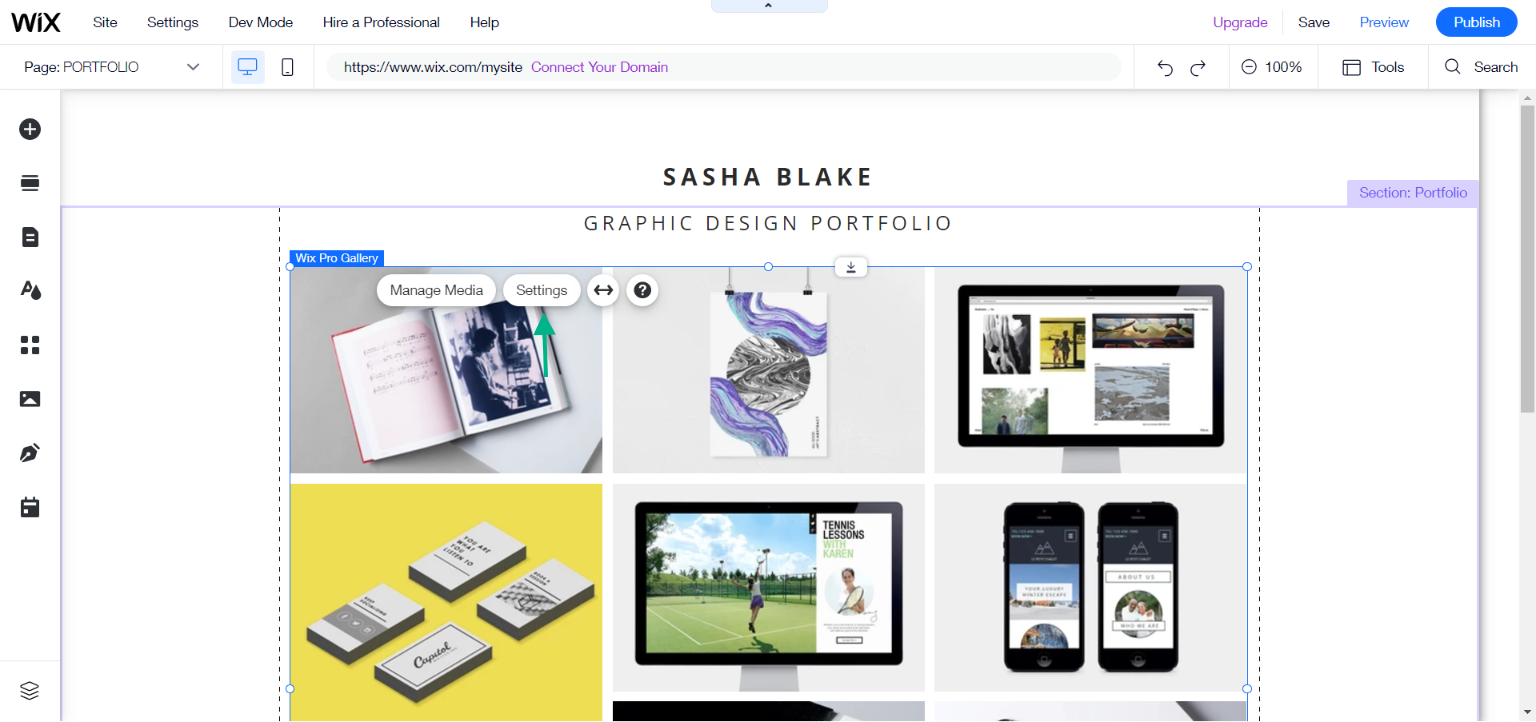
You may change an image by selecting the respective image and clicking Manage Media. This will open a pop-up that allows you to upload an image of your choice.

The image can also be cropped and altered in multiple ways by clicking Settings right next to “Manage Media”.
Once you complete customizing the portfolio to your preferences, click Save. This will open a pop-up that provides you with a new domain for your website. The last step of the process is to click Publish.
There you go! It was as simple as that to create a portfolio website using Wix. If you wish to upgrade your website, have a look at the various pricing plans provided by Wix.
Conclusion
It takes a lot of time and work to develop a strong portfolio. But with Elementor, you can create the ideal portfolio site in a couple of hours.
By putting your work on public display, having a portfolio improves your chances of getting leads. It will help you stand out from the thousands of rivals and open the door to hundreds of chances.


")
")
")