
Last updated - March 31, 2022
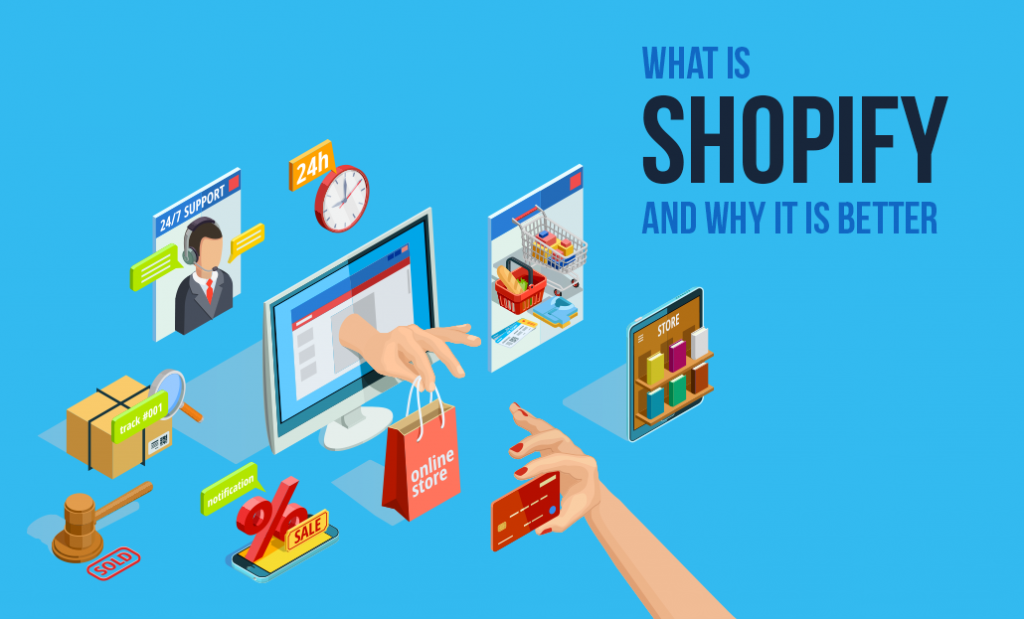
Shopify is a one-stop solution for all your online store needs. Founded in 2006, Shopify is a multinational e-commerce company that enables anyone to set up an online platform to sell their products.
Shopify offers a variety of services to assist entrepreneurs looking to sell their products or services either online or even in-store by offering a platform that can facilitate smooth payments, shipping of goods, marketing, and advertisements as well as consumer engagement programs to boost their businesses.
Irrespective of the size of your business, what you are trying to sell, or your target audience, Shopify can help you improve your reach, expand your customer base, and make your business grow.
There are numerous things that you can sell on Shopify and this includes physical products like clothing, jewelry, or accessories, digital products like online courses or audio files, services that you wish to provide, memberships, ticket-based experiences, or even rentals.
With Shopify, you can enjoy access to all the tools you will ever need to turn your entrepreneurial dreams into reality and make your business explode.
Why should you use Shopify rather than other ecommerce platforms?
In today’s world, e-commerce is one of the biggest platforms to buy and sell almost anything under the sun and this makes it extremely competitive. To navigate the choppy waters of running an online business, it is extremely crucial to have all the right tools to run a successful online enterprise and this is where a reliable e-commerce platform is essential.
E-commerce platforms significantly lower the effort, time, and costs required to maintain an online presence, develop it, and improve sales by offering a wide range of facilities and services as part of one convenient package.
Shopify in many countries today is almost synonymous with the concept of e-commerce platforms and it is regarded as the best of all such platforms.
Shopify supports over 500,000 businesses worldwide in more than 175 countries and it is a one-stop solution for anyone looking to boost their online presence and establish their online businesses.
- Web hosting: Setting up and hosting an online shopping cart is no mean feat and requires technical expertise as well as effort thereby making it tricky especially if you are just entering the online market. Shopify hosts your business on reliable servers and also assists in creating a safe payment gateway which leaves you with very little to worry about in terms of needing the technical know-how to set up and run an e-commerce enterprise.
- Excellent customer support: Shopify will give you 24/7 access to technical assistance with respect to your online store and their experienced staff will guide you through the process of getting any problem fixed as soon as possible.
- In-built marketing tools: Any start-up or new business usually racks up massive costs in terms of advertising and marketing but with Shopify’s convenient in-built marketing tools, you can promote your products and services at a much lower rate and the platform also offers seamless social media integration to improve reach.
- Independent payment gateway: Shopify lets you choose between multiple payment gateways on the platform but also offers its own, exclusive Shopify gateway that removes all transaction fees. A secure payment gateway is the backbone of any online business and this feature is surely a huge plus especially for new stores.
- Fast, secure, and attractive: Shopify gives you a wide range of clean and attractive online store templates to choose from that will improve how visitors will perceive your business. This is supported by an extremely quick platform that allows users to easily explore your store. In terms of payments, Shopify stands out from the rest and offers best-in-class security and speed.
- Feature-rich: Shopify puts the control of the store in your hands and allows you to make any modifications to your store that you may deem necessary. Aside from payment choices and marketing tools, it also offers various other important features like accounting, inventory, and business reporting.
- 14-Day free trial: Last but not the least, Shopify gives all users a two-week free trial period where they can test out all the features and tools that it has to offer and set up their platform.
How does Shopify Work?

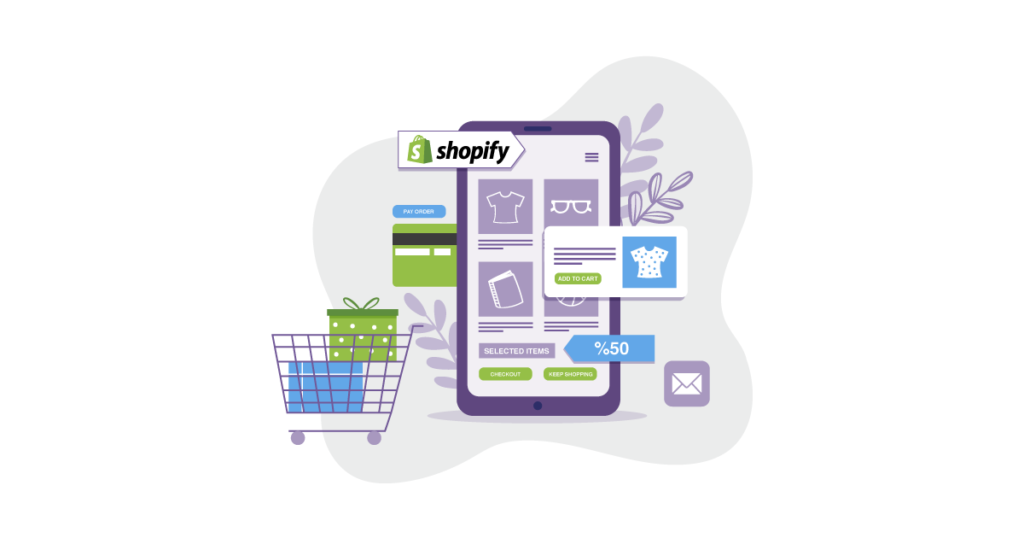
As is probably clear already, Shopify is a one-stop solution for all your online store needs. Access to Shopify can be bought on a subscription basis and once you become a member, you can use the services and tools to build your very own online store to receive orders, reach new customers, make sales, and process payments.
The key advantage of using Shopify is that it requires very minimal technical know-how to use and operate as most of the hard work is put in by the experts at Shopify to tailor a beautiful online store to your needs. However, even if you face issues, they have a 24×7 helpline and you will be able to easily get technical assistance to overcome them.
Shopify has various subscription plans that you can choose from according to your needs and your objectives and you can have a fully functioning online store in no time. Read on to know how to set up your store on Shopify and kickstart your online business today!
How to set up your Shopify store?
Setting up your own online store on Shopify is a simple and highly customizable process. Follow the steps below to create your very own Shopify store and tailor it to suit your preferences and needs.
Step#01 – Start your free trial on Shopify
Shopify gives every user the opportunity to check out the platform and everything it has to offer through a two-week free trial that is activated on signing up. You can visit the Shopify website and sign up with your email address on which you will get unfettered access to all of the platform’s features.
The registration does not require your credit card details but it is important to note that while you can set up your store and explore the features, you will not be able to actually generate sales until you choose a subscription plan and make the payment.
Your progress will be saved when you upgrade to a Shopify membership plan, however, if you do not make a payment after 14 days, you will not be able to work on your store or access any of the platform’s features.
Step#02 – Pick a theme and customize your Shopify store
Once you have started a free trial, Shopify offers you the chance to pick from over one hundred website designs for your online store with the Shopify Theme Store.
Click on the ‘Select a theme’ option to visit the store. Each theme has a unique, clean, and user-friendly design and you can choose one after reading the reviews left by fellow users and ensuring that it meets all the requirements for your business.
This is an essential part of setting up your store as most individuals will judge your business and its credentials based on the first impressions they get when they visit your online store. It is therefore crucial to have an attractive and user-friendly design that is easy on the eyes as well as simple to navigate through.
Step#03 – Add Shopify apps to make your life easy in your store
Shopify has its own App Store that lets you install applications that will help you add more features to your store or seamlessly integrate your store with external services.
You can either visit the Shopify App Store and click on Add App in order to install the application. If you use a third-party app or one that you had custom created by a developer, you can enter the installation link to add it to your store.
Step#04 – Add your products
In the initial set up process, the Shopify platform will give you the chance to add the products you wish to sell and view it in the selected layout and theme. For this, all you have to do is click on the ‘Add a product’ option and enter the name and description of the product.
Ensure that you choose the right words and make the name and description unique and easily comprehensible to achieve better reach and attract more customers.
The same process will also require you to state the price at which you wish to sell the product as well as the inventory of the product, i.e., the number of units of the product available to be purchased.
Shopify gives you the option to let it track the inventory and thereby stop accepting new orders in case the maximum number of units are already sold. If your product has any variants or comes in different colors, make sure to mention them too and add attractive pictures of your products to attract customers.
Step#05 – Group and categorize your products
It is very important to set up groups of products or product collections on your online store to make it easier for customers to access similar products or things that they may be looking for.
For example, the collections may be made based on the target audience, the price of the products, items on sale, one category of products like clothing accessories or children’s clothing, and so on.
These product collections should be ideally displayed on the home page to ensure that customers can easily navigate to their desired collections without browsing through your entire store.
You will also have the option to set up automatic collections where Shopify will categorize your products into those collections if they meet a set of criteria that is determined by you.
Step#06 – Create necessary pages for your store
Shopify Pages are the webpages that you can create that usually contain information that is not updated too regularly. These may include an ‘About Us’ page, an ‘FAQs’ page, ‘Contact Us’, and so on.
There is no limit to the content that you wish to add as pages and you just log in to the Shopify Admin panel, click on Online store and then Pages and click on ‘Add a page’. You can modify these pages according to your preference and can also include links to external websites.
Make the best of these pages to let the visitors know more about your business and encourage them to communicate with you if necessary.
Step#07 – Change your shipping settings as per your preferences
Shopify offers a wide range of shipping settings as well and it is important for you to update these settings in order to ensure you do not lose customers because of high shipping rates. Go to the ‘Settings’ page and click on ‘Shipping settings’ to edit them.
You can either use third party shipping services that are tied in with Shopify or you can also choose to ship and deliver products yourself without their assistance.
You can either set up the same General settings for all your products or make custom shipping profiles for your products that require separate settings.
Also, you will have to set up the shipping rates and modify them according to the products that you sell along with the zones to which you want to ship your products.
Step#08 – Set up your tax settings
Most products sold are usually accompanied by a sales tax and Shopify can be empowered to calculate these taxes and duties automatically based on local tax rates and the zones to which the product is being shipped.
Click on ‘Settings’ and ‘Taxes’ to access these settings and make changes to the tax rates as you please. You can also override tax calculations for some products that do not require tax to be charged or if the taxes are included in the prices of the products you can enable that option to disable tax calculation.
Step#09 – Set up your payment gateway
The most important part of setting up your store is providing a smooth payment process by which customers can buy the products that you are selling. Shopify has various payment gateways that you can choose from by going to ‘Settings’ and clicking on ‘Payments’.
Choose a payment gateway that best suits your requirements and also consider the transaction fees that are charged by the gateways and payment options that they support before choosing.
Step#10 – Test your order system
Shopify has its very own Bogus Gateway with which you can test the process of placing an order on your store. The bogus gateway can be accessed by going to the ‘Payment’ settings and clicking on the ‘Bogus Gateway’ option under the ‘Select a Credit Card Gateway’ drop-down list.
Once this is done, you can easily test your order system by placing an order as any customer would without actually having to make a payment.
Step#11 – Set up your domain with Shopify
If you do not already have a domain name from a third-party service like GoDaddy for example, you can easily set up a brand-new domain for your online store by buying the domain from Shopify itself at standard annual rates.
Make sure to come up with an attractive, simple, and easily identifiable domain name that represents your brand and the products that you are selling.
Step#12 – Do the basic on-page SEO optimization
- Optimize URL structure: ensure that the URLs to your online store as well as the various pages are reflective of the content contained in them to ensure better indexing and improved reach on search engines.
- Optimize your metadata: Metadata refers to the meta tags, meta description, and the meta keywords that are shared with the search engines, predominantly Google, that helps them deliver better and more accurate search results. Meta descriptions are usually displayed below the heading of the search result and must be concise and clear for all to read.
- Optimize your headings: You must edit your headings in such a way that they contain keywords and accurately describe the content on your store. These headings if accurate and well-written will ensure more clicks and more traffic on your store and thereby more sales.
- Optimize your body text with primary and secondary keywords: these keywords will ensure that you have better reach when potential customers search for them online and usually are related to the products or services that you are trying to sell.
- Optimize your image alt tags: The alt tags on your images are usually descriptive of them and will also improve the reach that you get on search engines especially if keywords are included. Moreover, the alt tags of your images are used by screen readers to tell their blind or visually-impaired users what the image is about.
Step#13 – Remove password protection and launch your store
If you do not remove your password protection, people will be unable to access your store even after it goes live. If you want to launch your store and make it accessible to the public, visit the Settings page, click on ‘Preferences’ and under the ‘Password page’ section, uncheck the ‘Enable password page’ option. You are now all set and your online store is live!
Conclusion
You are now well on your way to building your dream online business and by following these steps, you can build an amazing and successful online Shopify store in 2020. Numerous resources that can be accessed for more in detail description and guidance with respect to creating your very own Shopify store. Shopify also has a very detailed Help section online or you can also contact their tech support staff for on-call assistance.


")
")
")