")
Last updated - March 1, 2023
Your eCommerce store’s product pages are some of the most crucial pages. A well-designed product page may boost conversions, decrease complaints and returns, and even boost average order value.
WooCommerce employs a very simple WordPress design for the product page. It’s practical, and it incorporates the essential elements of a product page.
While you may use a different WooCommerce theme to modify the style and fundamental functionality of your product pages, there are occasions when you’ll want to make a specific modification without downloading a new theme.
Depending on what you want to accomplish and how you want to do it, there are numerous ways to modify your product pages.
Overview
- Adding a product in WooCommerce
- Adding Product Galleries and Images
- WooCommerce Customizer with Storefront theme
- Using Storefront powerpack to customize the product page
- Manual customization with code
- Customizing the product page using Elementor
- Additional WooCommerce Plugins
Adding a product in WooCommerce
After you’ve installed WooCommerce, navigate to WooCommerce > Products in your WordPress dashboard. Then, to create your first product, click the Create Product button.
This should bring up the WordPress editor that you’re used to. Here’s how to set things up…
Add the title and description of the product
In the title section, type the product’s name. Complete your product’s description next. The purpose of the description is to convey the benefits of a product. A useful tip is to add bullet points to make this section easier to read.
Ensure that you optimize the title and description for organic keywords while crafting them. Add descriptive keywords to the long description if you wish to utilize them on the product page.
Select a product type
WooCommerce allows you to utilize multiple product types depending on what you’re selling. There are four basic product kinds to pick from:
The default is a simple product. This is a popular product among WooCommerce business operators. A one-size-fits-all cap, for example.
A grouped product is typically used to group together basic things, such as a bundle of five t-shirts.
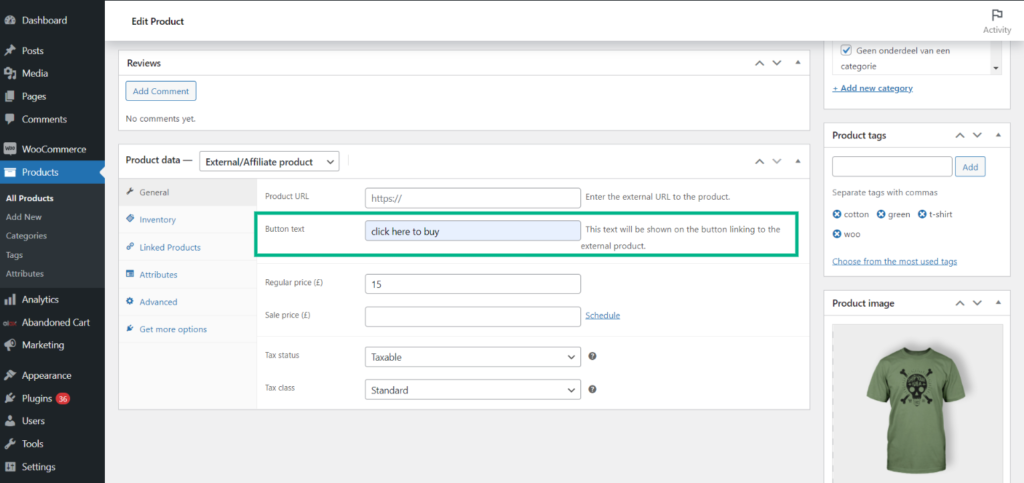
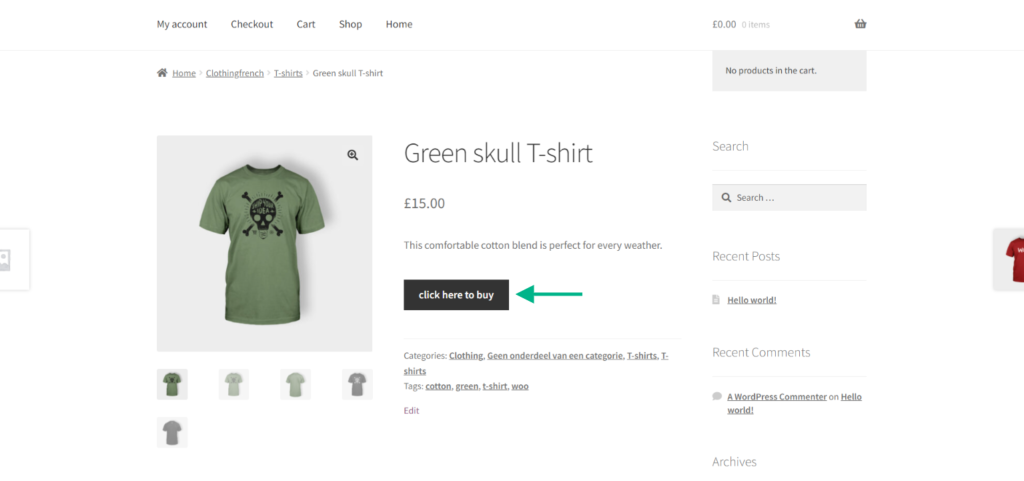
External/affiliate product is an option that you can use to link the “Add to Cart” button to an external page if you have a dropshipping or affiliate-based store. You also have the option to change the text of the button that links you to the product page. For example, you can see below that we have changed the button text to ‘click here to buy’.
A variable product is one that comes in a variety of colors, sizes, and other features. Consider a t-shirt with different sizes and colors.
To get a thorough understanding of the different product types and their functionality, check out the ‘Different WooCommerce Product Types Explained in Detail (with Video)’ article.
You also have two more choices for customizing those four fundamental product types:
- Virtual — If you’re selling an online digital product that doesn’t require shipping, this is the choice for you.
- Downloadable — If the product has a downloadable file, you may enable this option. For example, an e-book or an audio file.
Use the drop-down and checkboxes in the Product data box under ‘General’, which displays right below the WordPress editor where you entered the product description, to make this decision:
Add information to the product data meta box
After you’ve chosen your product type, fill out the remainder of the information in the Product data box. You may move between sections by using the tabs on the left.
Enter the price for both the usual and reduced pricing under the General tab.
When you decide to conduct a discount campaign, you’ll use the sale price. Otherwise, the standard price will be displayed to customers.
Select the tax status, which determines whether the goods are taxable. If yes, select a tax class.
Setting up Inventory
The Inventory tab assists you in keeping track of your supplies. By default, the SKU, stock status, and other choices will be available. If you don’t see it, go to WooCommerce > Settings > Products > Inventory and enable the stock management option.
SKU stands for “Stock Keeping Unit,” which is a unique identifying number that may be found on any product or service. This distinguishes the items and makes inventory management easier.
You’ll see an option for “Enable stock management at the product level.” If you haven’t checked it, you’ll have to manually update the stock. If you check the box, the WooCommerce stock management system will present the product automatically.
- The stock amount will auto-update whenever you enter the number of pieces available.
- If the product is being produced and will be available shortly, allow back orders.
- When the product’s stock falls below the low stock level, you’ll be notified.
Shipping Details
You can control crucial aspects about a physical product for shipment under the Shipping tab.
Enter the product’s weight and measurements. There’s a setting called ‘shipping class’ that allows you to group together products with the same weight. This makes it easier for you to get shipping rates for multiple products with the same weight.
Linked Products
Linked items are suggestions for increasing shop revenue. You may do it in one of two ways:
- Cross-sells: This allows you to link similar products under a particular product that your consumers might like.
- Upsells: This allows you to link recommendations for expensive products with better features to entice your customer to spend more.
Product Attributes
Attributes allow you to customize things like color schemes, sizes, and more. Attributes and variations are intricately connected, as WooCommerce uses available attributes to create variations for a variable product.
Advanced Settings
The Advanced tab may be used to add a purchasing remark to an order that displays after it has been placed. You can also choose the item’s custom ordering position by choosing the menu order from the drop-down, and enable customer reviews by checking the ‘enable reviews’ box.
After you have finished tweaking the settings, you can add a short description and product image along with tags by scrolling down and filling out the ‘product short description’ tab and adding product image and product categories on the right hand side menu. Once completed, click ‘Publish’ on the top right-hand side of the page.
Adding Product Galleries and Images
For various places and purposes, WooCommerce employs three different kinds of Product Images:
The largest image is the single product image, which is the main/featured image on each product detail page.
Catalog Images are average sized images that show in product loops including the Shop page, Product Category pages, Related Products, Up-sells, and Cross-sells.
Product thumbnails are the smallest pictures that appear beneath the Single Product Image in the Cart, Widgets, and (optional) Gallery thumbnails.
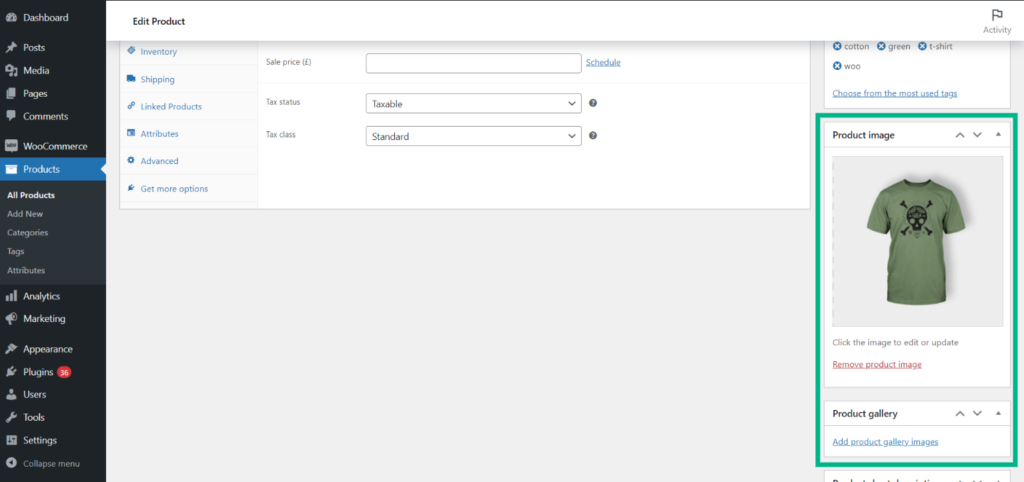
When creating or changing a product in your shop from WooCommerce > Products, you have the option of uploading product photos and galleries on the right-hand side.
Settings up each of the image type is easy, and we will demonstrate how to, in the steps below:
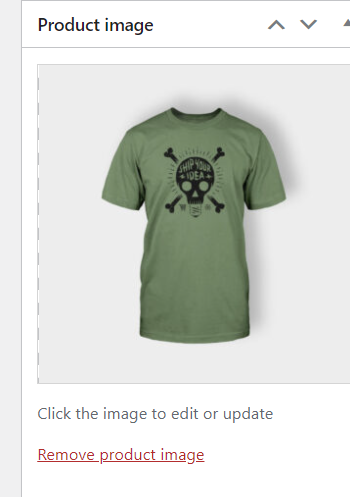
Product Image
- Select Set Product Image

- Choose a picture from your Media Library or create a new one.
- If you need to update the product picture, remove it and edit it as needed.
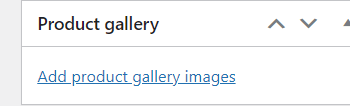
Product Gallery
- Create a Product Gallery by utilizing the Product Gallery meta box instead of the Product Image meta box.
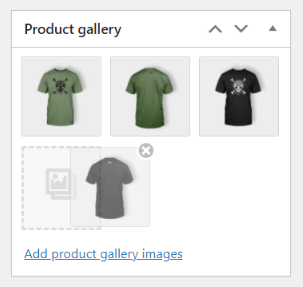
In the product gallery, rearrange the photographs.
Drag and drop allows quickly reorder images in the product gallery. Simply move your photos around to reorganize them.
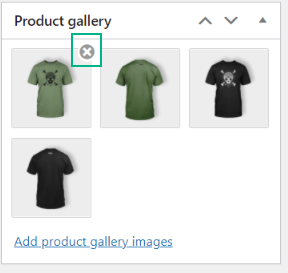
Images from the product gallery that need to be removed.
Hover over a picture in the product gallery and click the red “x” to delete it.
Now that we have set up our product, it’s time to see how to customize the product page.
WooCommerce Customizer with Storefront theme
Once a product is published, the WooCommerce customizer, in conjunction with the Storefront theme (or any other theme), produces a default layout for the product page. The customizer does not offer a wide range of settings, which may be added with other plugins. Despite the restricted possibilities, there are ways to create a rudimentary product page. The following settings are provided with WooCommerce using the Storefront theme:
To customize the products per page, follow these steps:
WordPress Dashboard > Appearance > Customize
Go to WooCommerce > Product Page
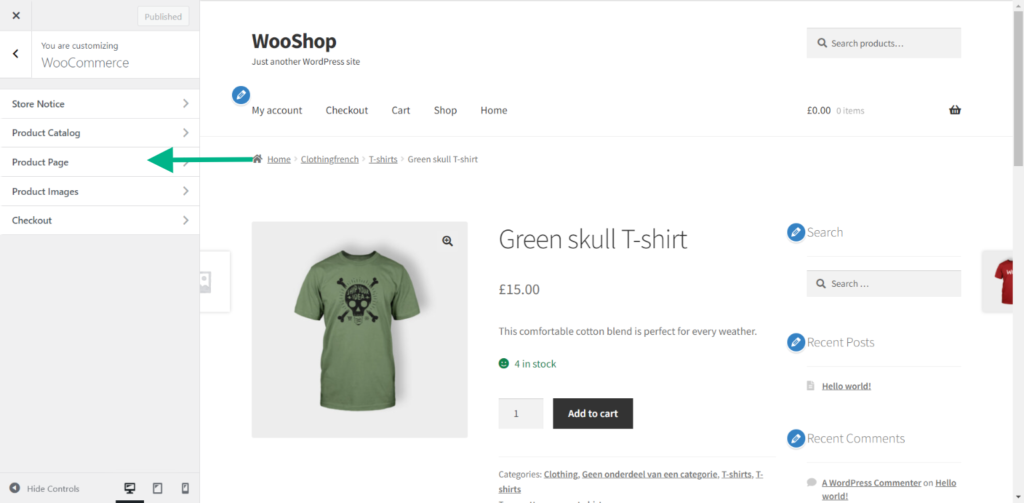
You can find the ‘product page’ setting below ‘product catalog’. That allows you to add:
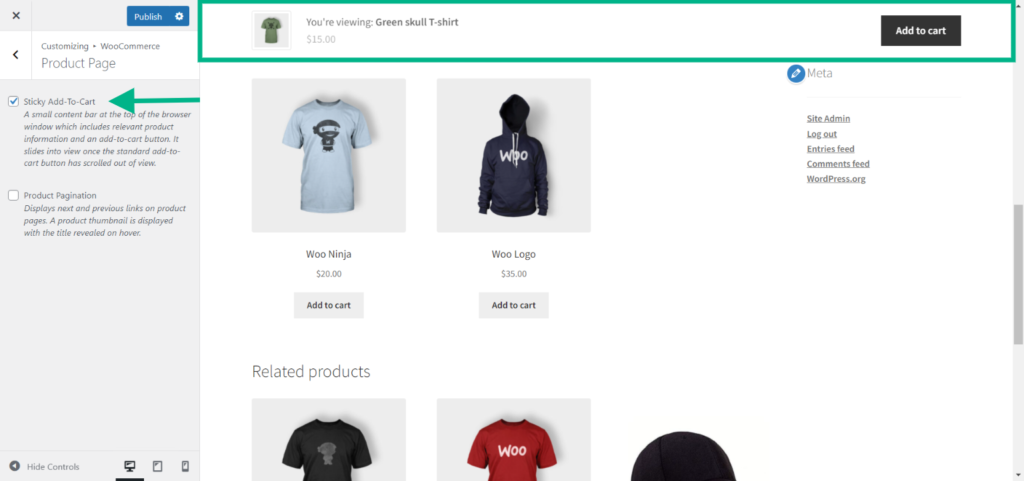
Sticky add to cart button – At the top of the browser window, a tiny content bar with pertinent product information and an add-to-cart button. When the regular add-to-cart button has been scrolled out of view, it slips into view.
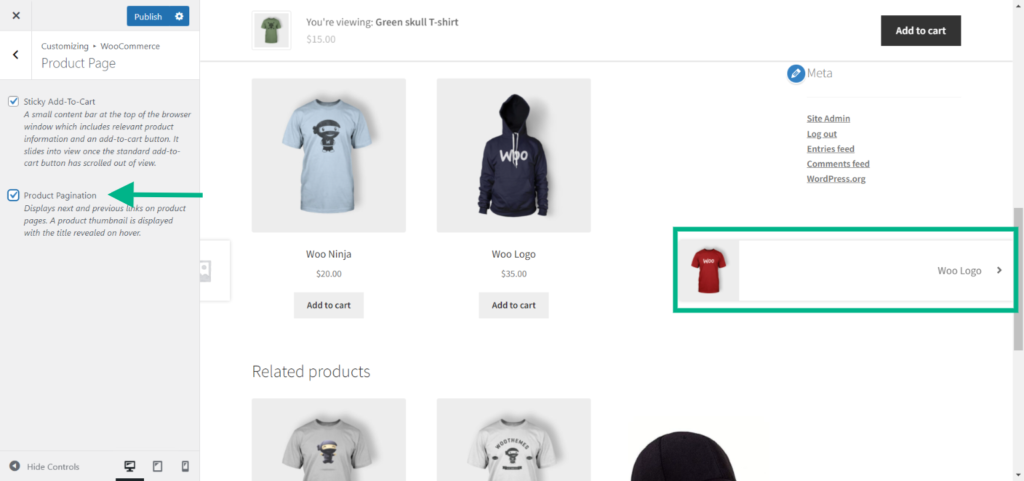
Product pagination – On product pages, it shows next and previous links. The title of the product is shown when you hover over it.
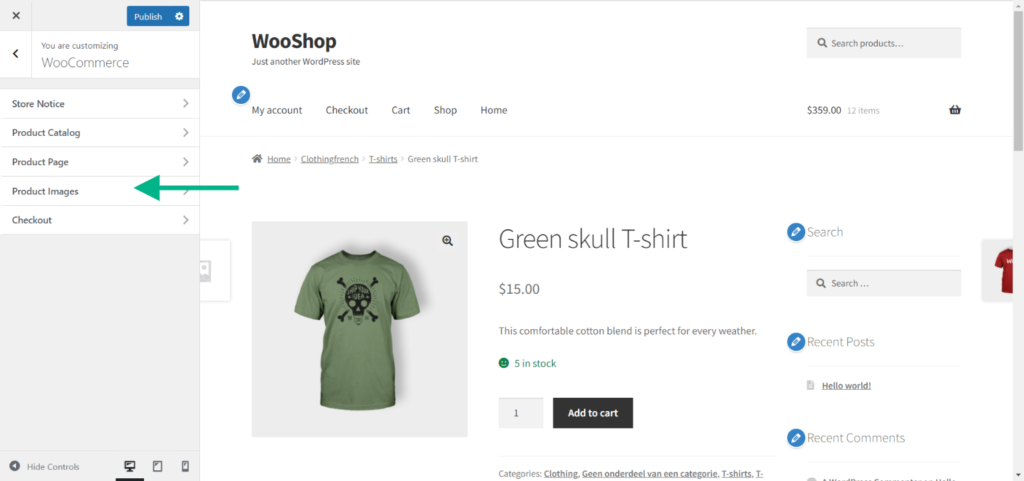
Below the ‘product page’ setting, you will find the ‘product images’ tab. This tab allows you to change the size aspect ratio of the product images. Follow these steps to customize the image size:
In the WooCommerce customizer, under the ‘WooCommerce’ tab, go to ‘Product images’.
Choose the required image size ratio or enter a custom size.
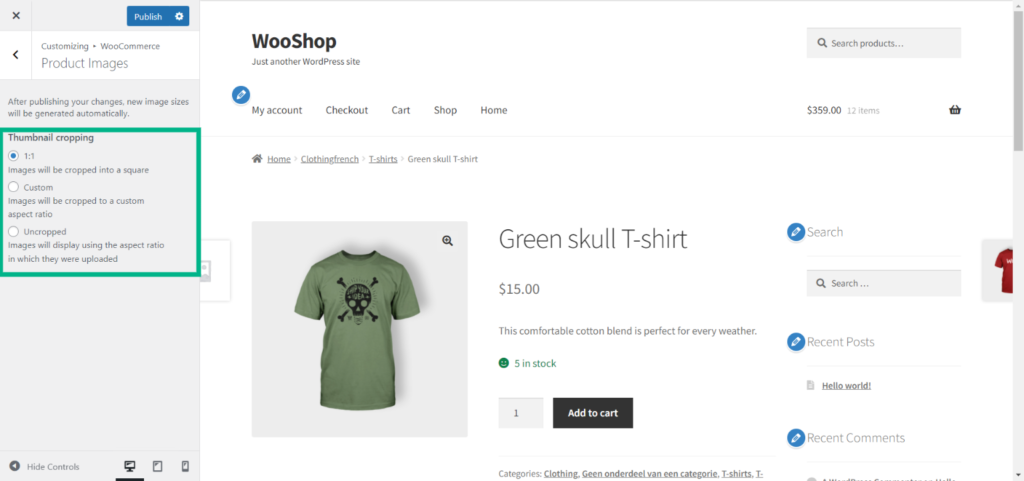
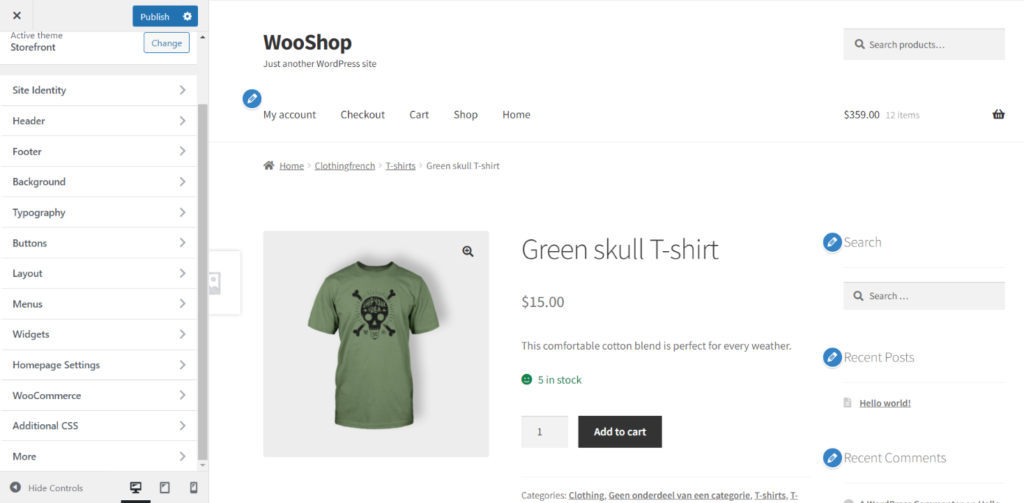
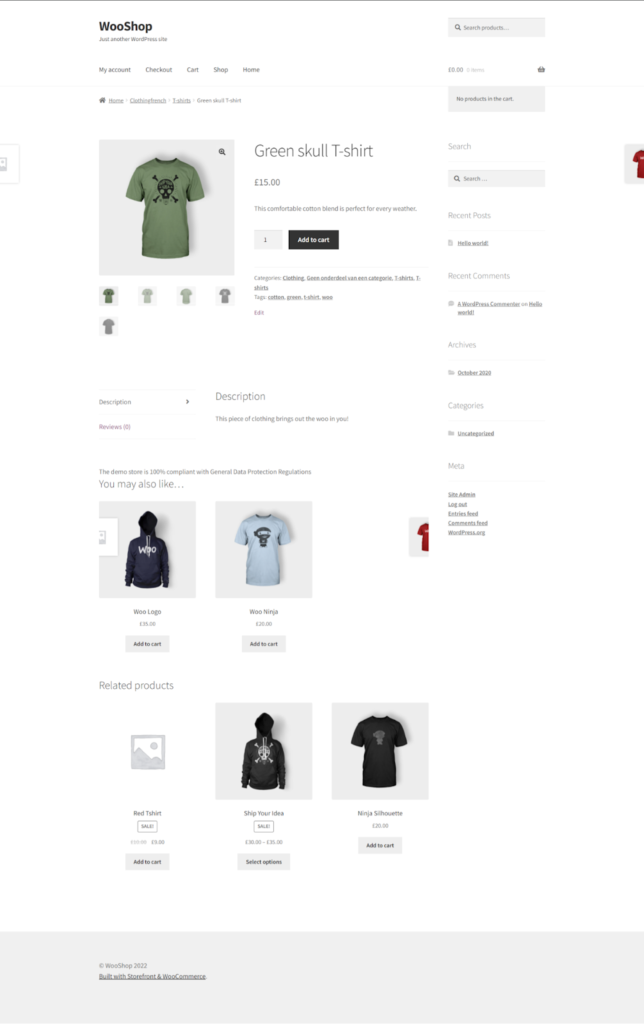
Below, you can see how the product page looks on the front end after all the above customizations.
Now that we have set up our product page, let’s take a look at the capabilities of Storefront Powerpack.
Using Storefront Powerpack to customize the product page
The Storefront powerpack extension is a powerful tool as it adds a lot of features to your regular storefront theme. With this extension, you have the capabilities to do the following:
- To change the color, text, and design of the font on the product page.
- You can customize the size of the images on the page.
- Change the background color of the page as well as the background color of buttons such as ‘Add to Cart’
- Change the layout of images. For example, adding a gallery layout (scroll down to see steps on how to do so).
- Remove or add descriptions, product meta, pricing, ‘Add to Cart’ button, etc.
- Adding frames around product images.
- Change the handheld footer for mobile devices.
- Add product categories along with columns and rows.
In short, the Storefront Powepack adds a powerful array of features to change the entire product page, at your disposal.
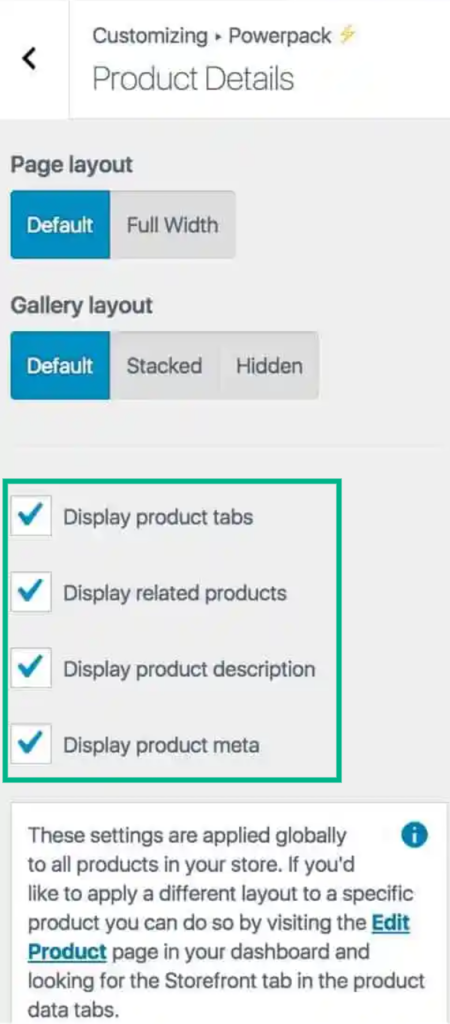
Out of all the options available, the above-mentioned ones are very useful in customizing the product page. The menus are self explanatory and easy to use. The product details tab is very crucial as its main purpose is to tweak the product page.
The page layout can be either standard or full-width. You also have Gallery Layout choices, just like on the checkout page. Take a look at the option available
- Default Gallery Layout — this is the default Storefront layout.
- Stacked Gallery Layout — This layout shifts all product information from the right side of the page to beneath the image.
- Hidden -This setting hides the product picture. It comes in handy for when you sell services on your website rather than products and cannot create an image for those services.
The product tabs, similar products, product description, and product meta may all be turned on and off in the settings.
Once you have finished tweaking the settings according to your need, click ‘Save & Publish’ on the top left side of the page.
Let’s move on to the next section, which explains how to customize a product page using code.
Manual customization with code
If you know how to use CSS, you can make minor design changes directly from the WordPress dashboard. Using the WordPress theme customizer is the simplest way to apply custom CSS to your theme. However, take in mind that if you change your theme, all modifications you’ve made will be gone.
Go to Appearance > Customize in your WordPress dashboard to get started.
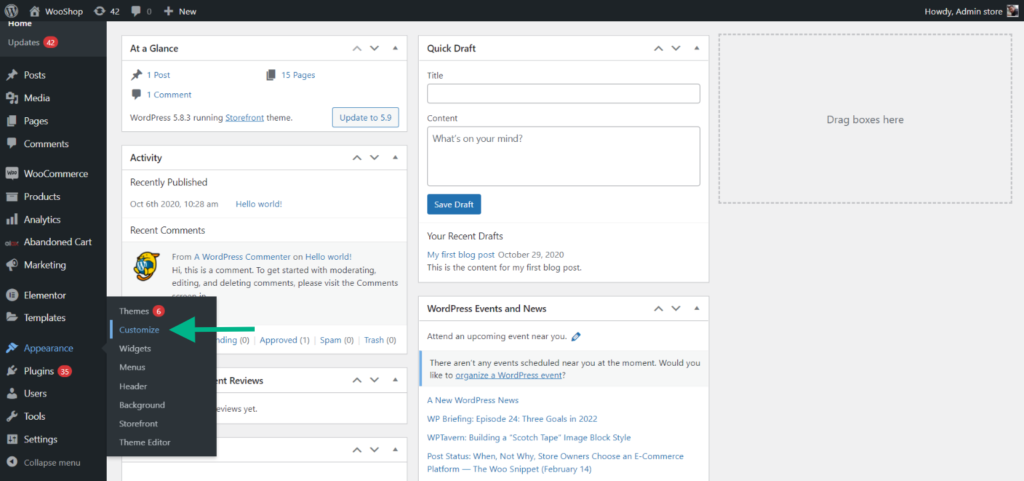
Scroll down to the menu and select “additional CSS.”
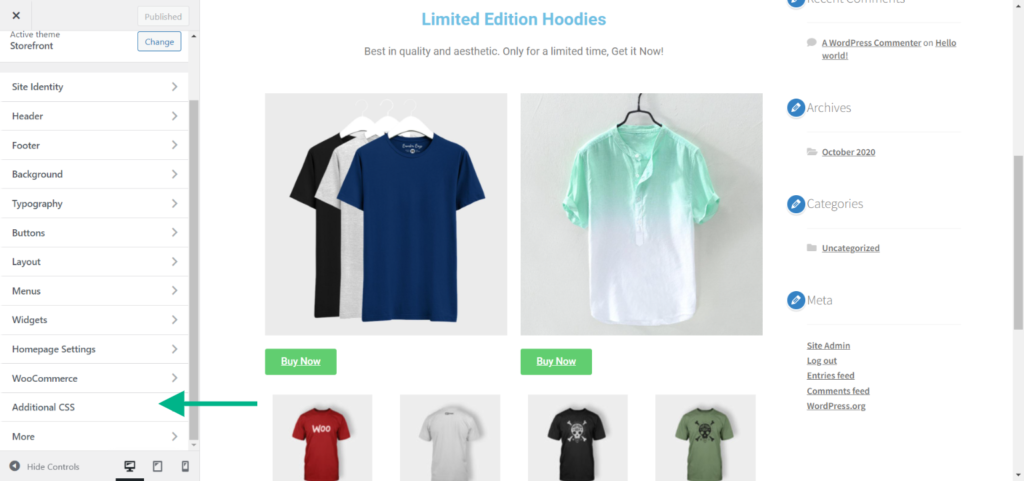
Go to one of your product pages in the site preview window.
In the highlighted editing section, you can write your custom CSS.
Here are a few examples of code:
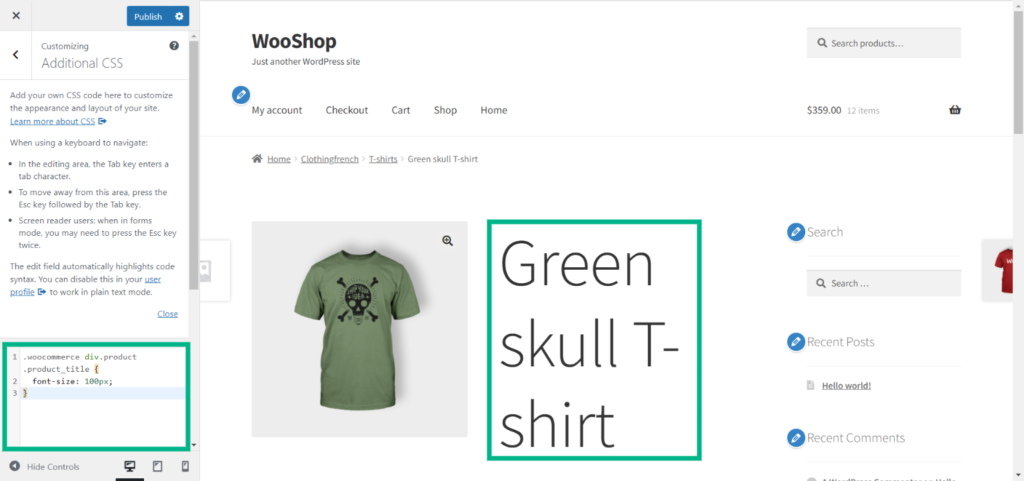
- The font size of product titles can be changed
Change the size of your product names to 36px using the code below. You may change the number “36” to any number you choose.
.woocommerce div.product .product_title {font-size: 36px;}
- The color of product names can be changed
A hex code is a six-digit number that represents a particular color on the internet. Change the color of your product title to #FF5733 using the code below. Replace the hex code with whatever you like; you can acquire the code for any color you select using the HTML color picker.
.woocommerce div.product .product_title {color: #FF5733}- Make the variation labels bold
To make your variant titles bold, use the code below.
.woocommerce div.product form.cart .variations label {font-weight: bold;}- Labels for variations can be italicized.
To italicize variant labels, use the code below.
.woocommerce div.product form.cart .variations label {font-style: italic;}- Colors for the Buy Now button can be changed as follows:
Change the background color of your Buy Now button using this code. To retrieve the hex code for the color you want to use, utilize the HTML color picker once more.
.woocommerce div.product .button {background: #000000;}Customizing the product page using Elementor
Elementor gives you complete control over your design and product page layout. There’s no need to use actions or hooks, and there’s no need to dig through the numerous PHP files. The Elementor page builder is used to make all the design changes on the front end.
Start by installing and activating the Elementor Pro plugin. If you do not know how to go about it, take a look at the Complete Elementor page builder tutorial (with video) for a thorough understanding.
Once the plugin is activated, we can start customizing the product page. You should now have WooCommerce installed on your site, along with a few related products (We have shown how to create new products at the start of this article).
Keep in mind, that in order to use the full extent of the visual design features, you need to have Elementor Pro installed.
Step 1: Single Product Template
To get started, go to Templates and select Add New.
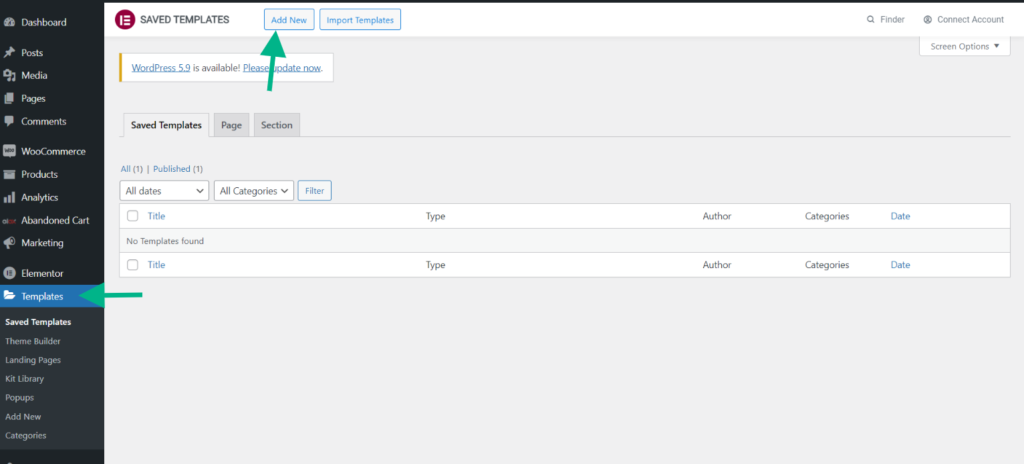
Select Single Product from the drop-down menu.
Step 2: Select a pre-designed product page template or create your own
Elementor will provide various premade WooCommerce product page layouts for you to use. For most people, choosing the one that looks the most like what they desire is the best option. Creating a product template from the ground up will often take much longer. It’s simply easier to make changes to an existing template. To acquire the template, click ‘Insert’ or click ‘Create Template’ if you are making one from scratch.


Your template will appear on the Elementor canvas. You may now make changes to the template as you see appropriate, such as adding new parts to the page, customizing existing ones, removing items you don’t need, and so on.
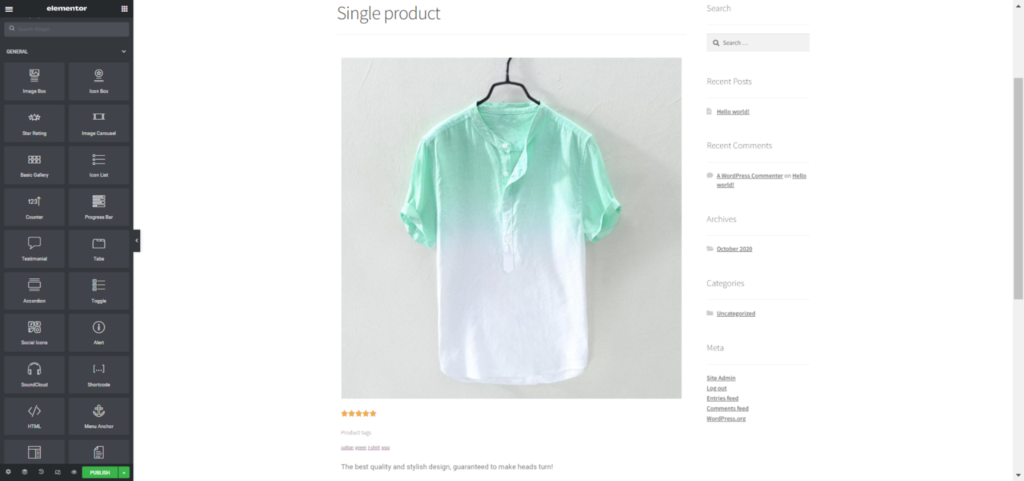
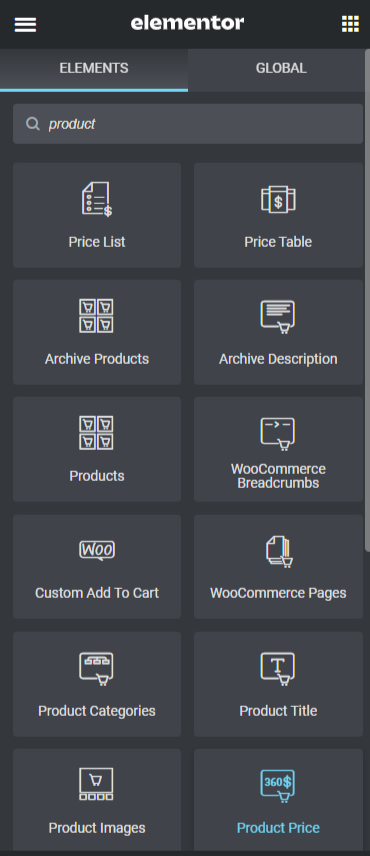
You’ll see a variety of WooCommerce items in the left sidebar, including Product Title, Product Images, Product Price, and any other data that WooCommerce shows about your products. You may drag each of these items onto the canvas and place them exactly where you require them.

Step 3: Add Product Widgets that will make up the rest of your page
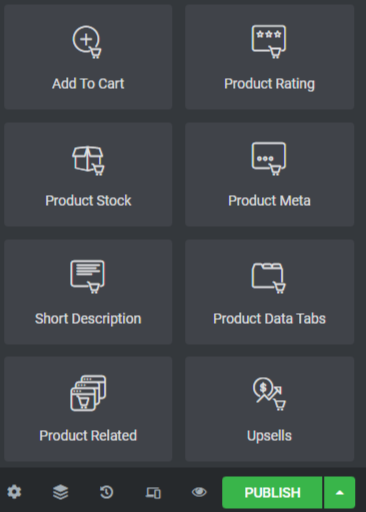
It’s now time to start putting together the items that will make up your product page. A list of relevant widgets for the product page is provided below:
- Product Title widget
- Woo Breadcrumbs widget
- Product image widget
- Product rating widget
- Short description widget
- Product price widget
- Add to cart widget
- Product meta widget
- Product data tabs
- Product related
- Upsells widget
In the next section, we will show you some customizations you can do in order to bring your product page to life.
Add your logo and colors for branding
Although the basic Elementor product templates are attractive, they are unlikely to precisely complement your brand. Adjusting the backdrop colors, font colors, and different typography settings in general is one fast alteration we can do to solve it.
Click the pencil icon in the upper right corner of any block on the page to make changes.
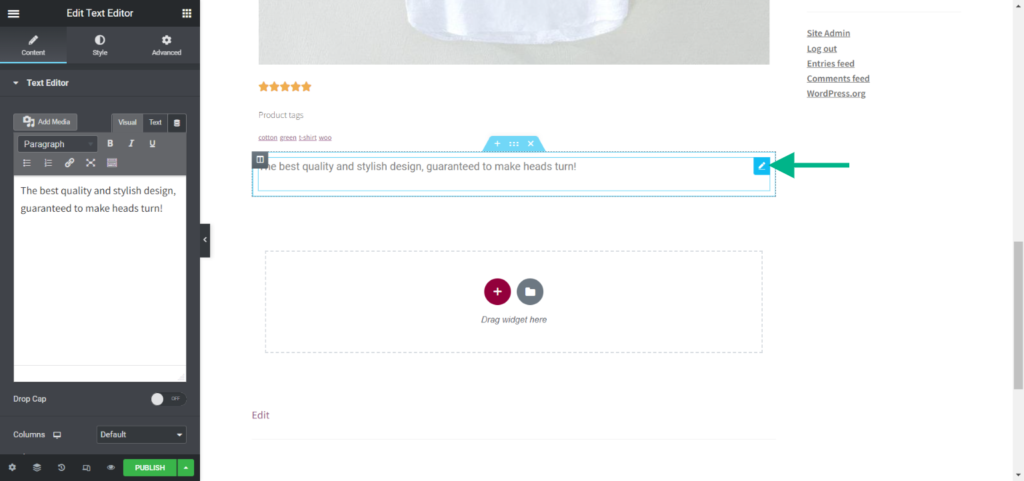
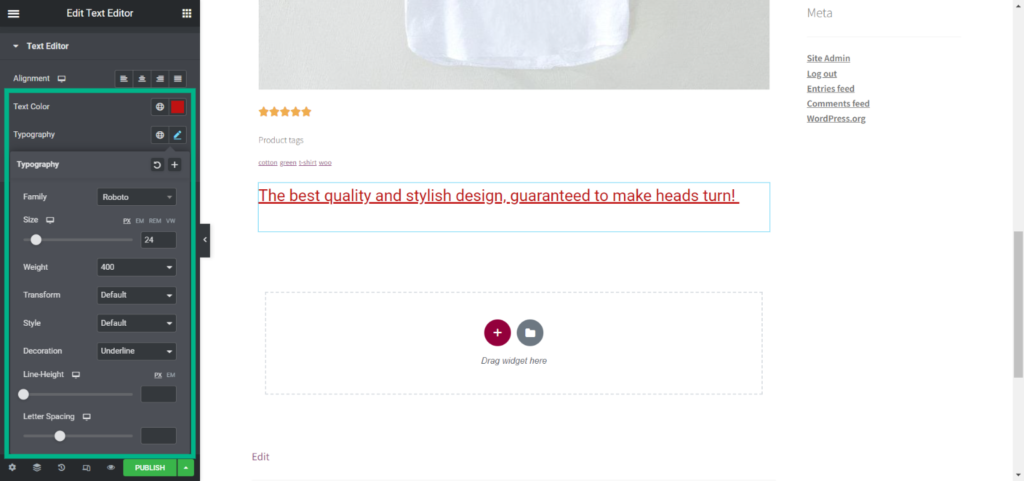
Then go to the Style tab in the left sidebar. This is where you can make all of your style and appearance changes. You may modify the color of the text, the font, and the shadows.
Let’s go ahead and click on Typography. This will open a new window where you may modify the font and all the other properties of the document.
The product description can be realigned or moved
Your product descriptions are shown in a few places in WooCommerce. You may drag and drop Elementor’s Short Description block wherever you need it.
The short description is exactly what it says on the tin. This content is taken from the Short Description box in WooCommerce (one of the fields you fill out when creating a new product). It’s a good idea to have the product’s brief description shown towards the top of the page.
The product data tabs are the blocks that include the most important information about the product. In your WooCommerce product page template, make sure it’s displayed. You can drag and drop these blocks anywhere needed, preferably below the product.
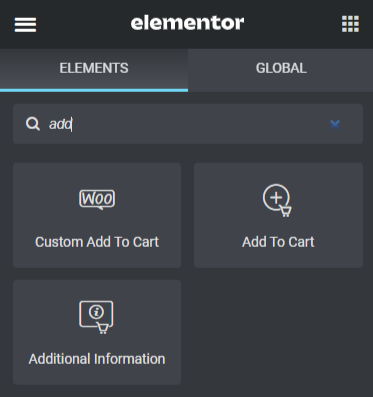
Make changes to your “add to cart” button
On any eCommerce site, the “add to basket” button is the single most significant button. You want it to stand out and attract your customer’s attention.
In Elementor, you may utilize two alternative block types for the “add to cart” button. The Add to Cart block and the Custom Add to Cart block. Test both to see which one suits your page aesthetic better.
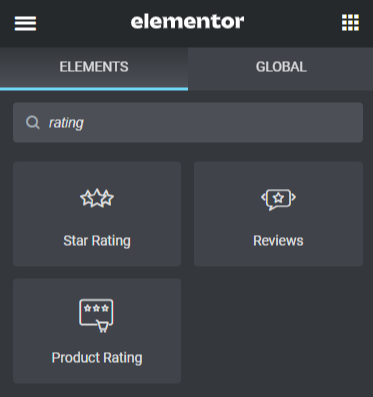
Product ratings can be added or removed
Displaying product ratings may be a terrific approach to persuade people to buy your products. Keep in mind that if your store is brand new or hasn’t had any kind of rating yet, do not add the product rating block as it will seem out of place.
You can add the block in a later stage, once your e-Commerce store starts gaining traction and customer ratings.
Last but not the least….
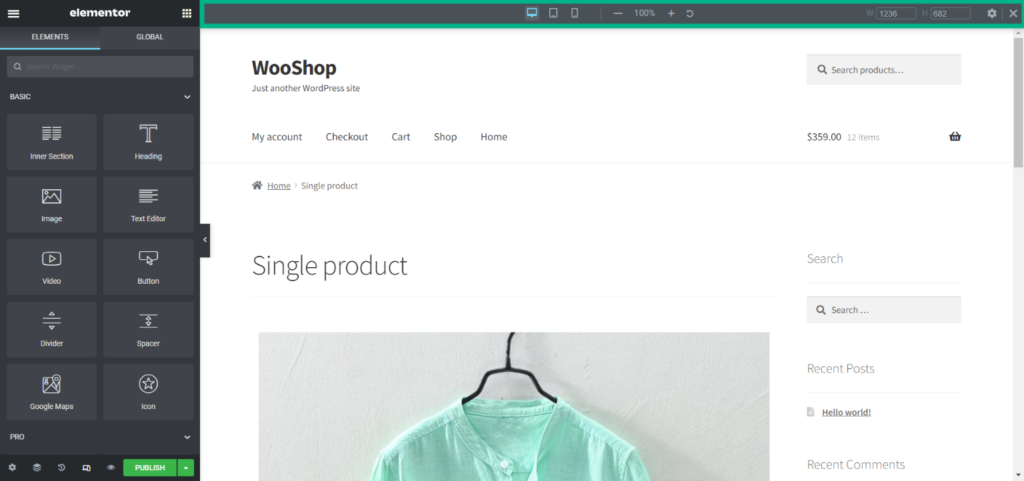
Make changes to the mobile and tablet views
Smartphones are being used to access the internet more than desktop PCs and laptops. As a result, you must optimize your business for mobile browsing, or it could affect sales and revenue.
WooCommerce is mobile-friendly right out of the box, but because we’re constructing a custom product page, we’ll want to make sure your new product template looks great as well.
The Responsive Mode button is located in the bottom left corner of the Elementor interface.
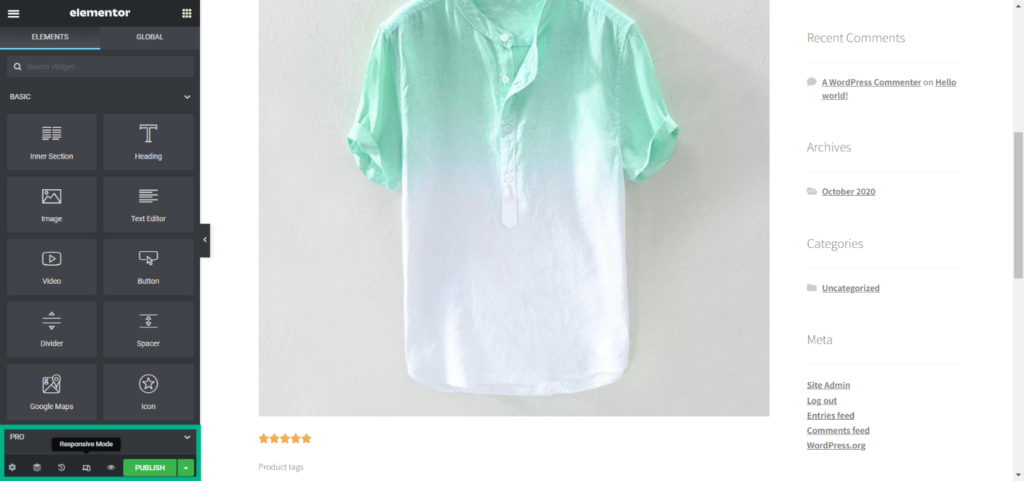
Select either mobile, desktop, or tablet view to see how the page looks in those frames. If any changes have to be made, you can do so without worrying about it changing the other views. You can change display settings in mobile view, for example changing the font size, and it won’t affect the desktop or tablet view.
Step 4: Save and Publish
When your new product template is complete, click the Publish button in the Elementor interface’s bottom left corner. It will show you a notification in the bottom left corner, that the page has been published and will allow you to view the finished page.
Additional WooCommerce Plugins
The following list of extensions and add-ons help ease the entire process of customizing your product page. Even though we have covered the most important methods above, these add an extra layer of customization to your product page and give you the power to shape the page in your brand image and aesthetic.
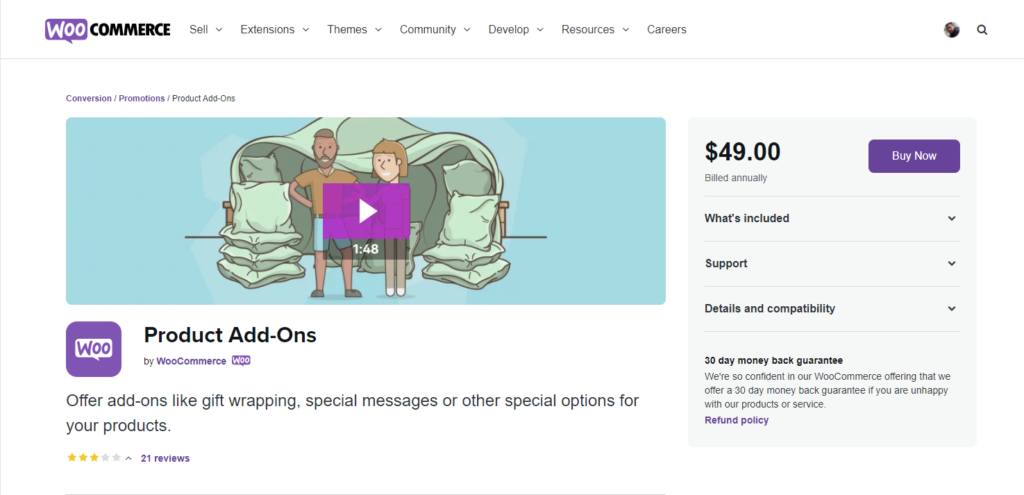
Product Add-ons
The Product Add-ons extension expands the number of fields available on your product pages, allowing customers to personalize their purchases. Set up choices using text boxes, checkboxes, and dropdowns, and add variants with example pictures – you can do this for individual goods or your whole catalog.
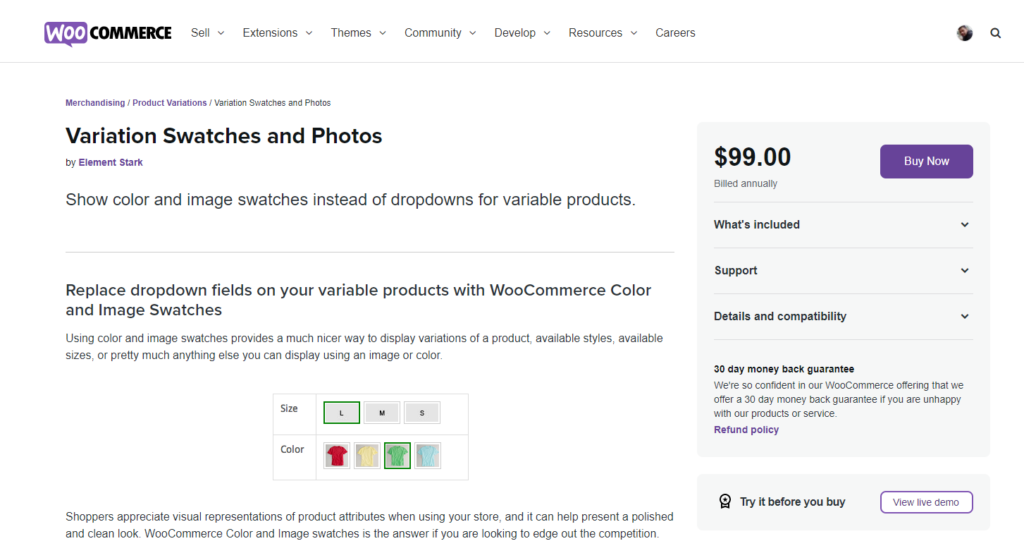
Variation Swatches and Photos
Shoppers want to witness color or pattern variations in action if your product has them. The Variation Swatches and Photos plugin shows variations — styles, sizes, patterns, colors, and so on — with an image or color swatch to give buyers a better understanding of what they’re buying and to improve the look of your product pages.
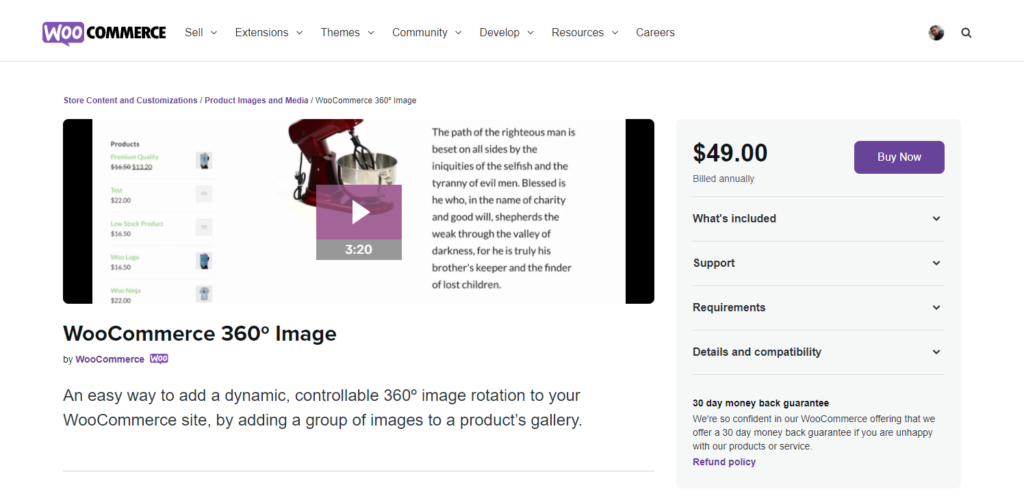
WooCommerce 360º Image
You can add a dynamic, unique 360º image movement to product pages with WooCommerce 360º Image, so consumers can get a better perspective on product details. When you add a set of photographs to a product gallery, the main image will be changed with a stunning 360ºimage that buyers can spin to see all sides of the item. It’s also fully responsive, ensuring that customers using mobile devices get the same wonderful experience.
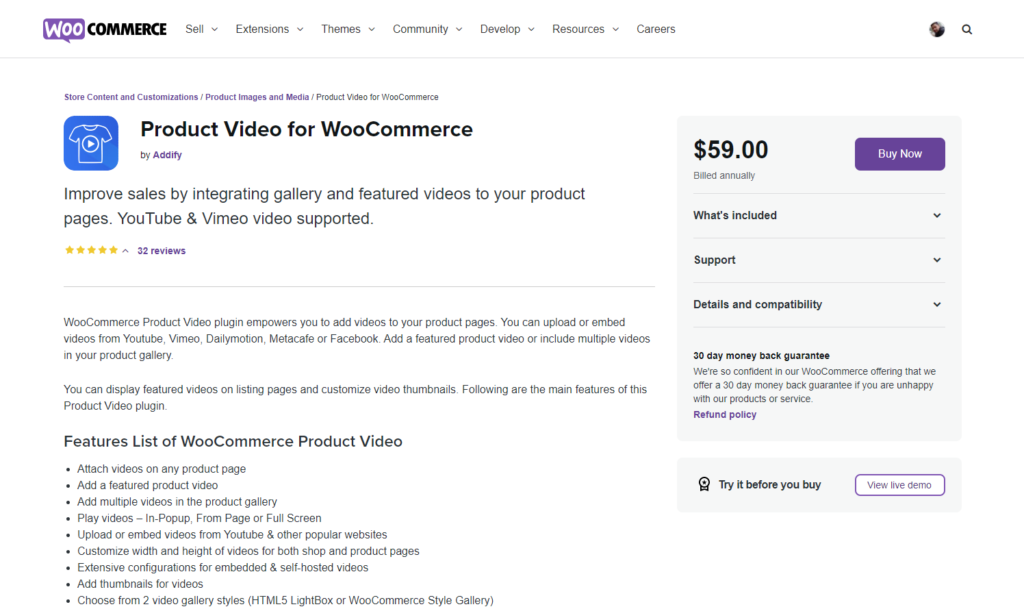
Product Video for WooCommerce
Videos are an excellent method to demonstrate how your products work. Add videos to your product picture gallery, or replace featured photos with videos with the Product Video for WooCommerce plugin. You may either upload the films to your WordPress media library or use third-party services like YouTube to embed them.
Size Chart for WooCommerce
If you sell items in a variety of sizes, a chart can assist buyers decide which size to buy and cut down on returns. Size charts are added to product pages by the Size Chart for WooCommerce plugin. You may upload your own or create one in your dashboard. Charts can be shown in the product description or as a pop-up.
Product Recommendations
Upsells and cross-sells are splendid techniques to grow the size of your clients’ carts and overall revenues. Show clients more of what they’re interested in using, Product Recommendations. Add product recommendations based on what’s hot, what’s new, what’s on sale, what completes a look, and more. Alternatively, you may show them based on what’s currently in your customer’s basket.

Conclusion
The default WooCommerce product page may be customized in a variety of ways. Finding the quickest and easiest approach to make the exact adjustments you want to make may need some study and experimentation.
We hope this article has been useful in explaining how to alter the WooCommerce product page, as well as the many ways you can build your own product pages.
While Gutenberg allows you to personalize the WooCommerce Cart, Checkout, Account, and Shop pages, there are currently not many ways to create unique product pages without the use of extra plugins. This is where Elementor and other visual builders come in handy.


")
")
")