
Last updated - May 6, 2022
It’s many of our dream to start our own ventures by building an eCommerce store or starting a marketplace. In these difficult times, becoming an entrepreneur is the most viable thing to do. Why is that? Because the eCommerce field is expanding everyday. Along with it are the success stories of many entrepreneurs.
However, this dream of ours shatters when we face technical difficulties while creating eCommerce websites like Amazon, eBay, Walmart, Flipkart, etc. If you cannot develop a wonderful website, you cannot succeed in your business.
There are many tools out there to help us with this situation. However, if you cannot properly use those tools or face more challenges when using them, the situation gets worse. Such a case would be – using WooCommerce, the easiest eCommerce site builder with Elementor, the easiest web page designing tool.
If your story is the same, then no worries. This blog will show you the easiest way to create an eCommerce website and how you can utilize WooCommerce and Elementor better than ever!
Why should you bother about creating an eCommerce website?
An eCommerce website is a digital market where people can buy and sell products online. Having a website in this modern era where people mainly do everything online can be a great advantage for your business. It will bring additional revenue.
Statista.com has found in one research that, “In 2020 worldwide retail eCommerce sales were 4.28 trillion US dollars and in 2022 it is predicted to hit 5.4 trillion US dollars”. This proves how rapidly eCommerce is increasing its popularity.
Globally its popularity is increasing day by day. Only China has brought 52.1 percent sales through eCommerce in 2021. Other countries are not left behind. Here are the eCommerce sales of different countries:

Due to the covid situation, eCommerce websites around the world are earning more revenue than before. Look at the share market of US top eCommerce websites:

After seeing all these stats now you have understood why an eCommerce website is essential. Now you might want to know how you can create an eCommerce website using WooCommerce and Elementor.
No Worries. In the next part, we will disclose how you can build your eCommerce website using WooCommerce and Elementor.
Create your eCommerce website in WordPress for free with WooCommerce and Elementor
You can build an eCommerce website in many ways. Paid and free both options are open for you. You can spend money on a developer and make your customized website with coding. Besides, in WordPress without money and coding, you can design your marketplace.
So, why spend money when you can do it for free? Only you need to pay for the hosting service and domain. Here We will let you know how you can start your eCommerce website in WordPress without any hassle. Follow the following steps and make your dream true:
Step 1: Get your domain and hosting service
First, you need to choose your hosting service provider and get your domain name. There are many sites like Bluehost, HostGator, Hostinger from where you can get your hosting service and domain name. For building a high-speed website you will need around 60-70 dollars. That’s all you need to pay for building your site in WordPress.

Step 2: Install WordPress
After selecting your hosting service provider now you need to select the right CMS for building an eCommerce site. What can be best than WordPress in this case? WordPress is the perfect platform where you can build your site without coding and money.

WordPress offers both paid and non-paid versions. WordPress.org is self hosted and WordPress.com is the hosted one. We will encourage you to use WordPress.org as it offers more flexibility than the hosted version.
Step 3: Install and activate WooCommerce
In this step, you need to install and activate WooCommerce. Because these will let you build an eCommerce website in WordPress. For installing WooCommerce go to your admin dashboard and click plugin > add new.

After that, Search for WooCommerce in the search box. Then, install and activate WooCommerce.

For more guides about installing and setting up the WooCommerce plugin, see How to install and set up WooCommerce in WordPress.
Step 4: Install Elementor to design your eCommerce site.
After adding an eCommerce solution to your website, now it’s time to choose a page builder for your site. Elementor is another tool by which you can design your eCommerce site easily with its drag and drop feature. Install and activate Elementor like you have activated WooCommerce.

Step 5: Build your customized eCommerce store with ShopEngine.
You can customize your website as you desire with Elementor. However, Elementor lets you design and build regular pages. For an eCommerce store, you need special product pages, cart pages, checkout pages, and many more. WooCommerce creates those pages for you, but you cannot customize them according to your need just by Using Elementor. So for it, you need another tool that is ShopEngine. The best part is it is fully free. With ShopEngine, you can easily customize the default pages of WooCommerce.
In this step, you need to install and activate ShopEngine on your WordPress site the same as you have installed and activated Elementor.
Now it’s time to design and customize your eCommerce website’s pages as you desire. To do it visit your WordPress Admin Dashboard > ShopEngine > templates.

After that, click Add New button.

In the template setting section, provide your:
- Shop name.
- Type.
- Enable the set button.
After filling this information, now press the edit with the Elementor button.

Now, press the add icon.

Here select structure for your shop page layout.

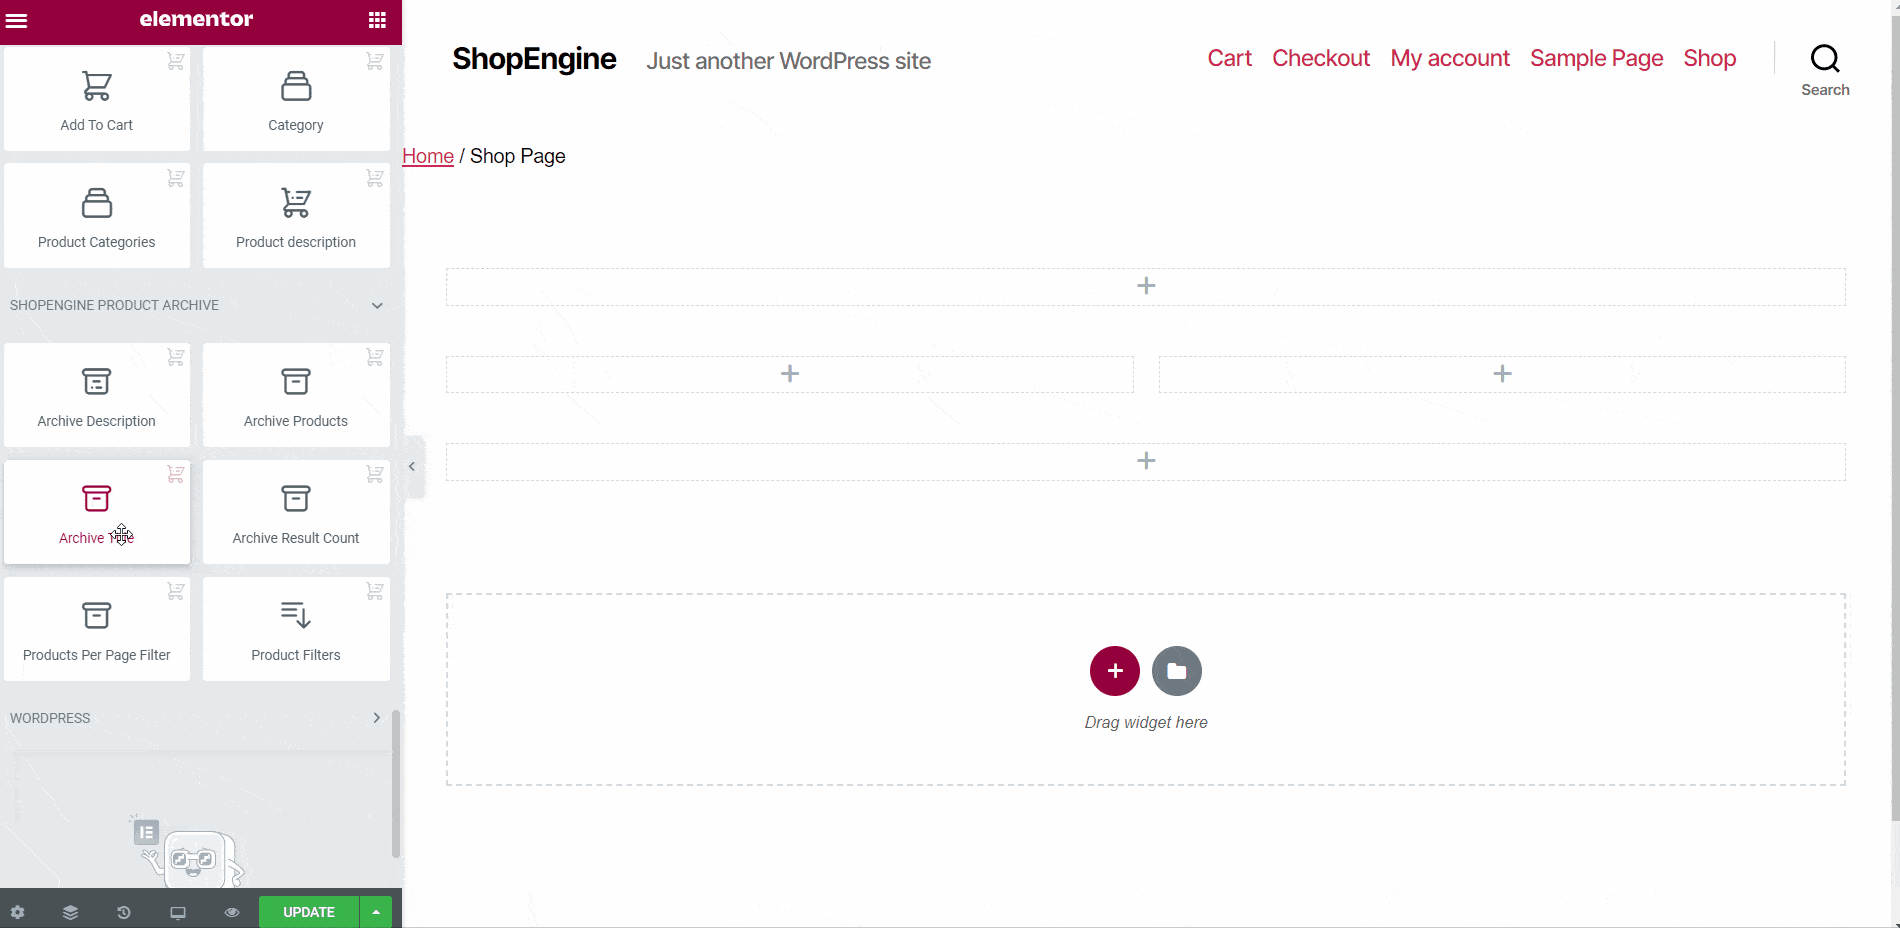
Now drag and drop the widgets that you will need to build your page. Then press update.
Now, you need to visit page > add page and then press edit with the Elementor button. After that, you can add your created template by clicking the button that is shown in the picture.

After that, press my templates and search the name of the template in the search box.

Now, make necessary changes to your template. Finally, click the publish button. After publishing your final shop page will look like this:

Here your eCommerce website is ready to rock. Follow the exact steps that are mentioned above and your eCommerce website is ready to go. For implementing these steps, you don’t need to code at all!
Summing up:
It’s not hard to build a website like Amazon or eBay. All you need to do is select the right tool and use it to build your Amazon-like website. WooCommerce and Elementor will let you convert your site into an eCommerce website. For customizing the pages, you need to use a WooCommerce builder.
With ShopEngine, you can design a fully customized website with its available widgets and modules. Besides that, you get various modules like variation swatches, wishlist, quickview, pre-order, quick checkout, product comparison, and many more. The ShopEngine Pro is also releasing soon. In the Pro version, you will get 60+ shop widgets, 12+ advanced eCommerce modules, and 10+ eCommerce templates. More widgets and modules mean more customization options. Make your dream come true with these additional customization options.
Here is a video that demonstrates how you can create a WordPress website using Elementor Cloud services.


")
")
")