
Last updated - November 10, 2023
WooCommerce is the go-to WordPress plugin to set up an eCommerce storefront. As good as that may sound, it creates the problem of similarity. Therefore, in order to make your eCommerce shop page truly stand out and provide a unique shopping experience you need to be able to edit or customize the WooCommerce shop page.
Although WooCommerce is the best WordPress plugin it doesn’t provide the options for customization as much as one may like. For this reason, you need a tool like Elementor to edit the WooCommerce shop page and this blog explains how to do it.
The Need to Customize WooCommerce Shop Page
Simply put, a WooCommerce Shop page is an archive of your products organized like a post. It is, in other words, the page on which you list every item in your shop. The value of a well-customized shop page for your WooCommerce website cannot be overstated, despite this definition’s simplicity.
The shop page is one of the most crucial first impressions for a WooCommerce business since first impressions are very significant. Your conversion rates can be significantly impacted by the manner you present your products.
By looking at how simple and professionally constructed a company’s shop page is, you can determine just how much attention it gives to its website. The style and feel of your WooCommerce site depend on a variety of factors, including well-managed product grids and stylish extras like filtering options, a categories list, and cart buttons.
Furthermore, visitors to your shop page will spend a significant amount of time perusing your products. Therefore, you must go above and above to guarantee that they get the best possible buying experience. With a well-designed and organized shop page, make it as easy as possible for customers to purchase your goods.
Additionally, you can alter your shop page to include lead-generation features and raise your revenue. Call-to-action buttons, featured product sections, pop-ups for promotions and offers, and much more are included in this.
What is an Elementor?
WordPress has a drag-and-drop page builder called Elementor. You can use a visual editor to create stunning pages with the aid of this plugin. You can quickly construct dynamic websites thanks to their architecture.
With this WordPress plugin, you have access to a one-stop shop for managing every aspect of the look and feel of your website. Motion effects, a variety of typefaces, and improved background graphics are all ways you may tailor your website to meet your brand.
Elementor is compatible with all types of professionals. The visual editor allows you to move any of the 90+ widgets, such as buttons, star ratings, and progress bars, to create content even if you are not tech knowledgeable. Because of its script optimization, custom characteristics, and rollback versions, WordPress is still a top platform for developers.
WooCommerce and Elementor
One of the most widely used plugins is WooCommerce, while another is Elementor. Each of them offers an uncountable amount of versatility and features in their raw form. WooCommerce is the best plugin for nearly all the needs you might have if you’re running an online business.
You can use it to create, personalize, and equip almost any page on your website. If that weren’t enough, you can also make gigantic menus and take advantage of a huge selection of useful add-ons and templates. You may create shop and business pages of the highest caliber with the least amount of money and work by utilizing both WooCommerce and Elementor.
With the aid of Elementor, you can fully configure your Shop designs, product grids, and carousels, and take advantage of a large variety of lovely layouts. For improved customer ease, you can also set up and configure your checkout and cart pages, as well as combine them with a variety of services and payment alternatives.
Customizing WooCommerce Shop Page with Elementor
We’ll presume that Elementor and the WooCommerce plugins are set up and installed on your computer. Elementor and WooCommerce allow you to handle a huge number of pages and shop page content. Nevertheless, let’s begin by constructing your personalized WooCommerce Shop page in Elementor.
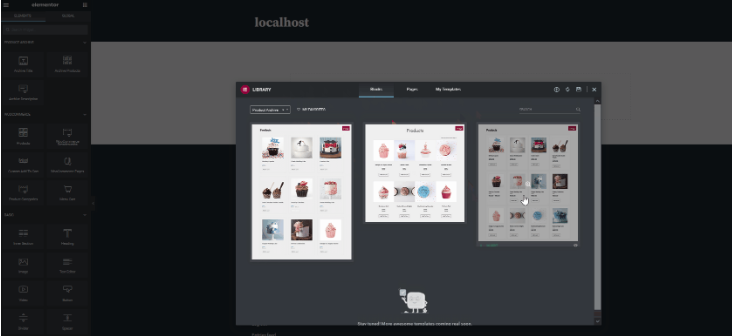
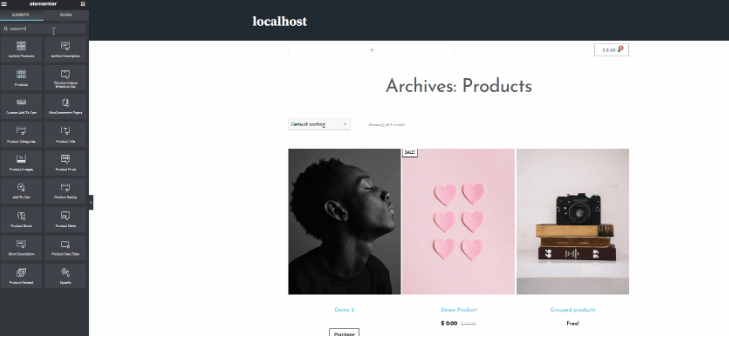
You must use Elementor to build a product archive in order to accomplish this. Go to Templates > Saved Templates in your WordPress Admin Dashboard. Next, select Add New from the top-left menu.
Select “Product Archive” as the element type and give your Template a name. After clicking Create Template, you’ll be taken to the Elementor page where you may edit your archive page.

Customizing Templates Using Elementor Blocks and Templates
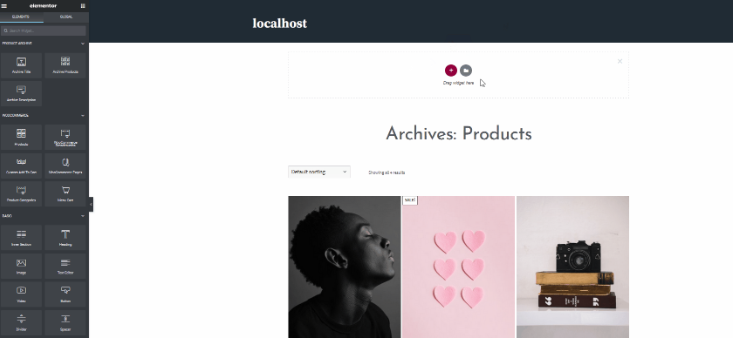
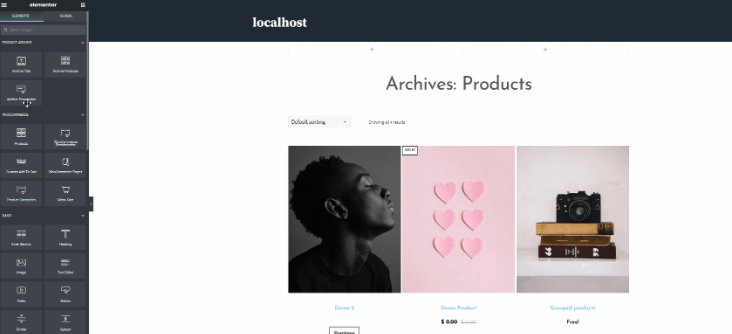
Rather than needing to start from scratch as soon as you access the Elementor page, you will immediately have the opportunity to install an entirely equipped Archives block for your shop page.
Simply click the folder icon in the Drag widget here area and select the Blocks tab to open this at any time. The Filter option also allows you to select particular blocks for particular pages. Next, select any block that best suits your purposes by clicking on it, and then click the Insert button.
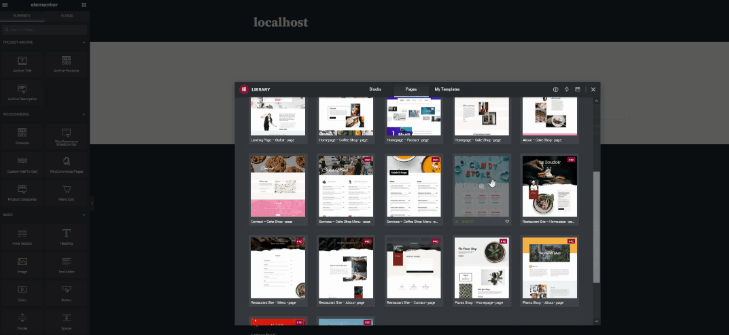
By doing this, you’ll save a tonne of time and begin with a demo page created by Elementor to make setting up your shop page much simpler. Press Pages after clicking the Folder icon in the Drag Widget here area to accomplish this. Next, pick a page layout that you like. To browse page designs for the type of shop page you want instead, utilize the search bar. To import the page into your archive template after selecting your design, click Insert.
Adding Widget Section
By selecting the Add Section option, you can add a widget section.
This launches a brand-new widget area. Choose the structure by clicking the Plus button under the Widget area that says “Add New Section.” Then select the 2*1 structure to add the WooCommerce Breadcrumbs and a menu cart button. This will add a straightforward 2*1 grid section to the provided position where you may add your widgets.

Click on the grid symbol in the sidebar’s upper right corner to access the Elements list using the sidebar.
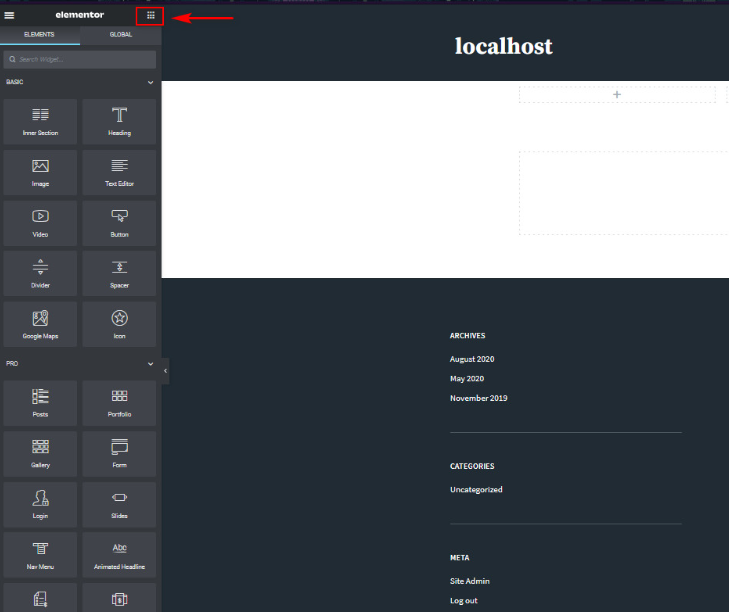
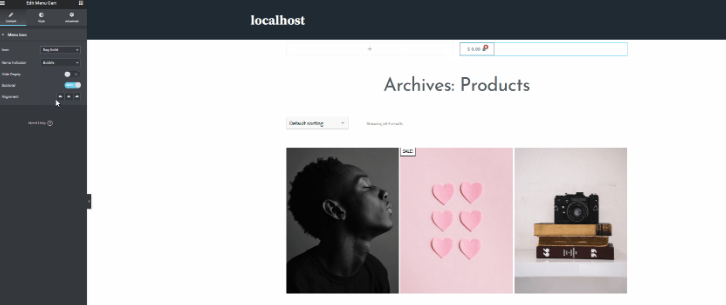
Drag your desired widgets into the widget area. The Menu cart and WooCommerce Breadcrumbs widgets will be used in this demonstration. So, discover the appropriate widgets fast using the search box and drag them into the widget area. Start by dragging the Menu cart widget.
After that, select the Menu cart widget and change the settings in the left sidebar. For illustration, use the sidebar to move the icon and alignment to the right.
Find the WooCommerce Breadcrumbs by clicking the Widgets button in the left sidebar. After that, personalize it by dragging it into the widget section. For instance, we’ll alter the alignment, font, link color, and text color.
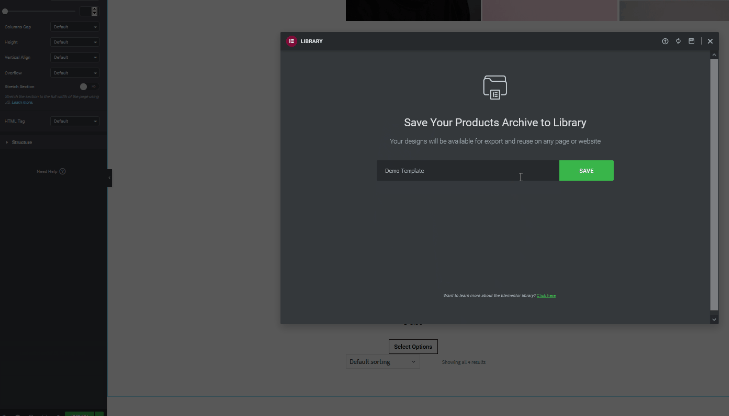
After you’ve finished customizing it, don’t forget to save it by selecting the Save Options button, which is located in the bottom left corner next to the Publish button. Select Save As Template after that, and give your template a suitable name. Your saved template is now always available in the Saved Templates area of your WordPress Admin Dashboard.
Customizing WooCommerce Shop Page Using Elementor Theme
There are numerous paid WooCommerce Elementor themes that offer a straightforward fix for this issue. You can locate website demos or page templates for your eCommerce pages within each theme, giving you a variety of layout choices.
The best approach for you will be this one if you don’t need to or don’t want to spend a lot of time configuring your WooCommerce pages.
Utilize the Elementor page builder plugin to modify the designs and layouts after installing your favorite demo and uploading your theme to WordPress. Elementor Pro widgets must be used if you want the greatest outcomes.
Here is a list of the best Elementor themes you can use.
Neve
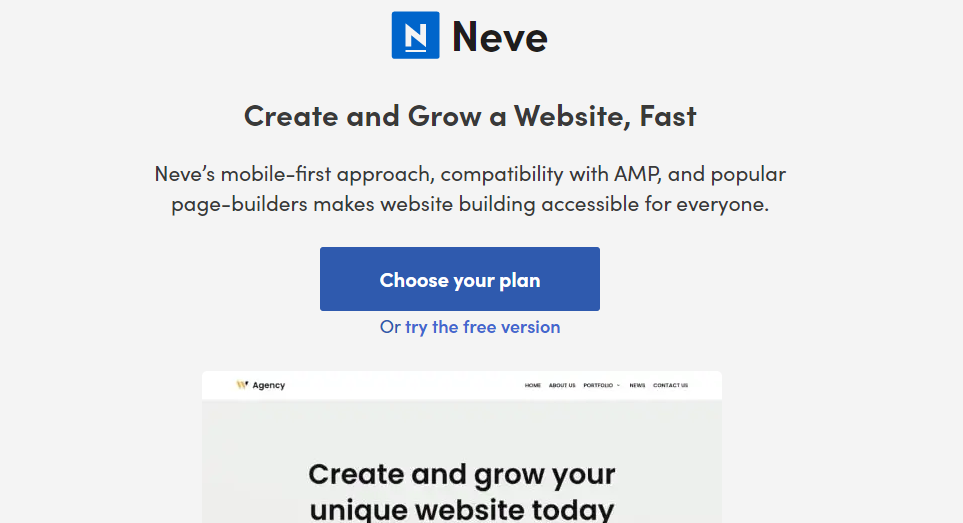
Neve is an Elementor-powered, quickly-loading multipurpose theme with complete WooCommerce compatibility. While Neve’s free version on WordPress.org fully supports WooCommerce, Neve Pro offers the most thorough WooCommerce integration.
Neve Pro adds a WooCommerce Booster module that costs $39 and gives you a tonne of more customization options for your store, products, and cart/checkout pages.
Elementor Hello + Theme Builder
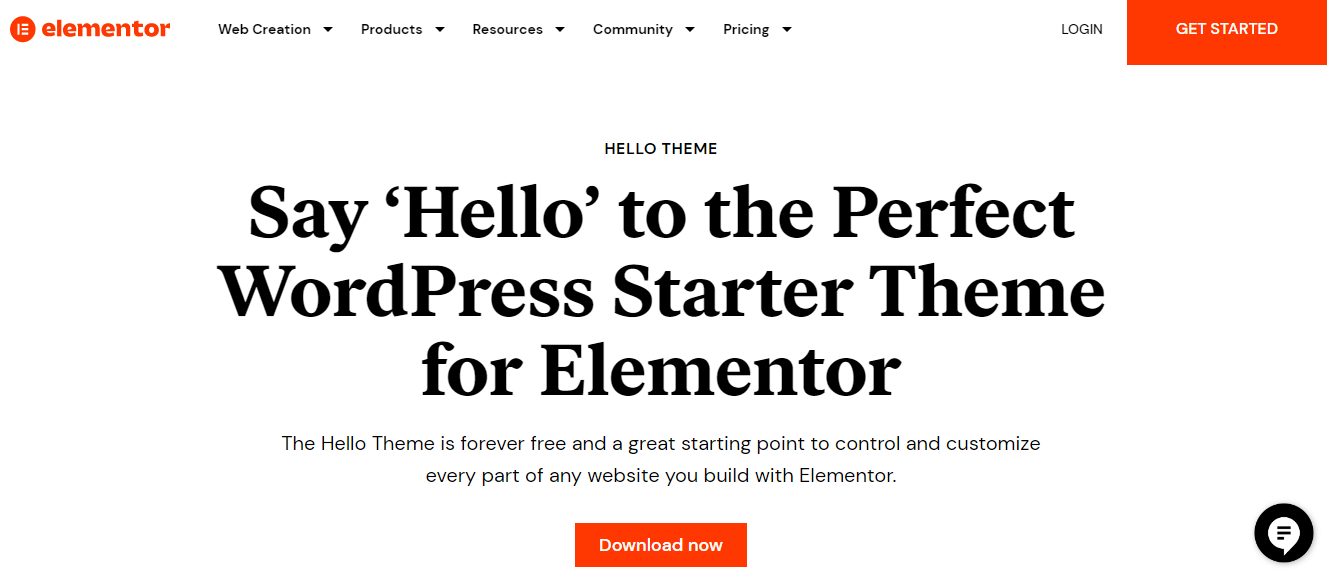
Using the Elementor Hello theme and Elementor WooCommerce Builder will provide you with the most adaptable and lightweight way to construct your WooCommerce store. A remarkably light base is provided by Elementor Hello. Your shop and product pages can then be designed using the specific WooCommerce widgets and templating tools in Elementor Theme Builder.
You have complete control over the appearance of your store’s shop and product pages with widgets specifically designed for adding details about individual products, such as prices and add-to-cart buttons.
Jupiter X

Jupiter X is a stunning versatile WordPress theme with over 270 pre-built templates that are all supported by Elementor and Jupiter X’s in-depth customization options.
While it isn’t quite as lightweight as something like Astra or OceanWP, it should still be quick enough for an e-commerce business, and it makes up for that with some incredibly attractive demo sites.
In fact, you receive more than 40 e-commerce demo sites, the most alternatives of any theme on this list. Numerous e-commerce-specific features are available in the WordPress Customizer to give you even more control over your store.
Only the premium edition of Jupiter X is available; the theme and all the demo sites cost $59 in total.
Woostify

Woostify is a simplistic WooCommerce theme that is entirely devoted to online shopping. It resembles Astra and OceanWP in its strategy somewhat. However, unlike those themes that also support non-eCommerce sites, Woostify solely supports e-commerce.
Woostify also comes with a variety of pre-built demo sites for various markets. The fact that many of these demo sites were created using Elementor is fantastic because it makes it simple for you to change them.
While the basic version is free, Woostify Pro starts at a premium of $39.
Shoptimizer
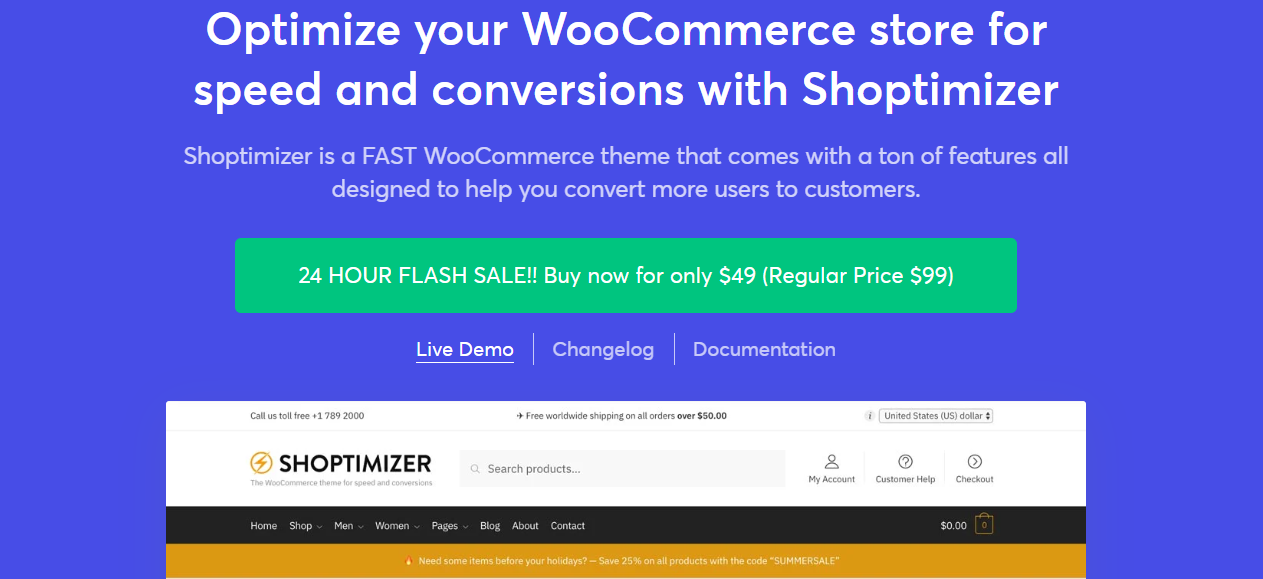
Shoptimizer, just like Woostify, is not a universal theme. It is entirely dedicated to WooCommerce.
One of the standout features, aside from having a small environmental impact, is its emphasis on conversion rate optimization. It employs a range of data-backed strategies intended to increase sales.
Since Elementor was used to create all of the demo content, you can easily alter anything using drag-and-drop. There is only a premium version of Shoptimizer. It has a stated price of $99 but is frequently on sale for around $59.
Conclusion
While owning a good eCommerce business is one thing, having a unique eCommerce shop page for your business is another. Whether you agree or not, they both go hand-in-hand. Being able to edit your WooCommerce shop page gives you a competitive advantage over your competitors. And I am confident that this blog serves as a guide on how to do that with Elementor and provides you an insight into some of the best Elementor themes.


")
")
")