Did you know about 81% of people use Instagram to research products and services while 50% of them visit the website to actually purchase products and services that they found on Instagram?
Well, these are the figures that indicate how impactful Instagram is in influencing purchase decisions. Instagram is usually the first point of contact between a potential customer and the brand. Keeping your Instagram feed updated and as authentic as possible can open a wide range of opportunities to grow your business.
Now imagine leveraging this feed on your Magento 2 website. You can drive a lot of traffic to your social media, provide reliable content, offer them social proof, and spike conversion rates. Let’s first understand how Magento 2 works.
Magento 2 is an open-source eCommerce platform that is simple, easy to use, versatile, and responsive. It is developed to help users with some basic initial level knowledge about websites and grow an online store.
Embedding an Instagram feed on Magento 2 eCommerce Store can help you with enhancing user experience and influence potential customers to make favorable purchase decisions.


Step-By-Step Guide to Integrate Instagram Feed on Magento 2
We have curated a step-wise guide to making the embedding process, even more, easier than it already is. Let’s dig in.
Step 1: Login/ Sign up to any Instagram widget tool
Sign up or log into any Instagram widget tool. You will be redirected to the dashboard. Click on Add Social Feeds and move further. Your existing Instagram feeds will appear here.
Step 2: Curate Instagram Feed
Choose your source platform as Instagram on the pop-up. Next, select your connection type from the Feed type page. You get various options to choose your feed type. The following are the connection types available:
Hashtag (#) – Type in a hashtag and all the posts containing that hashtag will appear.
Handle (@) – Put the user handle to curate the Instagram feed from a particular profile.
Mentions (@) – Collect feed from various posts where your profile is mentioned.
Videos – Fetch a video feed using a user handle.
Personal account – Create a feed using the handle of your personal account.
Stories – Create a feed using Instagram stories of your profile.
Curate a well-thought feed from the various connection types. Tap create a feed to allow the platform to fetch all posts and develop a gallery for you.
Step 3: Design and Personalize
Once you have successfully collected posts from Instagram, it’s time to design your gallery. Choose from the various themes that are compatible, fast-loading, responsive, and hold the potential to transform your website layout.
Themes
Personalize your gallery with numerous customization options. You can change the background, add a banner, CTA button, and much more. Let’s learn about the features in detail.
Customization
Background – Keep it transparent and simple, or change the color to align it with your website layout.
Banner – Customize your banner with various templates, colors, images, texts, icons, etc.
Card Style – Add colors, text, icons, etc to customize your card style.
CTA – Add a call-to-action button to develop urgency and inspire users to get ahead in your sales funnel.
Theme settings – Use various themes and custom CSS to meet your website needs.
On-Site UGC Uploads – this feature allows users to upload reviews, ratings, feedback, etc. directly on the website. They can upload images or text content as well.
Custom CSS – This feature allows you to develop a CSS code to amplify and develop your widget according to your website layout that is beyond the in-built features of the platform.
Moderation
You get the option to moderate your widget content. You can eliminate any irrelevant or explicit content. Provide your audience with the quality content that they require.
Step 4: Generate the embed code
Once you are satisfied with your gallery, tap Publish and in the next section choose your website-building platform from various options like HTML, Wix, Shopify, WordPress, Squarespace, Magento 2, etc.
Choose Magento 2 here, adjust the width and height of your gallery and copy the embed code hence generated.
Step 5: Embed Instagram Widget on your Magento 2 eCommerce store
Log in to your Magento 2 account, go to the Storefront section, and select the webpage where you wish to embed the gallery. Navigate to the Edit menu of the page and click the HTML button on the content section of the chosen webpage.
Paste the copied code and click on update. Select the Save and Edit button.
Well, that was it. You have successfully managed to add an Instagram Shoppable Gallery to your Magento 2 Website.
Effective Tools to Embed Instagram Feed On Magento 2
Let’s see the 2 most effective tools to embed Instagram Feed on Magento 2 website.
Taggbox Widget
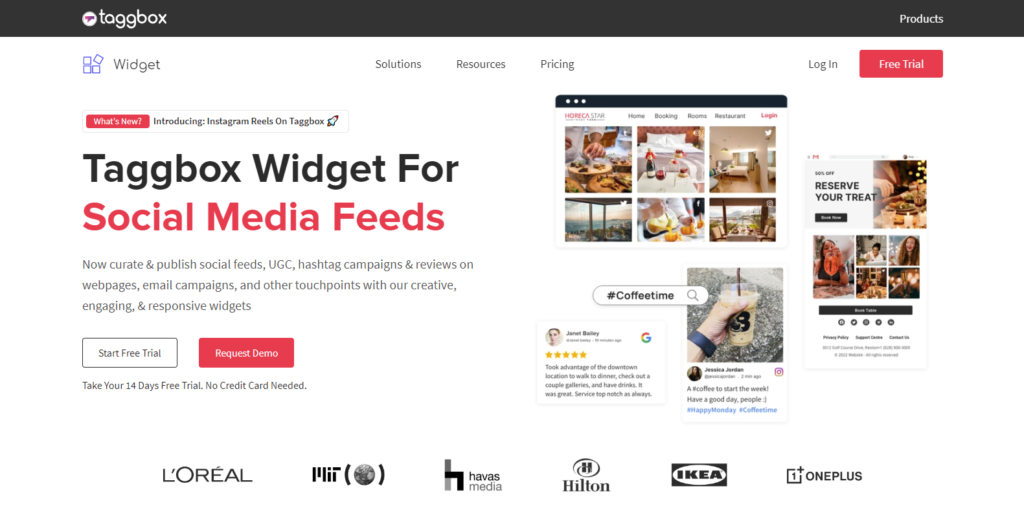
Taggbox is a user-generated content (UGC) platform that helps you develop result-driven widgets without any technical or coding knowledge. All you need is to copy and paste a simple code on the backend of your Magento 2 website.


Design your widget using the Taggbox responsive themes and customize your widget using banners, CTA buttons, an On-Site Visual upload feature, and much more. You can also change, edit and enhance your widget background. Use the custom CSS feature to expand your widget design beyond the in-built features.
Taggbox also offers you an analytics feature that helps you with detailed reports about the widget’s performance. Measure and analyze the number of impressions, user engagement, etc. of your widget and improve it based on your user requirements.
Taggshop.io
Capitalize on your user’s inspiration and drive more sales to your eCommerce brand. Taggshop is a social commerce platform that can help you transform your brand and user-generated content on various social media platforms into shoppable galleries. You can then embed these galleries into your eCommerce website or online brand stores.


Taggshop acts as an additional feature for making your widgets shoppable. You can add these galleries to your Magento 2 website and make your user journey effortless. Brands can create social shopping feeds, shoppable Instagram feed, visual shops, product page galleries, and much more with Taggshop. Inspire your audience and gratify their purchase experience.
Tag Products and make them shoppable using the following steps:
Complete the authorization process and review the collected feed. It’s time to make them shoppable!
- From the left panel, tap Product Catalog and choose Add Products.
- Select the course of action. Choose an import product list to upload products using Magento. Choose Add products to add products manually one by one.
- Manage, edit, delete or view your products in this section.
- Choose the Tag products option and all your shoppable posts from Instagram will appear.
- Select the product, and add the tag. Follow the same steps for all your products to make them shoppable.
Benefits of Adding Instagram Feed to Magento Store
Integrating Instagram into your Magento 2 website allows your brand to showcase impeccable Instagram shoppable galleries. There are a plethora of benefits let’s check out a few of them in detail.
Amplify your Store design
Your store can influence your user’s purchase decisions to a great extent. Integrate Instagram feeds to your Magento 2 and enhance your store look. Upgrade your website layout with beautiful-looking feeds. Persuade your website visitors to make favorable decisions with effortless purchases.
Flaunt authentic content
Studies show that 90% of users trust user-generated content more than brand-generated content. UGC holds a lot of reliability and authenticity which ultimately provides your visitors with trust and enhances their website experience. Featuring shoppable UGC with product tags boosts your conversions as customers relate to them better.
Dive into the buying behavior
Social sales have spiked in the last couple of years due to the way it makes its viewers feel the need to purchase a product. Brands gain the power to incorporate trust, social proof, and an effortless purchase experience. People are somewhat impulsive while online shopping, providing a seamless experience can further hook them to your website and they tend to come back for a repeat purchase. Turn their inspiration into action with shoppable galleries.
Enhance user experience
Customers spend less time shopping online than offline. Offering them an effortless and seamless website experience not only influences their purchase decisions but also persuades them to leave feedback/reviews, resulting in more consumer-generated content. Featuring Instagram feed galleries you make their experience easier and attract visitors with vibrant and unique layouts.
It’s a Wrap!
Embedding Instagram feed on websites is trending and customer-centric. They have the potential to drive sales and generate revenue for eCommerce brands. As it directly connects with the buyer’s shopping instinct.
With this blog, we have learned what are Shoppable galleries, how to embed them on your Magento 2 website, and why brand owners should feature shoppable galleries on their websites. So what are you waiting for? Take this nudge and get your hands on developing stunning Instagram shoppable galleries for your Magento 2 website.


