
Last updated - November 22, 2022
If you have already created your online store and want to showcase your products to a larger audience, Facebook is a good option. It allows you to create a social media presence and interact with potential customers. This article will guide you on how to set up a Facebook catalog for your WooCommerce store with the help of a free plugin.
What is the Facebook catalog?
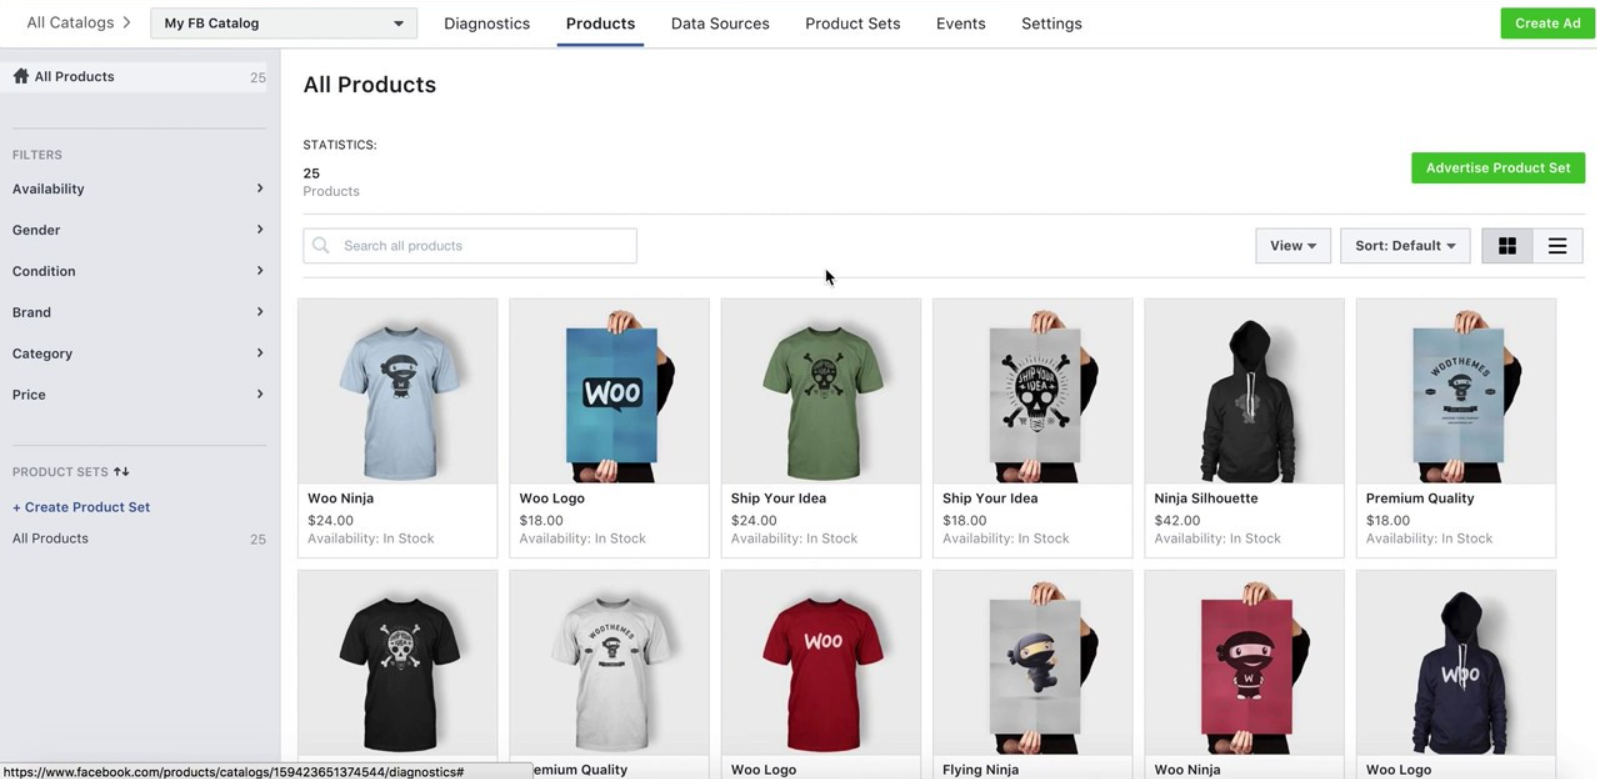
Using the Facebook catalog, online merchants may automatically display dynamic advertisements to sell their products. Potential customers can easily examine these advertisements, and with the click of a button, they may be sent to your online store to complete the sale. It also allows you to submit many products at once and showcase them as a carousel or slideshow of images with a brief description of the items. You may even run several ads in these catalogs for different product groups that are tailored to your target demographic.
To set up Facebook catalog for your WooCommerce store with a free plugin you need the following:
- A WordPress website. Follow this step-by-step guide on How to Get Started with WordPress and Set Up your own Website Quickly.
- WooCommerce plugin installed and products must be uploaded. You can read this article on How to Create a WordPress & WooCommerce eCommerce Website.
- A Facebook account.
- Free Plugin: ELEX WooCommerce Catalog Feed for Facebook & Instagram

Benefits of Linking the Facebook Catalog with your WooCommerce Store
We can now talk about the advantages of setting up a Facebook catalog for your WooCommerce business now that you have all the necessary resources.
- With Facebook, you can connect to a worldwide audience and provide exposure to your online store. You may effortlessly purchase your advertising from your website and have them shown across several nations.
- The audience may readily access your catalogs and make direct purchases from your website if they’re seeking for a certain product. This will boost social media presence and website traffic.
- Gain insight into the behavior of your customers and monitor their analytical data. You may utilize that data to learn more about your consumers, such as their location, time of engagement, preferences, device kind, and other details. Utilize this information to personalize your catalog feed and, if necessary, to add to or modify your WooCommerce shop.
We can now go on to learning how to set up a Facebook Catalog for your WooCommerce Store and more about the plugin.
Products may be added to your Facebook and Instagram catalogs in a variety of ways.
You can manually add products to the catalog if your inventory is minimal and just consists of a few items. However, a more complicated infrastructure is required to handle a larger inventory with often changed commodities. Use a plugin with a catalog feed for the latter. We will demonstrate this using the free ELEX WooCommerce Catalog Feed for Facebook & Instagram plugin.
you can leverage the data from your WooCommerce store to generate a product data feed and collect all of the information required by Facebook and Instagram. It is feasible to simply synchronize Facebook Catalog with this data stream. We’ll walk you through the procedure step by step.
How to install the plugin
- Click on the link provided above and download the plugin from the ELEXtensions website.
- Go to your WordPress Dashboard > Plugins > Upload Plugin and select the plugin download from your system files.
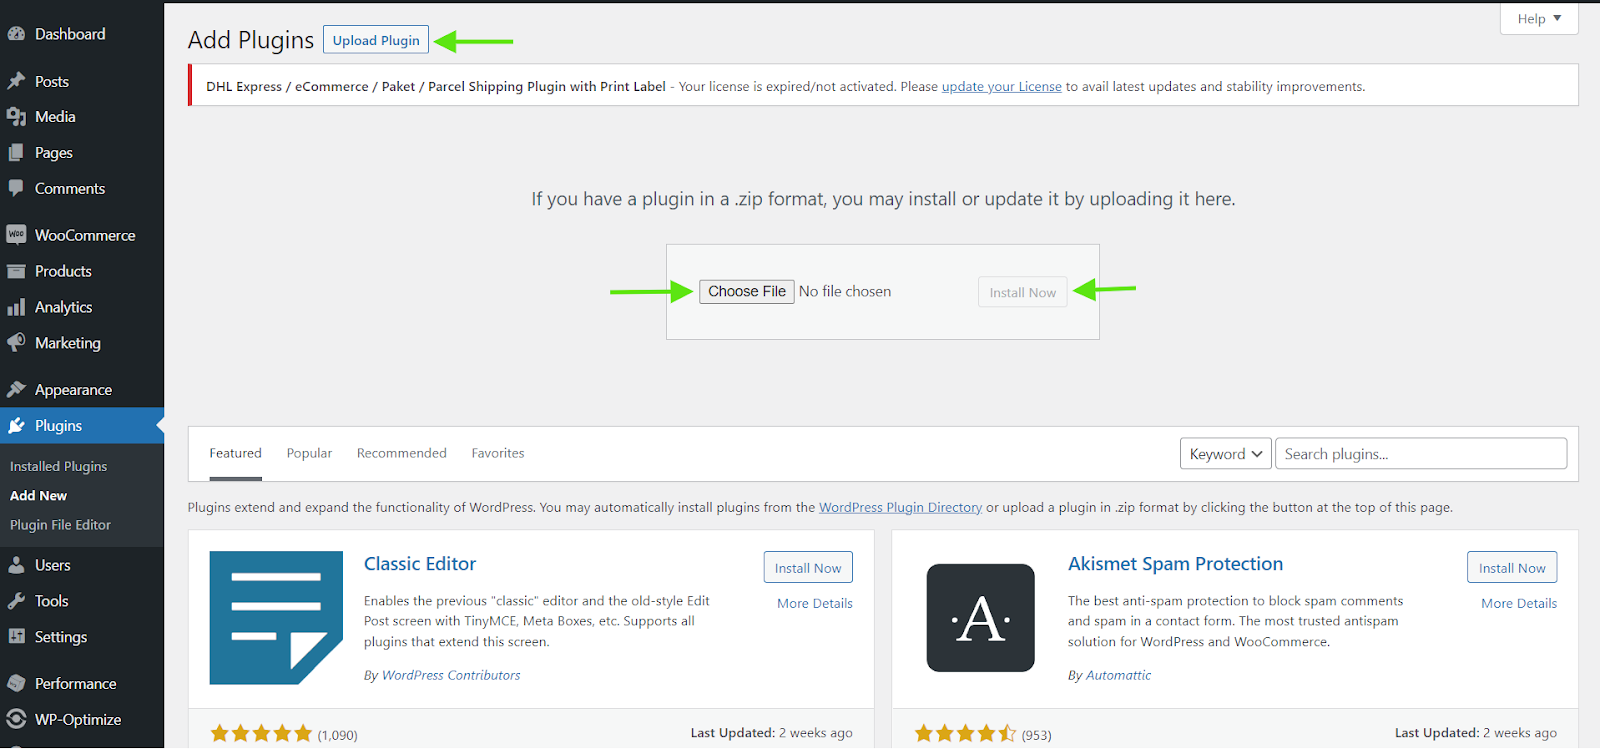
- Install the plugin and click the Activate button.
- When it’s successfully installed, you may go ahead and access the plugin by going to WP Dashboard > ELEX Facebook Shopping Feed > Create Feed.

Now that we have access to the plugin’s dashboard, let us take a look at the functions and features provided.
Create Feed
The settings may be found in the ” ELEX Facebook Shopping Feed” section of the WordPress admin panel once the plugin has been activated. In the Facebook Shopping Feed section, click Create Feed.
Start
Begin by identifying and describing the project. Both the file format and the refresh cycle may be configured here. To add variations in the feed, enable the specific parameter.

- Project Name: To make it simpler to recognize a feed in the future, enter a distinct project name.
- Project description: You may either provide a feed description or leave it blank.
- Refresh Schedule: tasks may be planned to refresh the catalog feed automatically. There are three options: Daily (at a given time), Weekly, or Monthly (at a defined time and day of the week when the feed was generated) (at specified time and date of creation of the feed).
- Country of Sale: Choose the nation where you wish to concentrate your Facebook marketplace marketing efforts.
- Include Variations: Choose this option to include all of your items’ product variations. (You will require the premium version of the plugin for this feature) The free version of the plugin only supports Simple products.
- File Format: Choose between the file formats CSV, TSV, or XML based on your requirements.
- Currency Conversion: If you’re selling your goods in a region where the local currency is different, including the conversion rate will be helpful.
Click Continue once you have entered all the required information.
Map Categories
Following that, you can connect your WooCommerce product categories to the relevant Google categories. Simply begin typing in the Google Category area to receive a list of all possible categories to pick from.

You do not have to submit Google Categories for all of your categories, you can do so for certain products. To begin, choose the Map Product option on this page.

Map Attributes

The following stage is the mapping of product characteristics. You can compare the quality of your product to a list of requirements for the feed. The plugin will automatically map the correct properties. You may manually change them, add to or remove, or establish more exact mapping rules. When done, click the Continue button.
The choices for filtering the feed are provided next
Filtering Options
If you just want to include a specific set of products in the feed, you may regulate it here. You may, for instance, state that you only want to add things if there are enough on hand.
You may also filter products according to how many of them have already been sold in a similar manner. Another filtering option is to choose only the products that your shop has highlighted.

Additionally, the plugin allows users the option to delete certain products from the feed. Simply enter the names of the goods in the Exclude Products search bar that you do not want to view. Click the Sync Products button when you’re done.
Generate Feed
The produced feed will contain all of the products you’ve selected. The feed may be downloaded by choosing the View Feed option. You may also modify the project or the refresh schedule by clicking the Manage Feed button.

Manage Feeds
The Manage Feed portion of the plugin has a number of settings that may be used to change all the different feeds that the plugin creates. The URL field contains the file path for the feed that is stored on your server. Using this address, uploads may be scheduled.

Uploading of the Catalog Feed file to Facebook
For the resultant product feed to be uploaded, go to the Facebook Commerce Manager.

Click Get Started to get going.

Choose the Create a Catalog option to start building your catalog.

Then select Get Started.
Decide on a catalog type. E-commerce is an option. (Those connected to an e-commerce business will find this beneficial.)

To proceed, click Next.
By choosing Upload Product Info, inputting a catalog name, and clicking the Create button, you may add product information.

As soon as you click the Create button, a notification about the catalog’s creation will show up in a new tab.

To see the catalog, click View Catalog.
The Catalog field on the left-hand side of the window will open in a new tab with the data source on it.
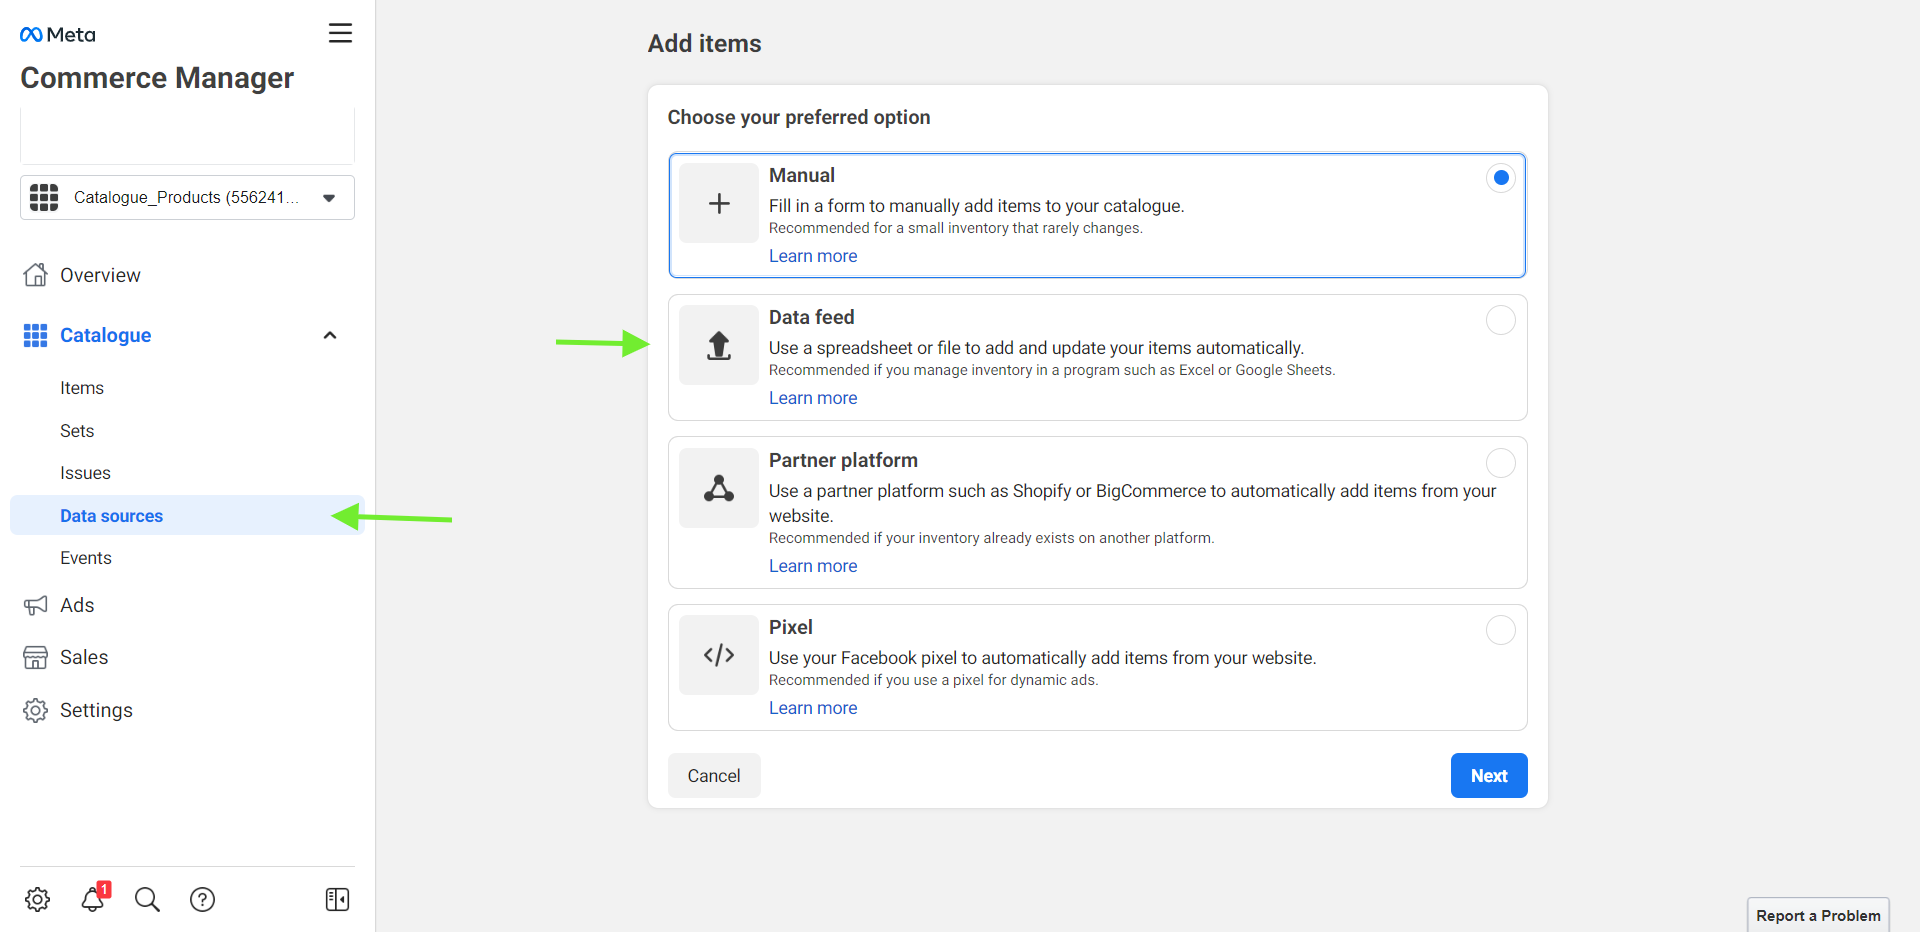
The three choices for uploading your product information to the Facebook marketplace will appear in a new tab: File upload, Scheduled feed, and Google sheets.

Click Upload after selecting your system’s produced feed.
After the file has been uploaded, click Next.
Any mapping mistakes Facebook has identified can be fixed on the tab that follows this one. After that, the feed may be added to Facebook Catalog.
Conclusion
Just follow these steps to set up a Facebook catalog for your WooCommerce store with the help of a free plugin and start selling your products through one of the biggest social media networks. After your catalog feeds start to display on Facebook don’t forget to make required changes to your target audience or customize your feeds. If you have any suggestions, ideas, or doubts you can use the comment section below.


")
")
")