
Last updated - September 8, 2020
This article is part of Payment Gateway Integration Guide:
- Setting up Core Payment Gateway Options
- An overview of core payment options in WooCommerce
- Payment Gateway extensions in WooCommerce
- Choosing the right payment gateway
- Setting up free extensions
- Setting up PayPal Powered by Braintree
- Configuring Stripe Payment Gateway (current article)
Stripe is a fast-growing choice for payment gateway integration on a wide range of online stores all around the world. WooCommerce has made it available for WooCommerce stores as a free extension just like PayPal Powered by Braintree.
The setting up of Stripe as a payment gateway is quite direct. You have to install it as it’s not part of the default payment gateway options. If you have used the Setup Wizard at the start, there is a possibility that Stripe is already installed. You can check this from the list of Installed Plugins.
In this article, let us understand how to setup WooCommmerce Stripe payment gateway.
If Stripe is not installed, you can go to Plugins → Add New, and type ‘WooCommerce Stripe Payment Gateway’ and hit Enter. Find the one released by Automattic and click Install Now.

After installing the plugin, the Install Now button changes to Activate. Click the Activate button and Stripe Payment Gateway will be ready for Setup.
To access the Settings, go to:
WooCommerce → Settings → Checkout → Stripe

The initial settings are pretty straightforward here.
Enable/Disable the Stripe Payment Gateway using the first checkbox.
Write a Title and Description for the payment gateway in the respective fields. The text you enter in these fields will be visible to your customer on the front-end of the store.
Testing the Settings
You can also enable the test mode for Stripe before finalizing the settings. When you tick the checkbox for Enable Test Mode, Stripe will provide you with a set of card numbers that you can use to test the gateway. You can even check different scenarios like card declined/expired etc.

Adding API Keys
Next, you have to add the Live and Test keys that you’ll receive from the Stripe API. To get the keys, you have to go to your Stripe account.
Your Account → Account Settings → API Keys

You can find all the required API keys required for the WooCommerce setting here. Copy and Paste in the respective fields.

This is followed by a set of checkboxes, which are quite important in defining the customer interaction on checkout.
Capture checkbox, when enabled, will be set to capture the charges real time. If unticked, there will be another authorization step to capture charges. Please note that when you opt for authorized capture, it will expire if not captured within seven days.

Stripe Checkout
Stripe Checkout gives the option for your customers to checkout through a Stripe modal window instead of entering the card information on your store itself. Enabling this checkbox will add a few more optional fields that require information, which will be displayed on the modal window.
You can set a language of preference for checkout in the Stripe Checkout locale drop-down. By default the language is English. If multiple language options are available on your store, you can opt for ‘Auto,’ which will let the customer choose which language to checkout.
You have the option to enable Bitcoin currency. Ticking this checkbox means that your customer can use bitcoin to pay. US Dollars should be the currency on your store for this to work.
There is another optional field where you can enter the url of an image to be displayed on the modal window. This can be your store’s logo, and can give a personalized feel.

Saving customer details for easier checkout
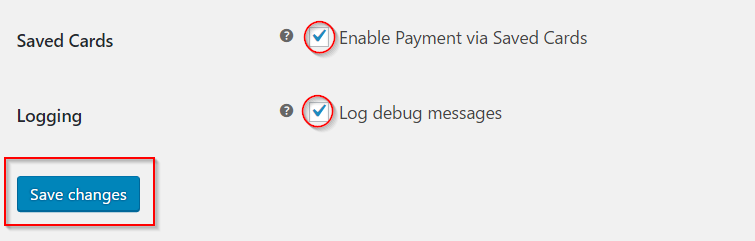
The last two checkboxes are Saved Cards and Logging
Saved Card allows your customers to save card details during checkout. The details will be saved on the Stripe server, not on your store.
Logging option is to send any error messages to the WooCommerce System Status log.
Do not forget to click Save changes button after updating all the settings.


")
")
")