
Last updated - May 24, 2022
This article is part of WooCommerce Marketing Guide:
- Creating a great marketing strategy
- Identifying your marketing channels
- Improving sales on your store
- Setting up Coupons (current article)
You have already understood the importance of offering discounts to your customers. But how to offer different discounts to customers? WooCommerce has a powerful tool to help you with this: Coupons!
In this article, we will look into a few aspects of WooCommerce coupon management in detail.
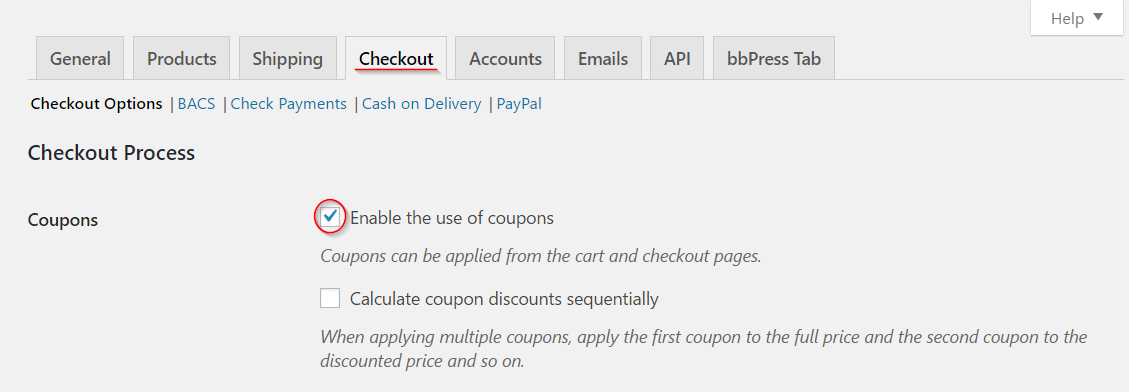
Enabling coupons
To use coupons at your store, you have to enable their use in the checkout settings of WooCommerce. For this, you need to go to WooCommerce → Settings → Checkout.
Creating a Coupon
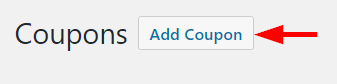
To create a coupon, go to WooCommerce → Coupons. If there are already-created coupons, you can see them in a list. If you’re creating a coupon for the first time, click the Add Coupon button.
A new screen is displayed as the below image, where you can set the code and conditions for the coupon.
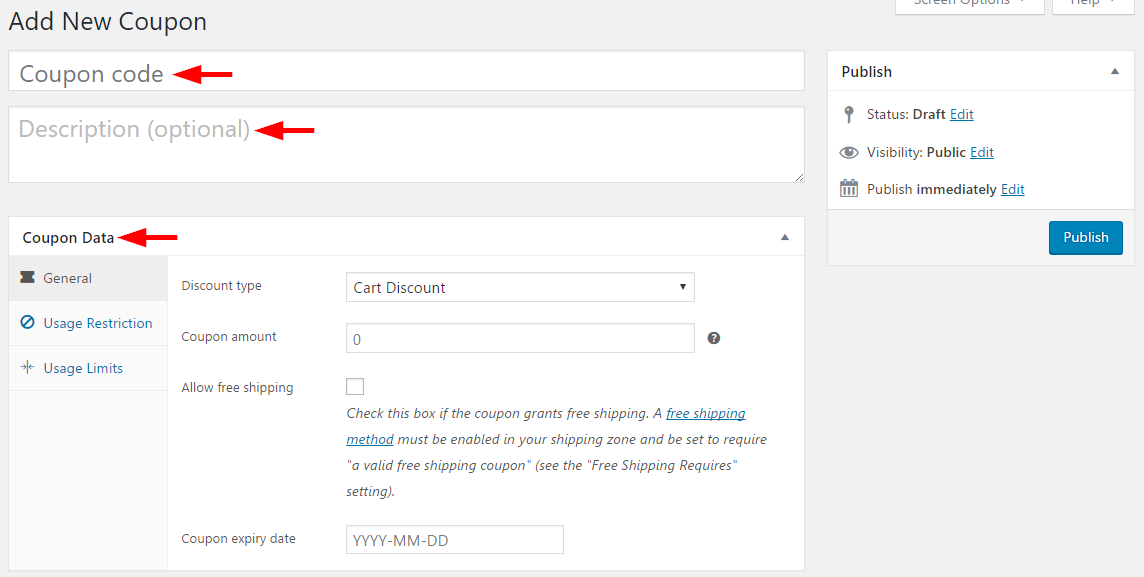
Setting the coupon code and description
The coupon code is the unique identity of the coupon. The customer uses this code while checking out to avail the discount. The description field is optional, you can enter a text to describe your coupon.
Setting the coupon data
The ‘Coupon Data’ field has options to set limits and restrictions on the coupon. Let’s first look into the ‘General’ section.
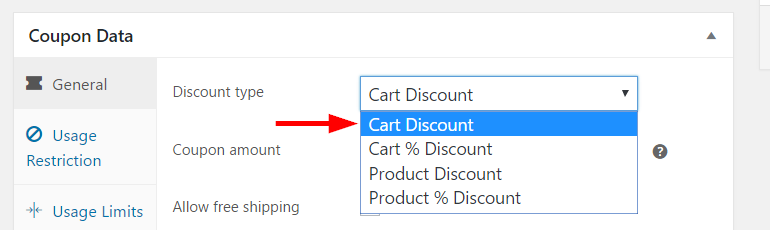
Decide on the ‘Discount type.’
There are four types of discounts available here to choose here.
A Cart Discount is a fixed discount available on the entire cart. For example, if the customer has a Cart discount coupon for $10, and the total cart value is $40, he/she will have to pay only $30.
Cart % Discount is a percentage discount on the entire cart amount. If the cart value is $40, and the coupon is for a 10% cart discount, the customer can avail a discount of $4.
Product discount allows a fixed rate discount on specific products. You can choose this option to promote the sales of certain slow-moving products in your inventory. This is slightly more rewarding to the customers also, as the benefit will be higher if they are purchasing more quantity of the discounted item. That is if there is a coupon code of $10 for certain brand jeans in your store, and the customer purchases 3 of those, he/she will get $30 discount.
Slightly different from this, a Product % Discount will give a percentage discount on the product. That way the discount amount will be proportionate to the price of the product. In the above example, consider the price of the jeans as $30 and the discount coupon is 10%. The customer purchases 3 of the same product. Total discount will be $9, which $3 (10% of actual price $30) * 3 (quantity in cart).
You need to choose the discount type after careful consideration of your products and their respective margins.
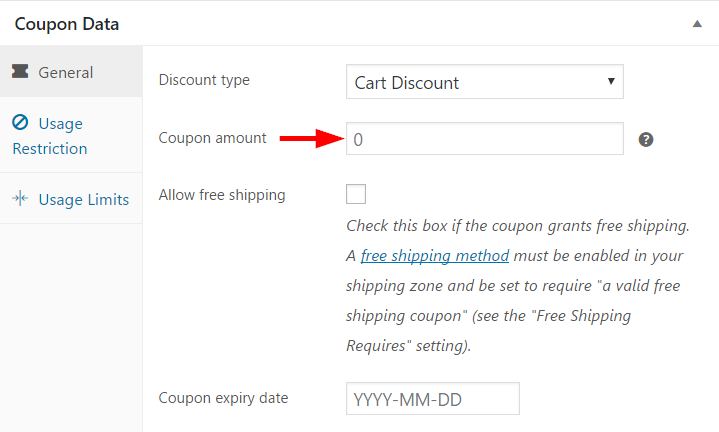
Fix the Coupon Amount
You can set the coupon value here. Just enter the value without currency symbol or percentage sign. The discount type you selected in the previous step automatically sets the value at a fixed rate or percentage.
Free shipping via coupon
Furthermore, you can set a free shipping offer using the coupon code. For this, you have to just tick the next checkbox, ‘Allow free shipping.’
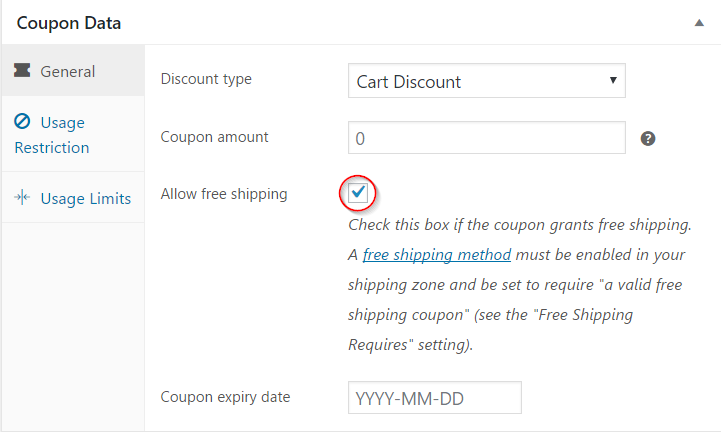
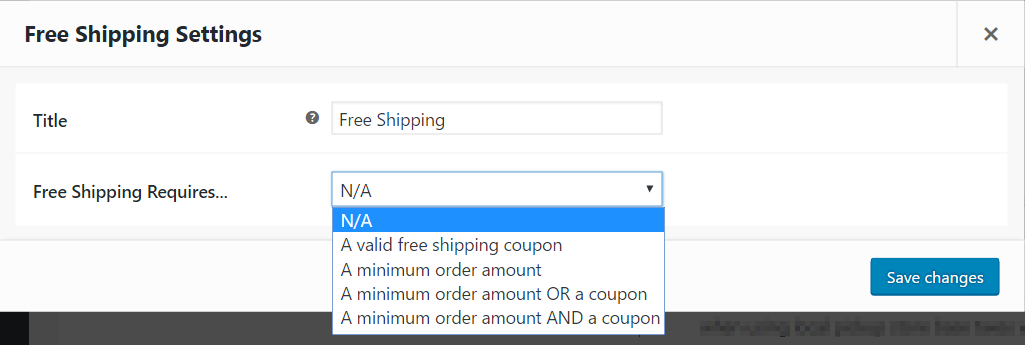
However, there is one aspect to note here. You need to set free shipping method in your shipping zone and choose ‘A valid free shipping coupon’ in Free Shipping settings.
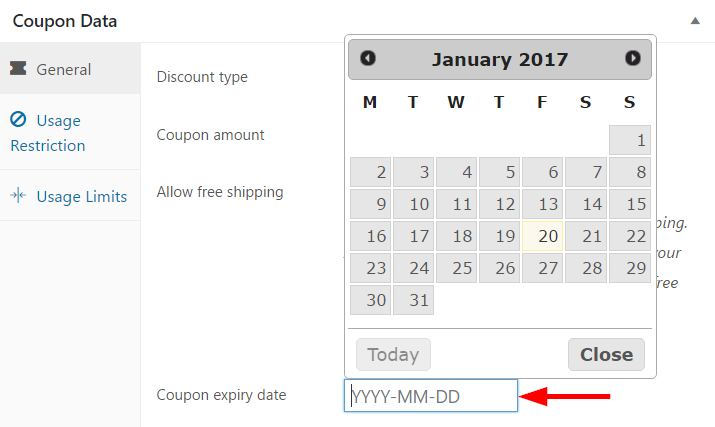
Coupon expiry date
You can set the expiry date of the coupon here. An important thing to remember is that the expiry happens at 00:00 hours on a set day. If you are offering your customers a coupon discount throughout New Year’s day, you have to set January 2nd as the coupon expiry date.
Usage Restriction
Discounts coupons are a great way to boost sales in your store, but in certain situations, they can eat into your margins too. As expected, WooCommerce allows great options to restrict usage and prevent any undesirable outcomes.
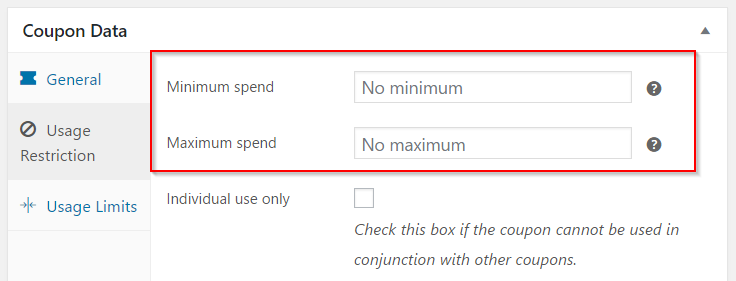
Firstly, you can set a minimum and maximum spend to apply the coupon. The coupon won’t apply outside these spending limits. For example, if the minimum spend is $10 and the maximum is $100 for a cart discount, a $9 or a $101 order won’t qualify for the discount.
The other usage restrictions are as below:
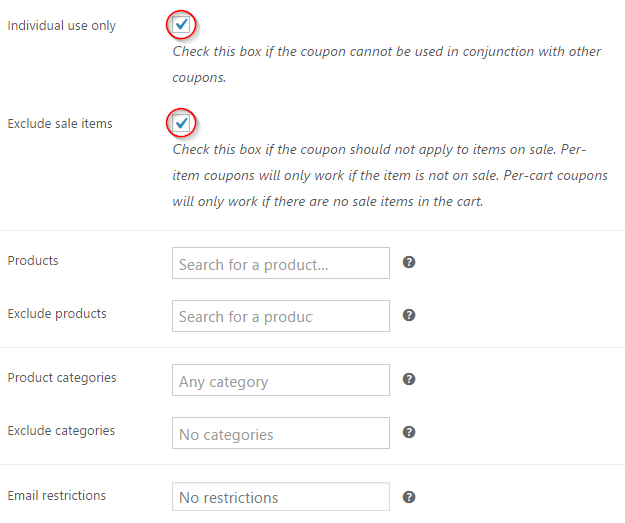
If you want to restrict the coupon to be used in combination with other similar coupons, tick the ‘Individual use only’ checkbox.
To restrict the use of the coupon along with other sale items, tick the ‘Exclude sale items’ checkbox.
You can select the products for which the coupon is applied. If the products listed on this field are not there in the cart, the discount will not be availed.
Next, if you want to exclude specific products from the range of the coupon, you can add those products here. If the listed products from this field are added to the cart, the coupon won’t apply. This is a good way to exclude your high-demand or expensive products from the sale window. Also, if the coupon is for product discount, it won’t be applicable to the products listed here.
Also note, if you leave the ‘Products’ and ‘Exclude products’ fields empty, the coupon will be applied to all products in your store.
Similar to how you set the products, you can include or exclude categories also. Use ‘Product Categories’ and ‘Exclude Categories’ for this
Email restrictions are quite important for customer retention. You can set the coupon to be applied only to the specific customer emails that are listed in the ‘Email restrictions’ field. The emails listed here will be checked against the customer’s billing email for the coupon’s validity.
Usage Limits
You can limit the usage of the coupon in two levels. You can set a usage limit for the coupon by entering a value in the ‘Usage limit per coupon’ field. After the set limit, the coupon will become invalid. You can also limit the number of times a customer can avail the coupon by adding the value in the ‘Usage limit per user’ field.
Publishing the coupon
Once all the settings are carefully configured, you can click the Publish button. Your coupon is now ready.
Sending the coupon to customers
Now you can share the coupon with prospective customers. You can depend on different marketing channels like social media pages or direct emails. Informing the customers about all the restrictions and limit through a ‘Terms and Conditions List’ is good for clarity. Displaying your coupon code on your checkout page is another best practice. This way customers can avail the discount easily, and chances of them coming back to your store also increase.
Watch a video on the best WooCommerce coupon plugins:
Also, read how to improve WooCommerce Coupon management.


")
")
")