
Last updated - July 8, 2021
In October 2020, Google made selling on its shopping platform free. “But what does that mean for me?”, you may ask.
Well, it means WooCommerce shop owners like you can now advertise your products in the Google search results’ Shopping tab. Your products may even appear in the search and image results as well — and all that for free!
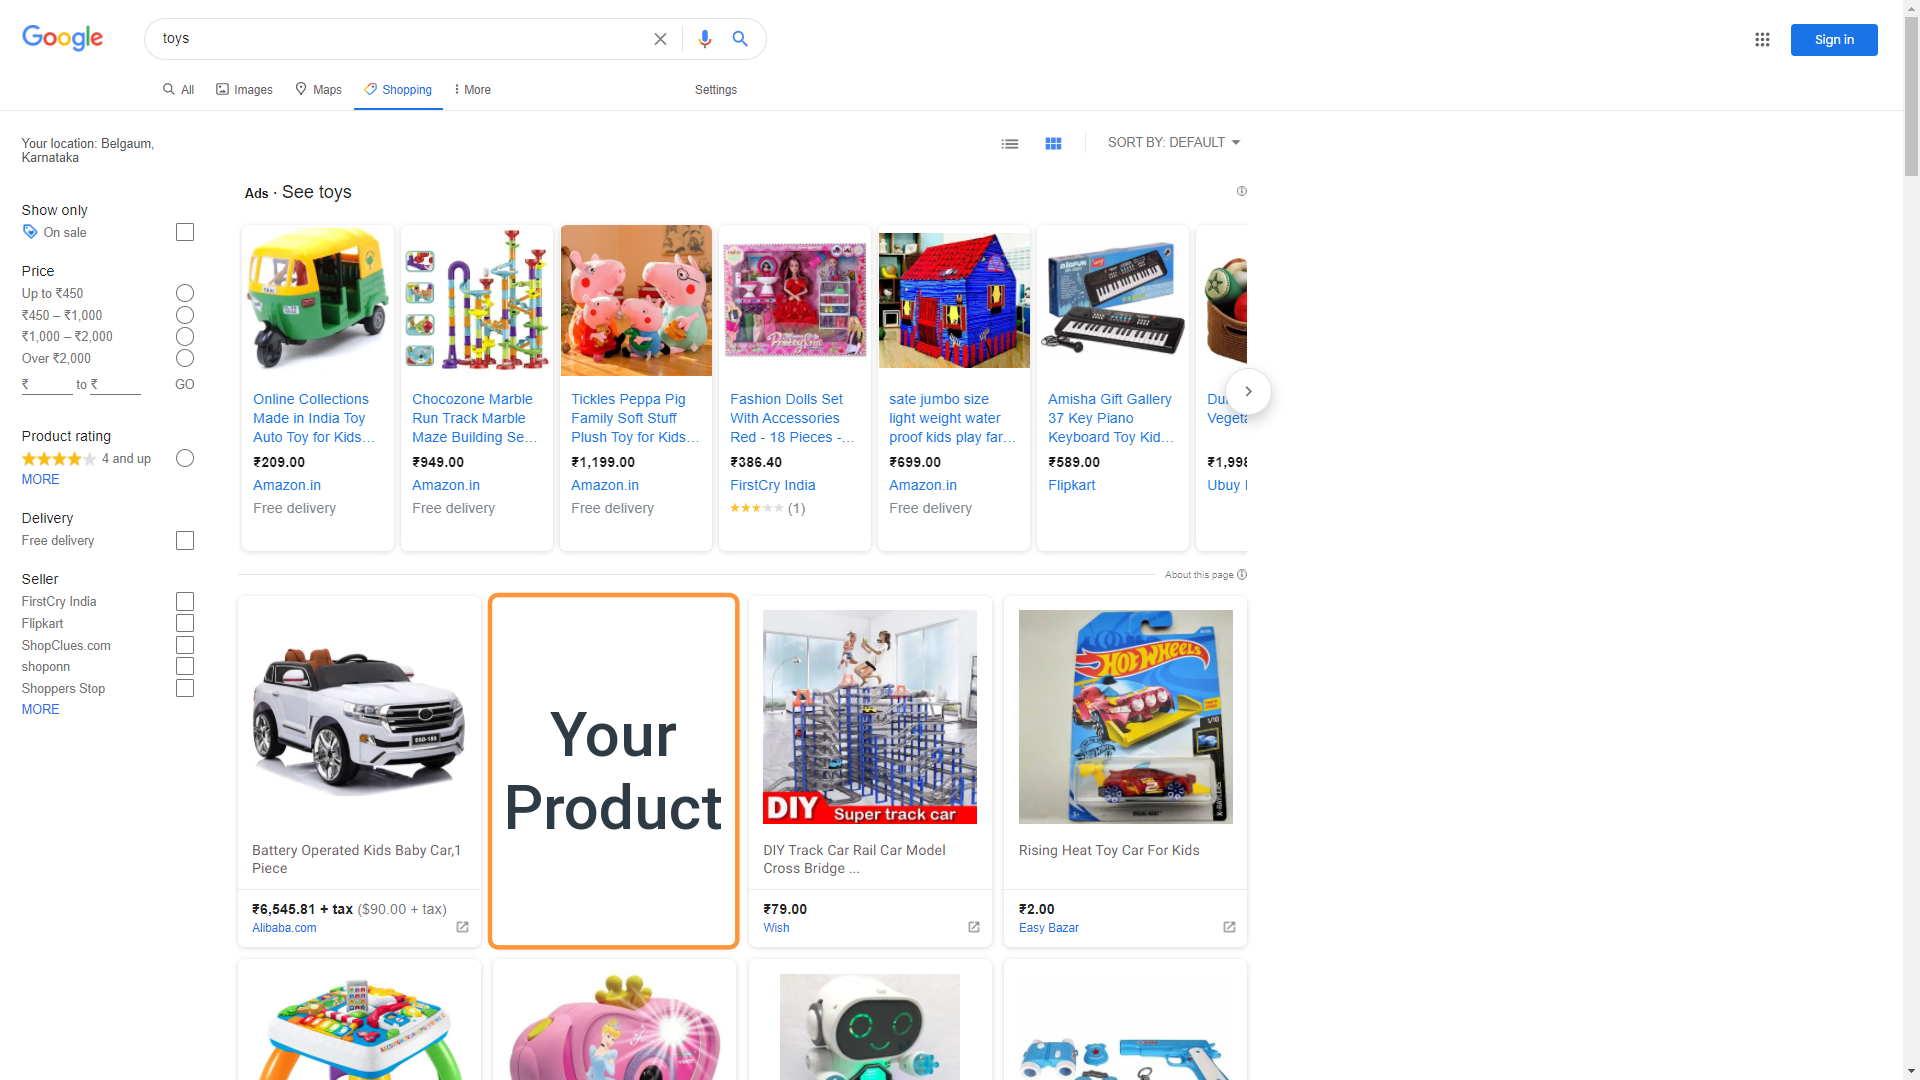
Though you can’t guarantee a spot in the Google Shopping tab through free listings, the free listings have a significant impact thanks to the strong buying intent consumers use Google Shopping for.
In this short guide, you’ll learn how you can quickly get your WooCommerce products on Google Shopping for free and keep it up-to-date easily. But first, let’s learn more about Google Shopping.
What is Google Shopping?
Google Shopping is an online aggregate-style shopping platform where consumers can find physical products from various online stores. The service makes it easy to search for, compare, and buy products across multiple sellers.
It also makes it just as easy for online store owners to put their products in front of more people. Though the service works mostly on paid ads, Google has made it possible to list products for free as well (Free listings can also available for Google Search and Google Images in the US as a standard listing type).

This is why you’ll see both sponsored products and free listings on the Shopping tab, with a preference for the former. You can become eligible for free listings just by uploading a list of your products and regularly updating the product details like price and availability; which is what we’ll cover here.
But if you want to guarantee a spot on the shopping tab with paid ads, all you need to do after completing the below steps is link your Google Merchant account to your Google Adwords account and create a Google Shopping campaign. You can also use a WooCommerce Google Ads plugin to simplify the process.
Setting Up a Google Merchant Center Account
You need to sign up for a Google Merchant Center account to get your products featured on the Google Shopping page.
- Click “Get Started” and sign up with an existing Google account.
- Provide your business information like business name, it’s country of operation, and its associated time zone.
- Select your website, the first option, as the checkout location.
Your Google Merchant Center account is ready. Now you need to create a product feed. But first, what’s a product feed?
A product feed is data from your online store inventory like description and photo that’s uploaded to Google to automatically create Google Shopping ads and listings showcasing your products. It’s basically how Google gets the information about the products you want to advertise.
Here’s how to set up Google Shopping for free listings:
- Choose “Add Product Data” from your dashboard.
- Select the country of sale and the language of the feed.
- Opt in to the free listings service and click “Continue”.
- Set a name for the product feed to make it easy to recognize if you create multiple product feeds.
- Choose the “Scheduled Fetch” option from the list of input methods.
- Set a name for the file hosted on your site that contains the product details. (We’ll create this later)
- Create a schedule for fetching the file from your website using the “Fetch frequency” and “Fetch time” settings. You can create daily, weekly, and monthly fetching schedules.

The final thing you need to create a Google Shopping feed is the link to the file hosted on your website. Let’s create it in the next step.
Automating the Fetching Process with ELEX WooCommerce Google Shopping Plugin
We selected the “Scheduled Fetch” option while creating the product feed. So now we need a file on our website that contains all the product details and is updated regularly to reflect any changes in price and availability.
Getting your WooCommerce products on Google Shopping this way manually might take a lot of time and recurring effort, based on how many products you want to add to the product feed.
An easy way to do this is using the ELEX WooCommerce Google Shopping Plugin. It’s a free plugin that creates the document for us and even updates it on a regular basis. Here’s how we can use it.
After installing the plugin, head to its settings to create a feed. Add a project name and description for your reference.
Select the country of operation and choose to include variations, select a default category, and assign a file format below.
Next, create a file refresh schedule using the next option by setting a date and time. Select a time just before your scheduled fetch time on Google Merchant Center. For example, you could set it up so that the file is updated with the latest details at 11pm and gets fetched to the Google Shopping results at midnight every day.

In the next step, you need to map your store’s attributes to the default ones used by Google Shopping. It’s mandatory to map at least one of your WooCommerce product categories with a Google category that’s available in the Google Taxonomy. You can map attributes by searching for them in the field.

You also need to match Google’s default attributes with those on your WooCommerce store on the next step. Though most have been set by default by the plugin, you can edit them using these buttons.
Note that you need to map the following attributes at the minimum to become eligible for showcasing your WooCommerce products on Google Shopping.
- Product ID
- Product title
- Link to the product
- Main image link
- Price
Exclude products
In the final step, you can choose specific products to be excluded from your Google Shopping product feed.
When you’re finished, click “Generate Feed”. Copy the URL to your clipboard and head back to the Google Merchant Center to pick up where we left off. Here, paste the link in the file URL field and click “Create Feed”.
With that, you’ve successfully set up your product feed. Your products may start appearing in the Google Shopping results and you can always be sure that they’re up-to-date. Now all you need to do is wait for your new customers.
If you prefer a video version, please check out the video below:


")
")
")