
Last updated - July 8, 2021
In December 2018, the Gutenberg Block Editor introduced all WordPress users to the many benefits of block editors like front-end editing, easy-to-use interface, fast page building, and the ability to create responsive, multimedia-heavy layouts. To this day, some developers prefer it over other popular page builders as it offers little to no code bloat.
In this article, we will take a look at the user interface, blocks, and other basic components of the WordPress Block Editor, also known as the Gutenberg Editor. You’ll also learn the process of working with this editor to create a page or a post for your WordPress website.
User Interface of the WordPress Block Editor
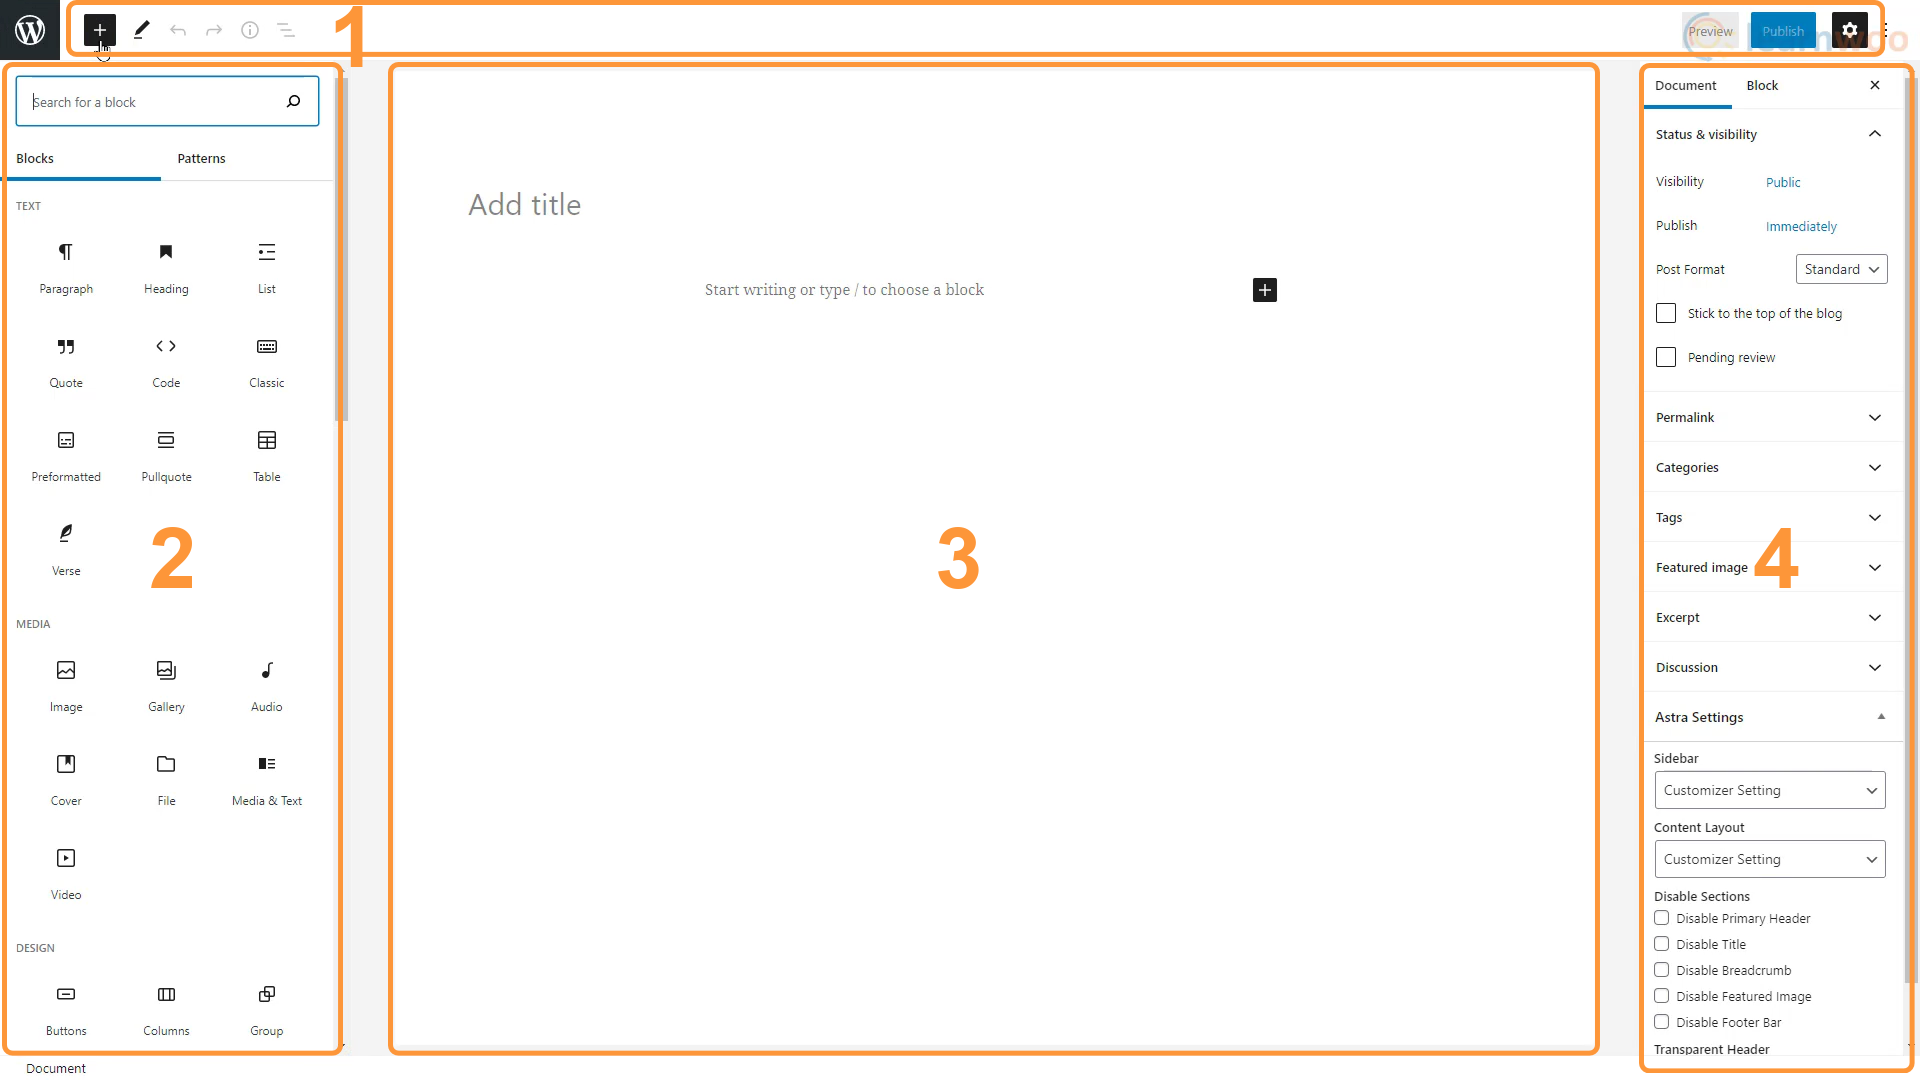
The WordPress Block Editor’s User Interface is made of 4 areas, each one having its own purpose and features.
-
Top bar
The top bar is located at the top of the page and houses the primary buttons you’ll use while creating your content. It has the following buttons:
- Add Block – This button lets you add a new block to the content area.
- Modes – This button lets you switch between editing and selection modes, offering different interactions for block selecting and editing.
- Undo and Redo – You can correct mistakes using the undo and redo changes buttons.
- Details – This button opens up a pup-up that shows document details like characters and words in the document along with the document outline.
- Outline – This feature lists all the blocks used in the document in the order they’re used, making it easy to navigate to a specific block in a vast document.
- Preview – You can use the preview feature to look at the final result of your document without having to publish it on the website.
- Publish – When you’ve finished creating the page or post, you can publish it to the live website with the “Publish” button.
- Settings – This button with the gear icon expands and minimizes the document and block options.
-
Block inserter
The Gutenberg editor is called a block editor because it lets you add content block by block. These blocks can be added, removed, or edited without affecting other blocks.
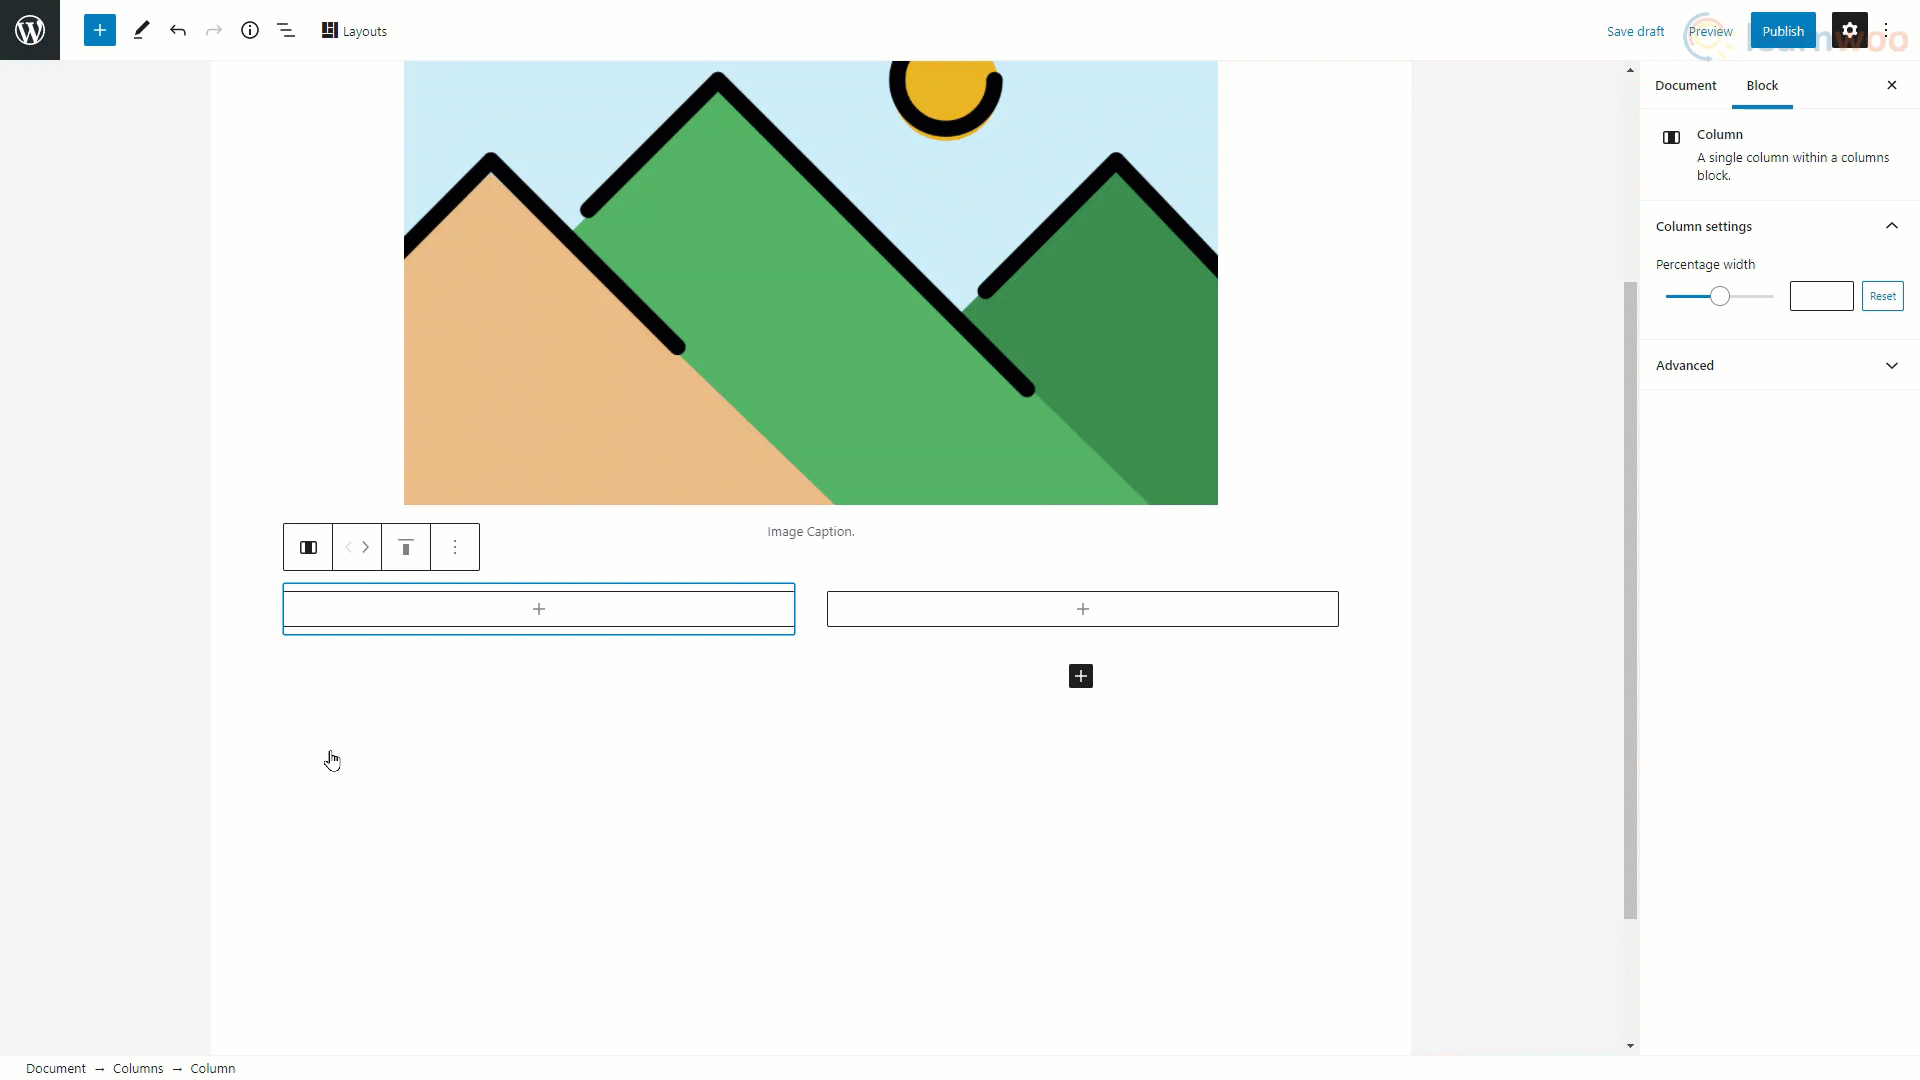
Gutenberg supports a wide range of blocks. You can add titles, text, images, videos, tables, lists, audio files, galleries, and even a Classic editor block that lets us use the Classic Editor for editing. You can add design elements like buttons, columns, separators, and spacers.
The editor supports widgets like shortcodes, calendars, and social icons to expand your options even more. And finally, the Gutenberg editor offers a wide range of embeds, from YouTube videos to Spotify playlists.
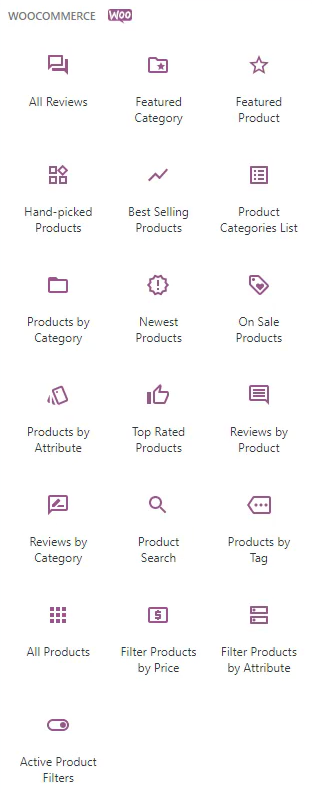
Apart from these in-built blocks, you can add more groups of blocks with plugins. For example, installing WooCommerce gives us access to 19 more blocks useful for building our eCommerce store.
The Atomic Blocks plugin adds 15 unique blocks you could use in your posts, while the Ultimate Addons for Gutenberg plugin gives you access to more well-designed useful blocks. You can even search for the blocks you need on the Gutenberg Blocks Library.
In the Gutenberg Editor user interface, these blocks can be inserted from the block inserter section on the left.
-
Content area
The content area is where you add, edit, and organize blocks to create pages and posts. After publishing, your content will look very similar, if not identical, to the way it looks in the content area.
-
Settings sidebar
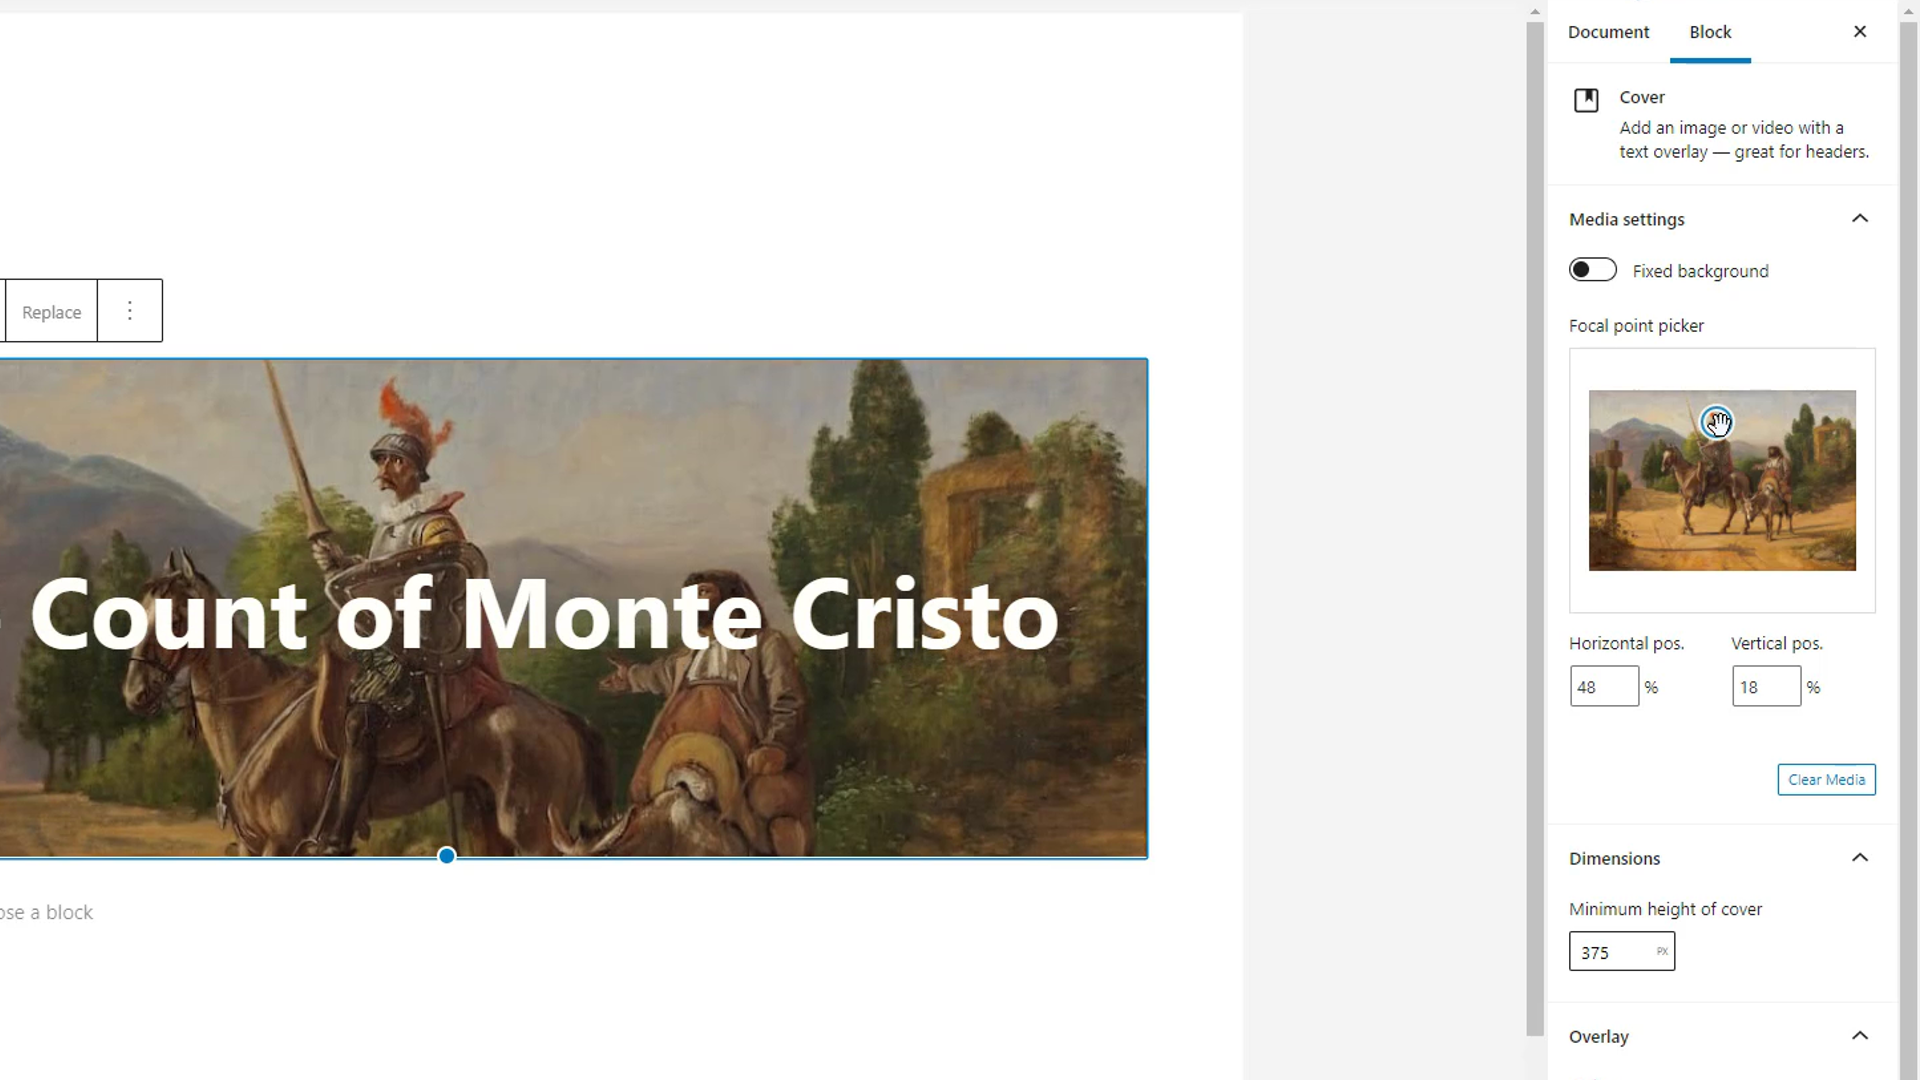
The settings sidebar shows contextual customization options based on the block you’re editing.
For example, while editing an image block, the settings sidebar will show options like fixed background, focal point picker, horizontal and vertical position, dimensions, overlay, etc.
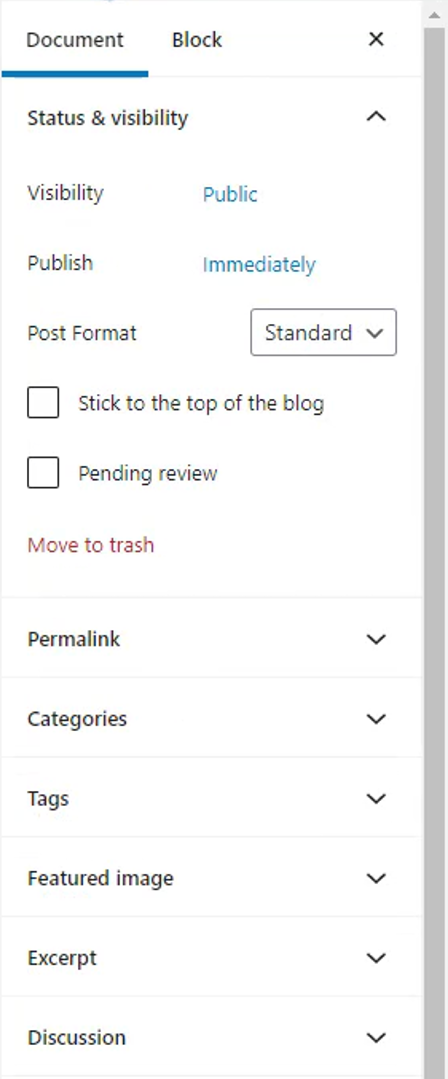
When no block is selected for editing, the setting sidebar shows the document settings. It’s where you can change the document’s visibility, publishing schedule, post format, permalink, categories, tags, featured image, and more.
Building a Page with the WordPress Block Editor
Building a page with the WordPress Block Editor is as easy as adding the content elements using blocks and customizing them according to your website’s design.
The first step is to add a block. There are three ways to add new blocks:
- By pressing enter to add a paragraph block.
- By pressing this plus icon and selecting a recently used suggested plugin or searching for one.
- Or through the Add Blocks button in the toolbar and browsing through the complete list of available blocks.
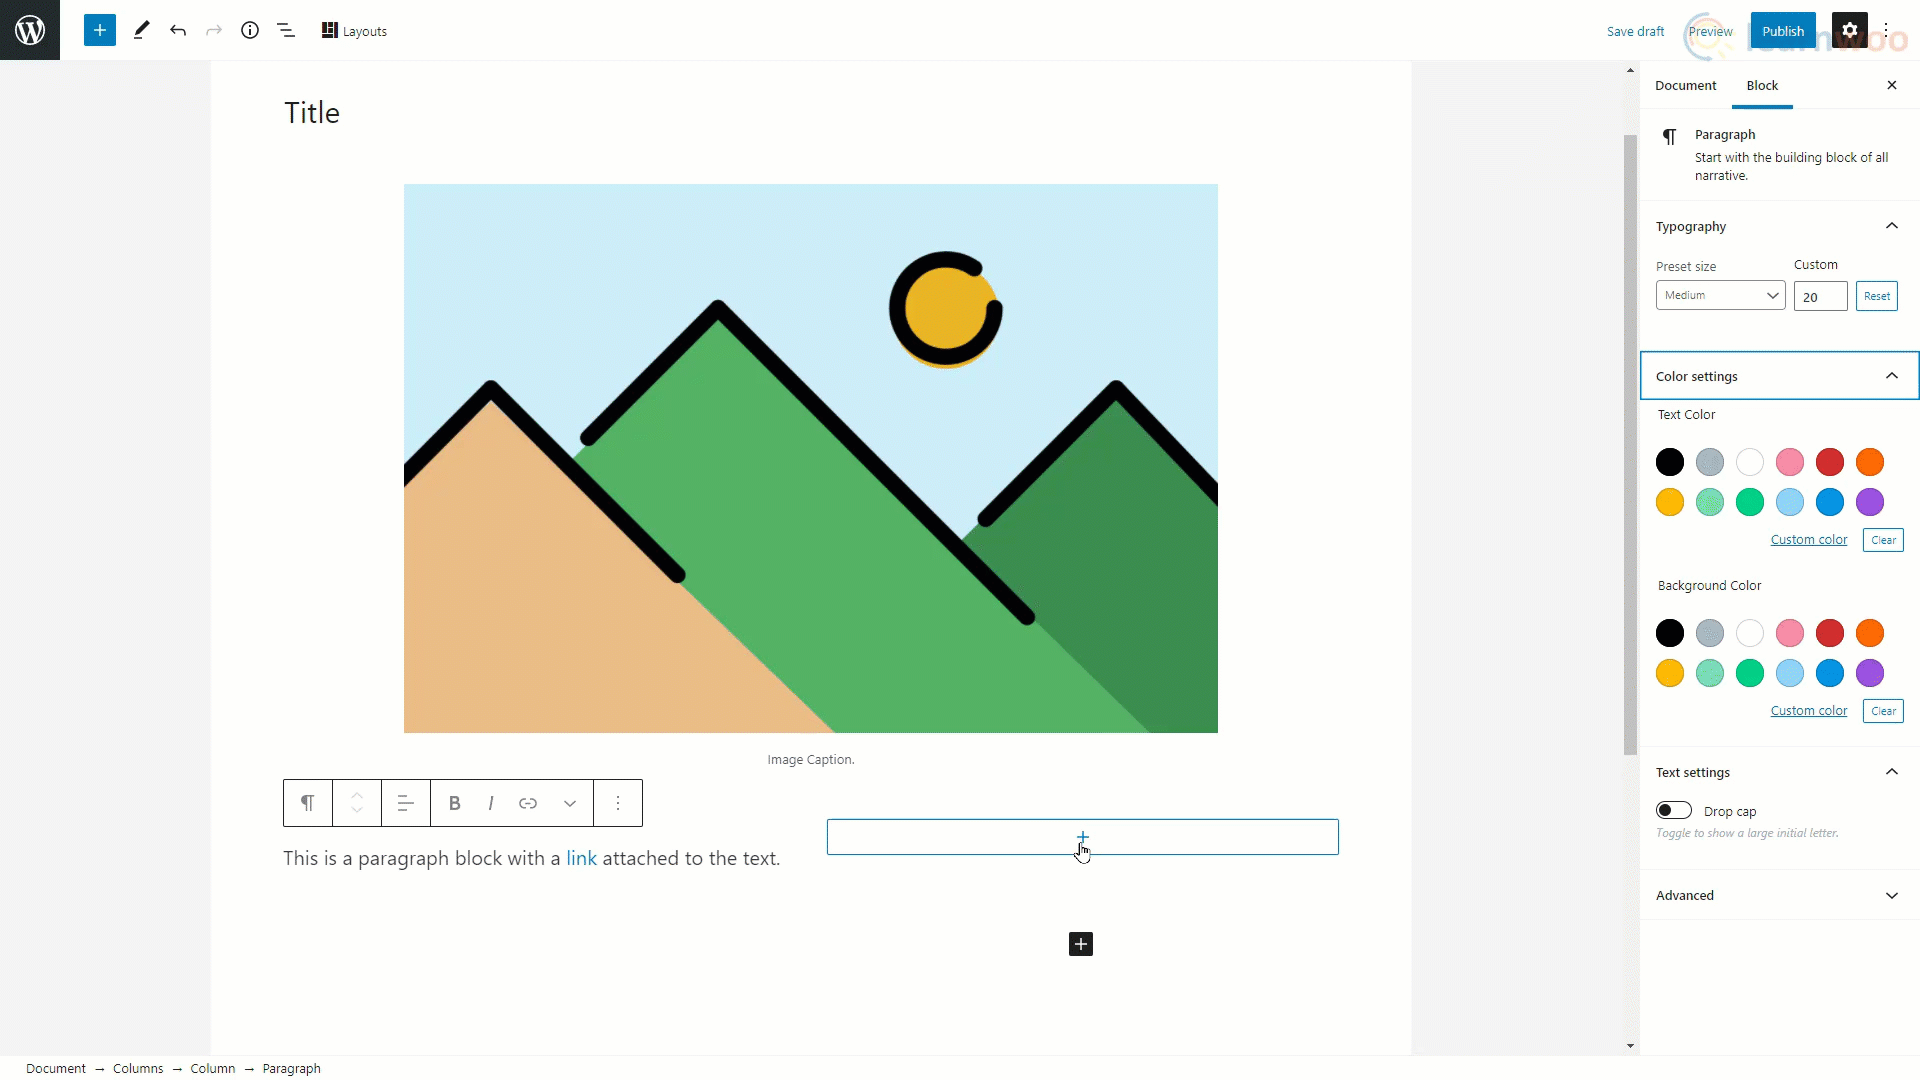
Adding Images
Select the image block from the list to add it to the content area. Then click “Upload” and select an image stored on your local files. You can resize the image using the handles on the edges and add an appropriate caption in the space provided below.
Apart from that, you’ll find more customization options in the sidebar like cropping, image style, alt text, image dimensions, and more.
Adding Text
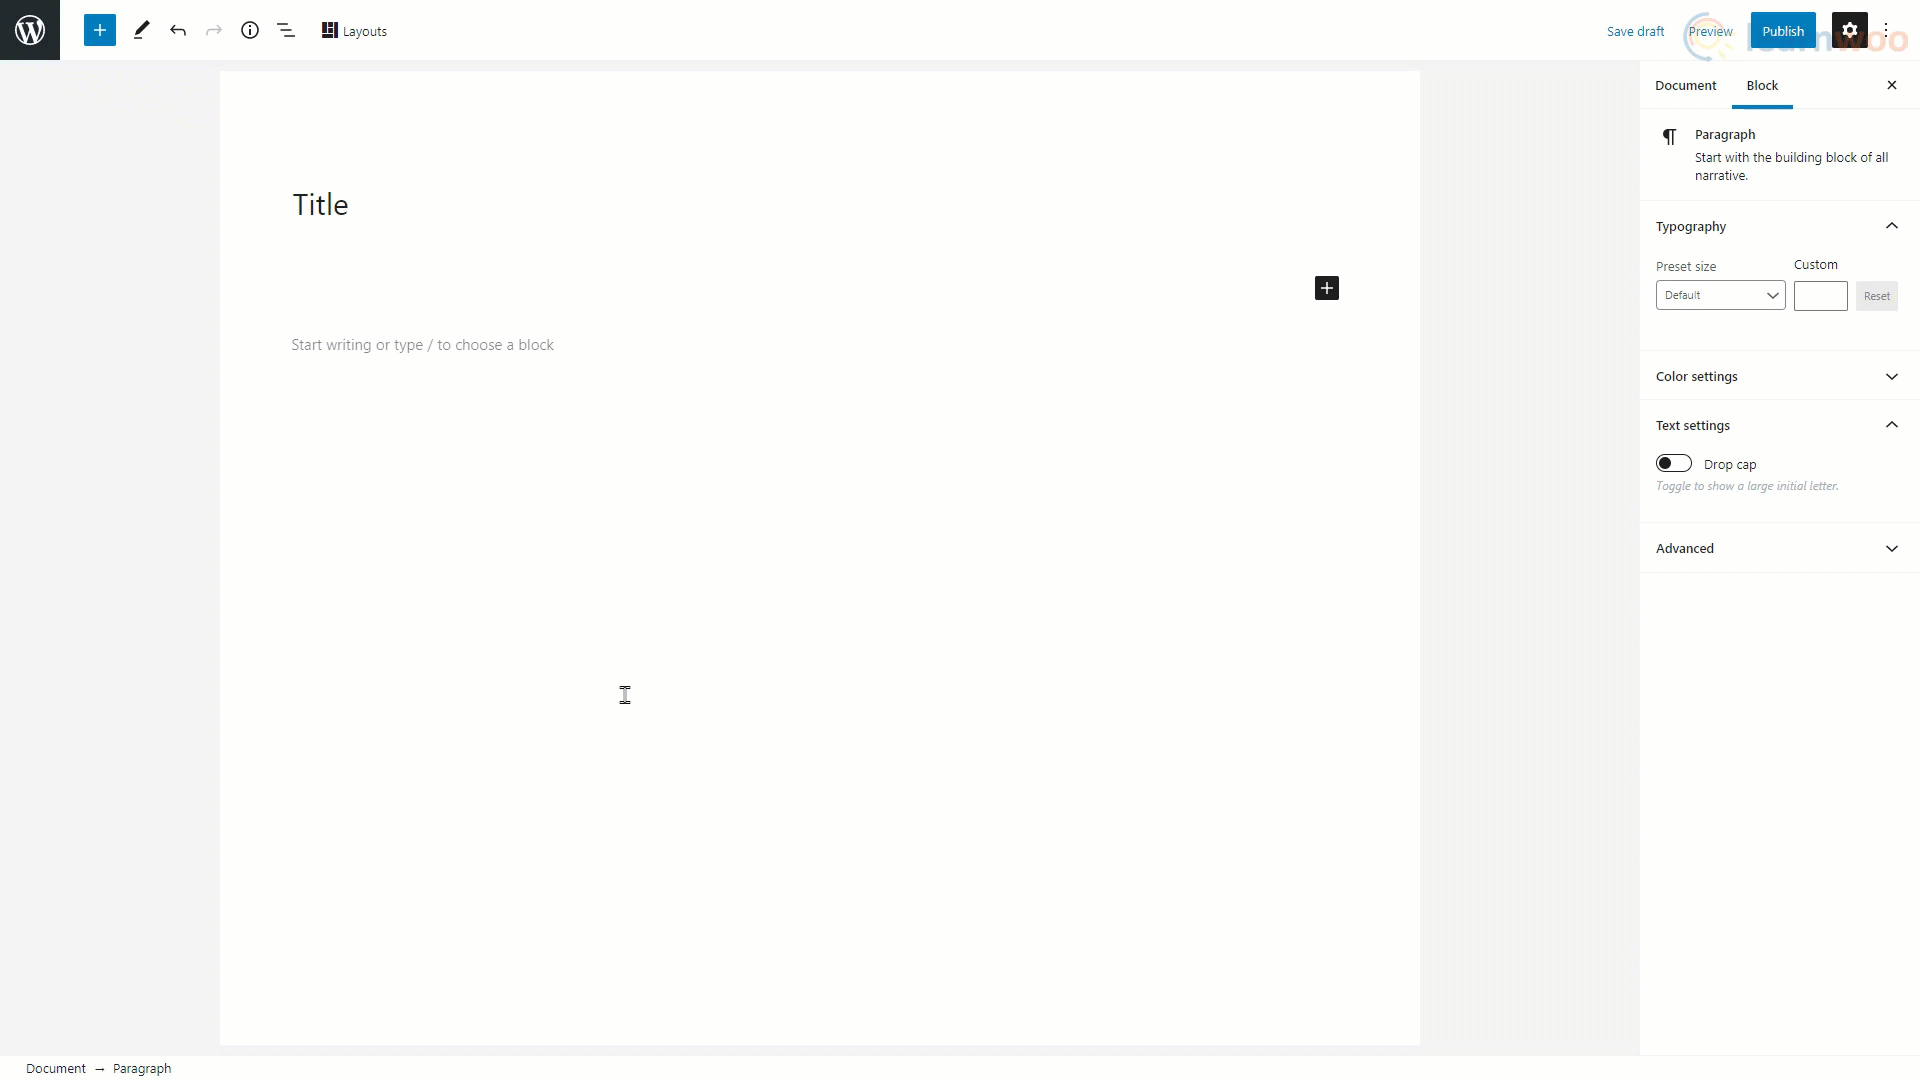
In the Gutenberg Editor, text can be added using the “Paragraph” block. And all new blocks are by default text blocks.
You can simply type the text in the field available. To add a hyperlink to the text, select it and click the link option in the floating bar. Paste the link in the field and click Enter.
Basic formatting options like bold, italics, and text alignment can be found in the floating bar. However, advanced formatting options like text size and color are available in the setting sidebar.
Adding Buttons
Button can be added in the WordPress Page Editor using the “Buttons” block. Upon inserting, you can type the button text in the field.
Essential customizations like button color and text color can be made from the settings sidebar.
Publishing the Post
Similarly, you can add many other types of blocks in the content area. When, you’re done editing a post, click on the Document tab in the sidebar. We can select the post’s publishing options like visibility, publishing schedule, and post format. You can also add a permalink slug for the post to improve its Search Engine Optimization.

Below, you can assign the categories and tags applicable to the post. You also have the option to add the featured image and excerpt for the post. When a post appears on another page of your website, the featured image and excerpt are the only things visitors can see, so it’s important to add them.
Under the Discussions tab, you can allow readers to post comments on your post. And pingbacks and trackbacks can also be enabled here.
With that, you now know how to build a page with the WordPress Block Editor. You can check out our videos on other page builders like Elementor and WPBakery as well.
And if you prefer a video version, check out this video:


")
")
")