

Lottie is a free online tool you can use to add beautiful, lightweight animations to your WordPress website. You can use these animations anywhere on your WordPress website to breathe life into even the most mundane pages and posts.
You can create animated headers, animated buttons, and even add animations that react to the users scrolling, the likes of which you only see on the most well-designed websites.

If you want to animate your website too, here’s how you can add Lottie animations to your WordPress Website using Elementor for free.
Installing the Premium Addons for Elementor Plugin
The easiest way to add Lottie animations to Elementor is by using the Lottie widget in Elementor Pro. However, if you’re looking for a free alternative, the Premium Addons for Elementor plugin is the next best option.
After installing and activating the plugin, a new widget will be added to your Elementor editing mode. Needless to say, you’ll need the free Elementor page builder plugin from the WordPress repository before you proceed.
To add this widget, search “Lottie” in the widget area. Then, drag and drop the widget wherever you want just like you would any other Elementor widget. You can check out our Elementor tutorial to learn more about using the Elementor page builder.
The file source option lets us add animation files to the page. We can either import animations through a URL, or we can upload the animation file from our computer.
Importing a Lottie Animation
Now, head over to the LottieFiles website to download the animation. Click “Get started for free” and sign up using any of the options. After signing up, click “Animations” in the menu.
Here, you can either choose from the list of featured animations or you can use the search bar to look for something specific.
Selecting an animation will bring it into a pop-up. Here, you can view the complete animation using a slider. If you like it, copy its Lottie Animation URL provided below.
Then, head back to your Elementor editing page. Paste the copied URL in the “Animation JSON URL” field below the File Source option. This animation will instantly become available on your page and you can customize it just like any other Elementor widget.
You can customize the animation itself by making it loop, play it in reverse, or changing its animation speed using the options in the Content tab in the sidebar. Also, you can customize its behavior on the page by creating a trigger for it to start playing. You can choose the viewport, hover, or scroll as triggers.
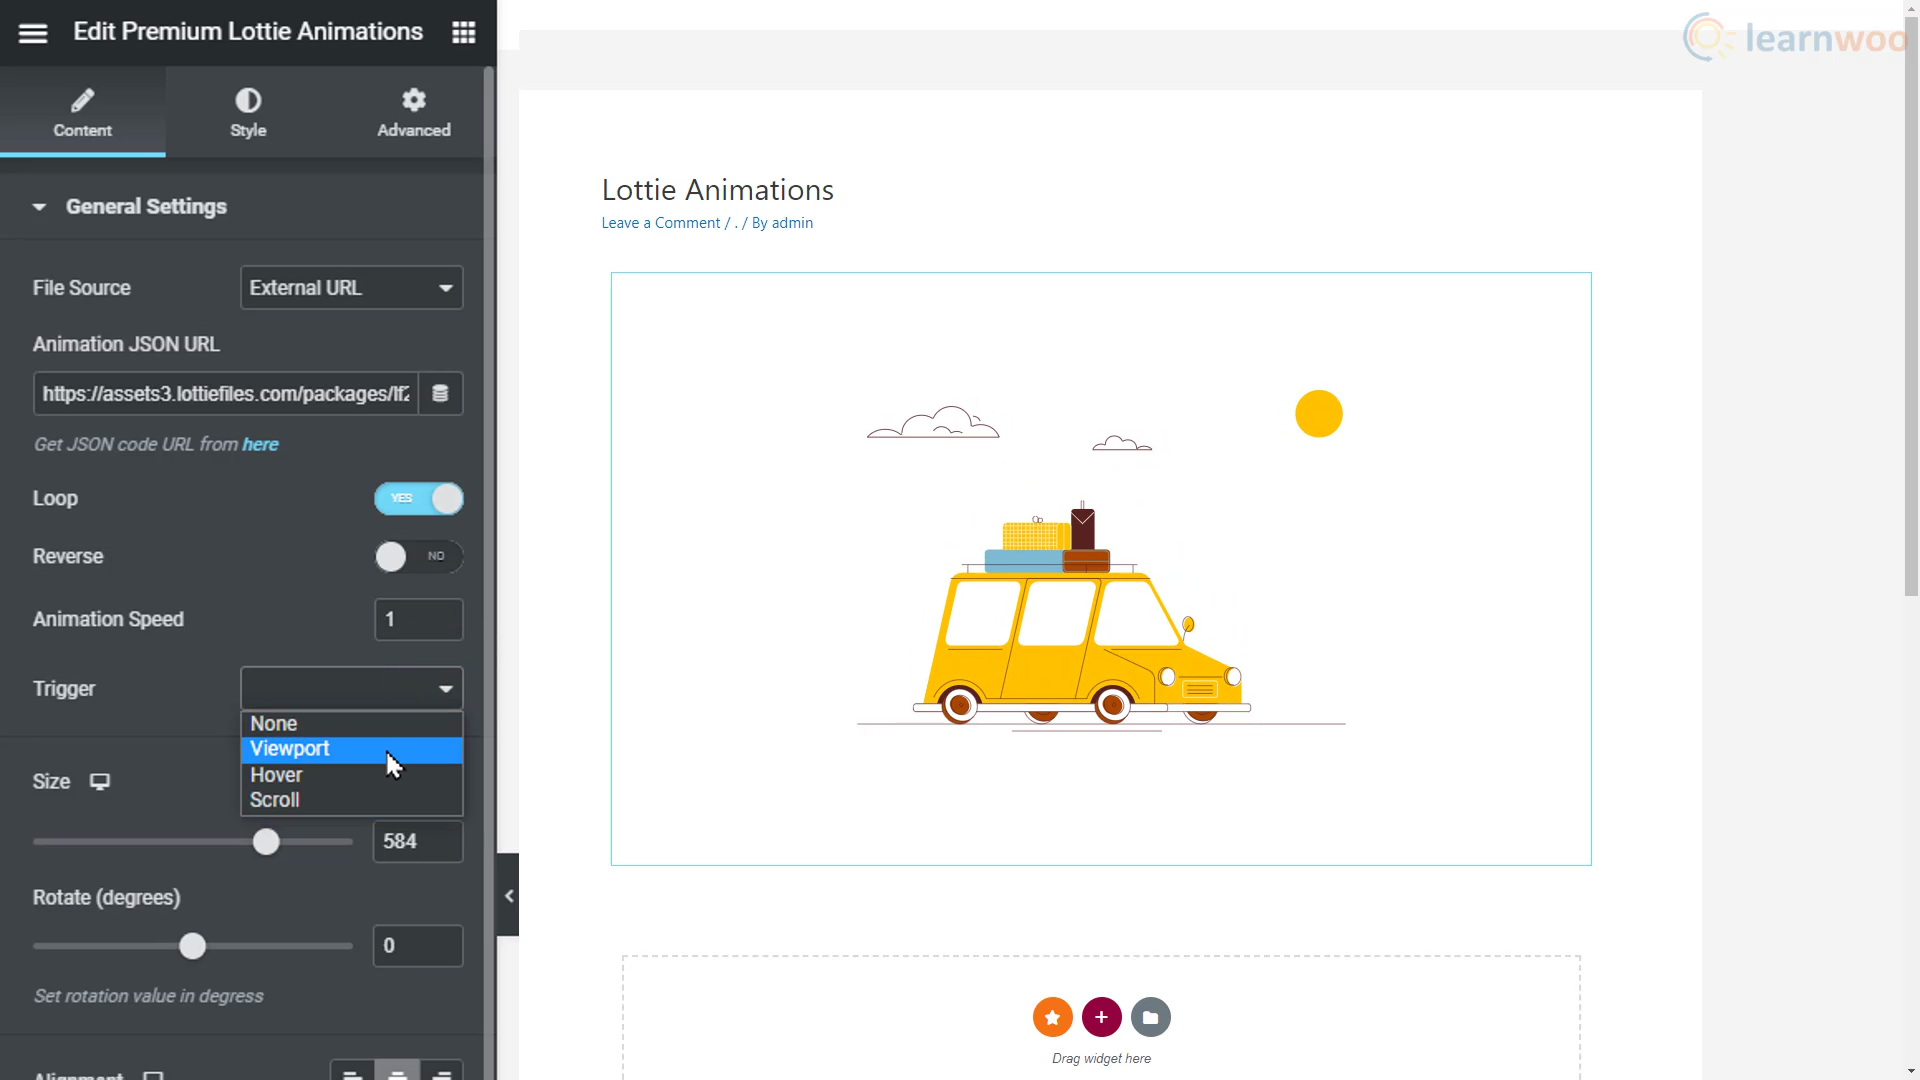
With the viewport option, the animation will only run when it comes on screen. With the hover option, the animation will only work when the user’s mouse pointer hovers over it. Finally, the Scroll option lets you match the animation to the user’s scrolling.
You can customize the widget’s properties too. You can resize it, rotate it, align it on the page, and even add a clickable link to it.
In the Style section, you can change the background color of the animation to blend it on your website. You can also alter its opacity and add a border to the animation by defining its border radius and padding.
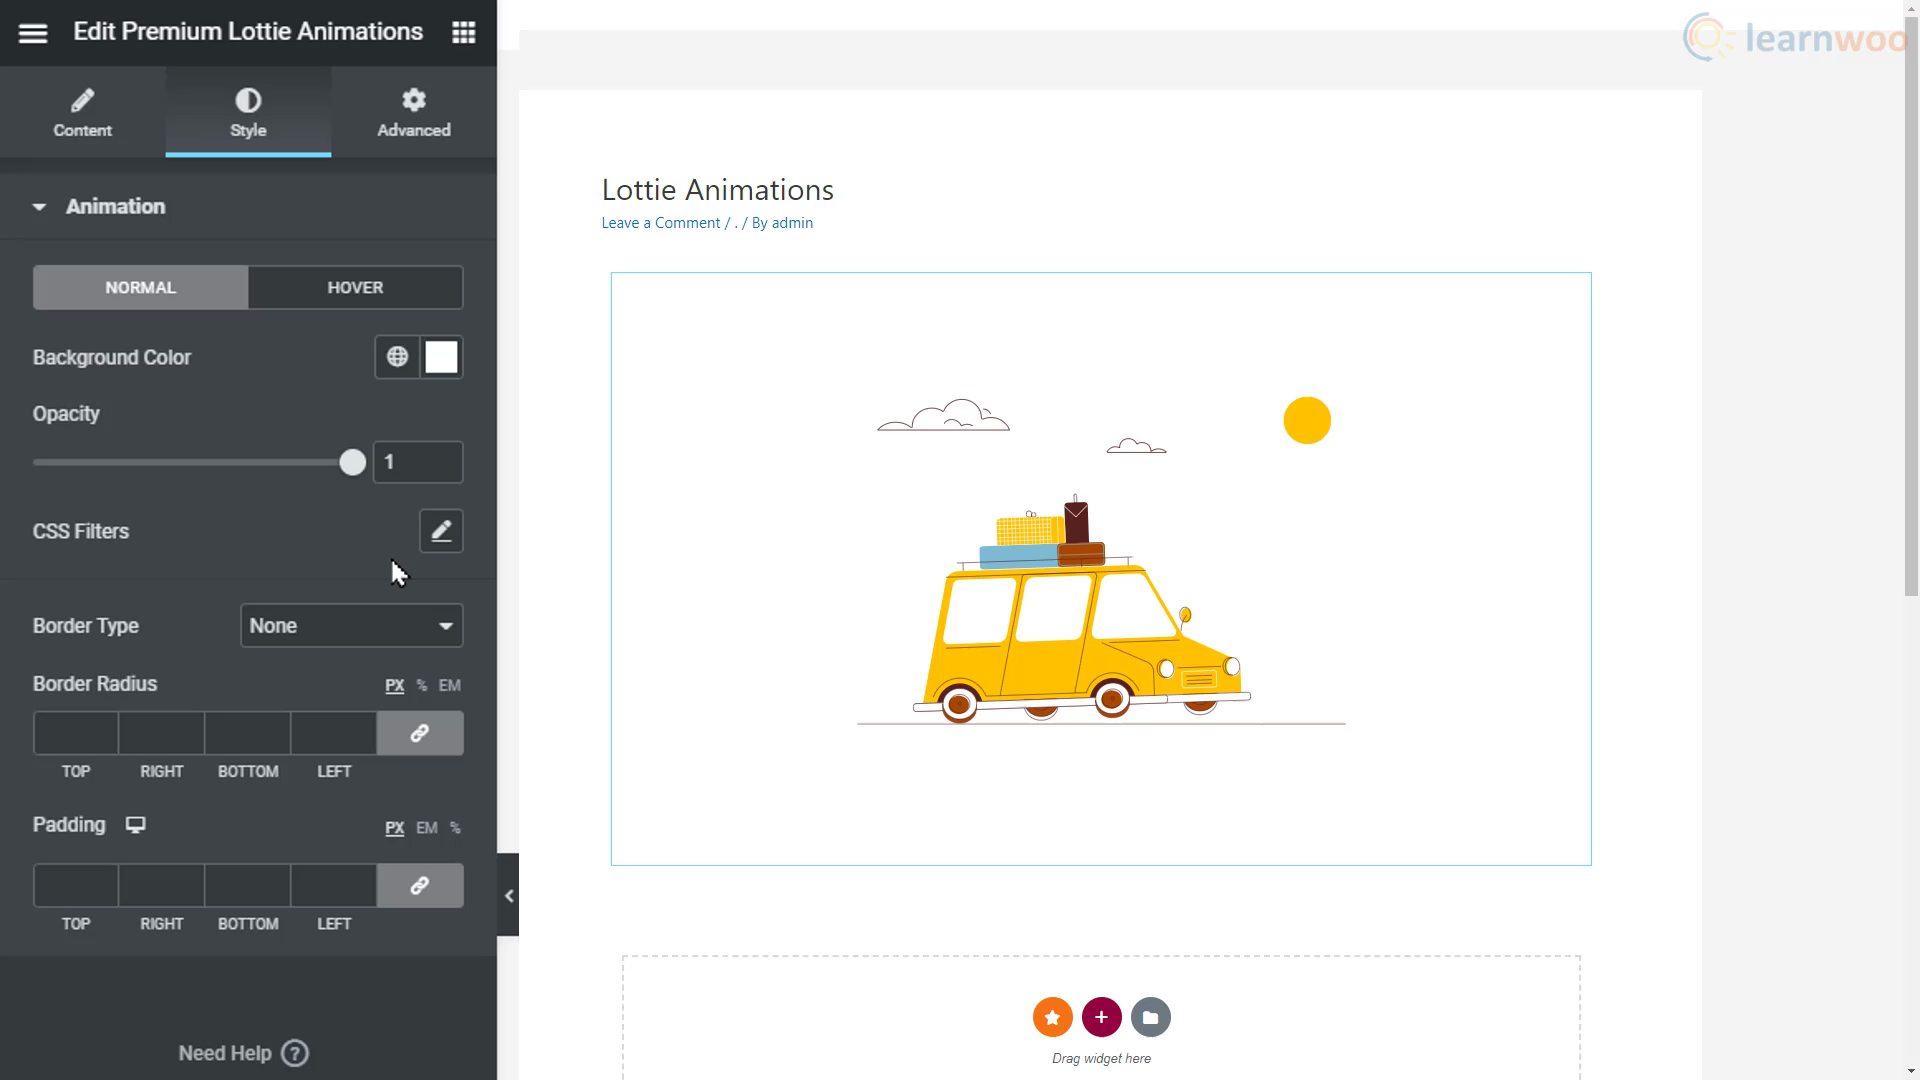
Finally, the Advanced section lets us add further customizations for margins, motion effects, borders, responsiveness, and more.
Customizing an Animation in Lottie Editor
If you like an animation but it doesn’t match your website’s theme, you can customize its color properties in the Lottie Editor. Just click on the “Edit layer colors” button in the pop-up before copying the file URL.
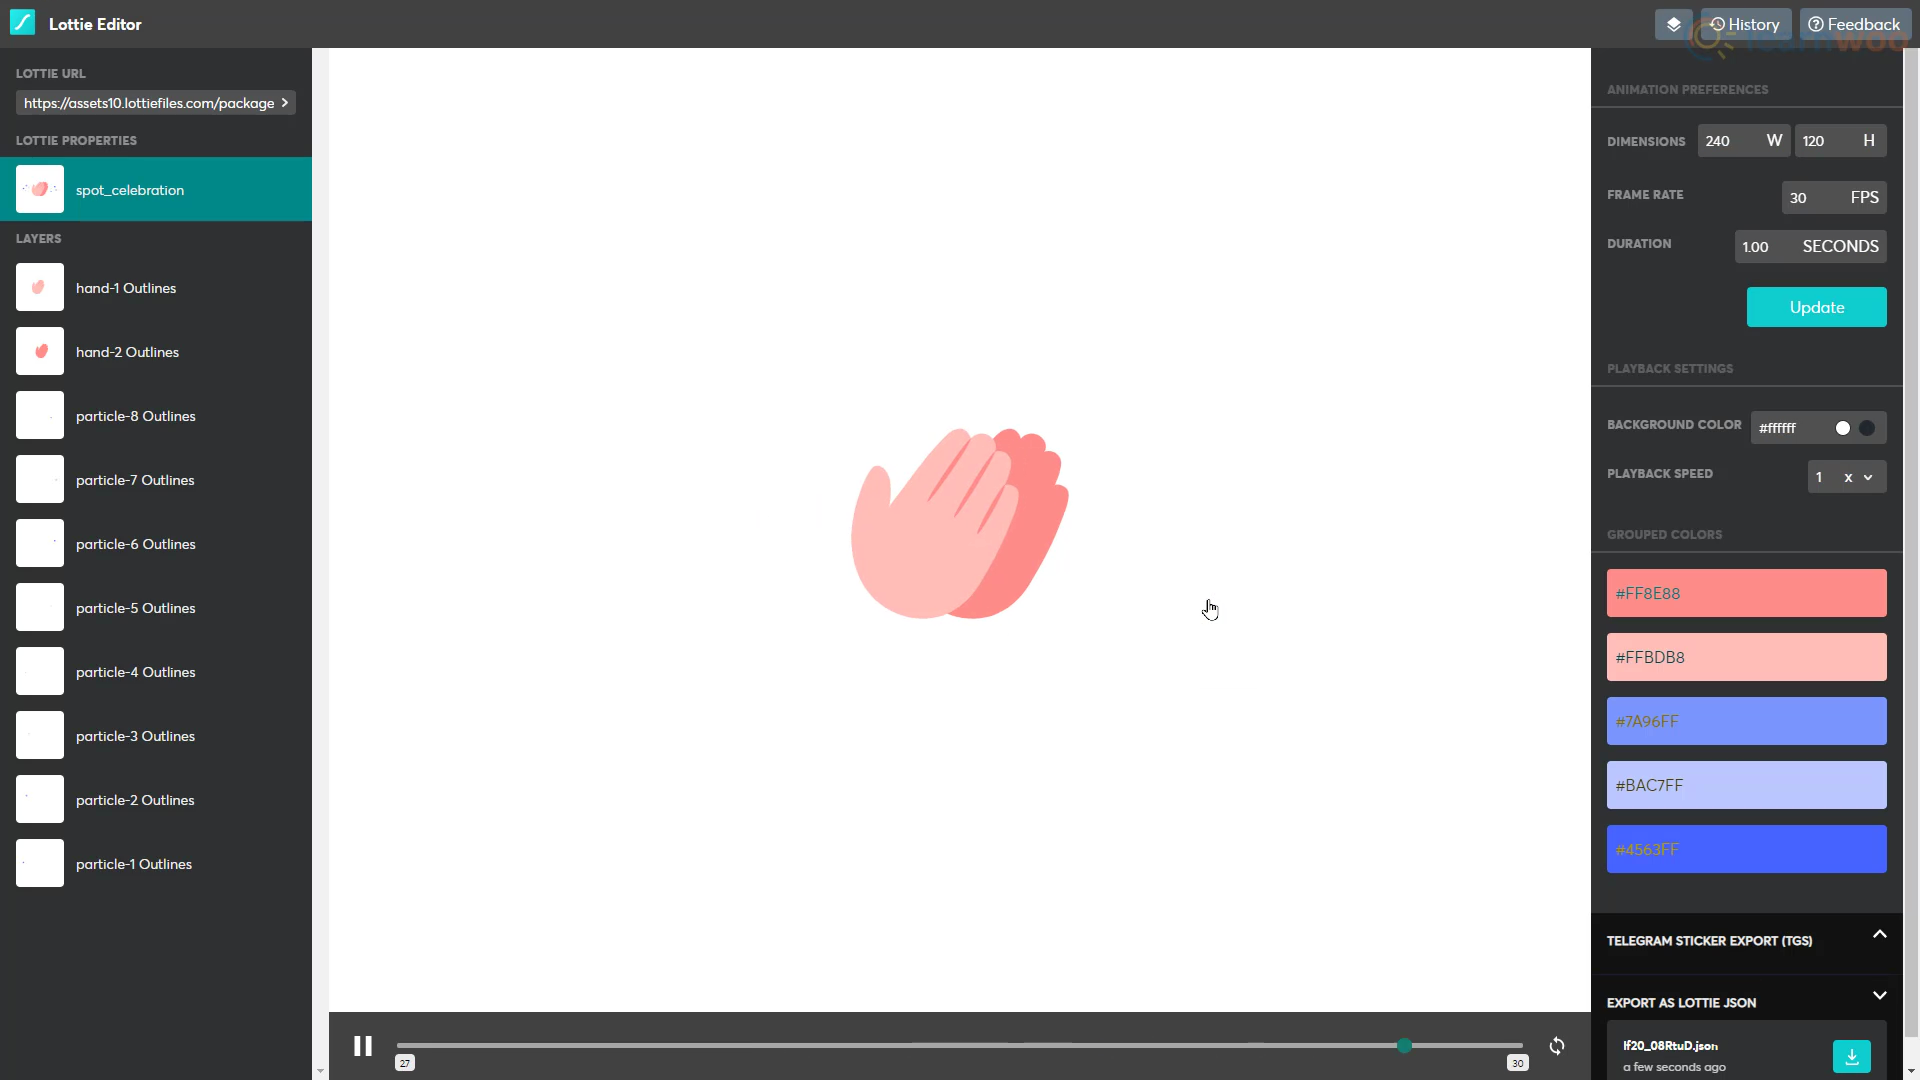
On the left, you can see the various elements of the animation. Select the one whose color you want to change. On the right, we can see the various colors in that layer.
Select a color you want to change, and set a new one. Then, click Update. Do the same for all other colors in the layer. And re-color any other layers you want as well
When you’re done, click the Download button under “Export as lottie JSON”, and save the file on your computer.
To import a customized Lottie animation, you’ll again use the Premium Lottie Animations widget just like before. But instead of an external URL, you’ll import the file from a media file. Then, upload the JSON file from your computer.
The customized animation has been imported. You can then edit it similar to before.
Use Cases
Let’s take a look at some of the use cases for lottie animations on our website.
1. Animated Headers
You can create beautiful animated hero sections for your homepage and product pages. Add the Lottie animation widget in the column and then paste the file URL.
Keep the loop option enabled. And resize it to your preferences.
2. Animated Buttons
You can create animated buttons using Lottie animation that can go anywhere on your website.
You can find many button animations on Lottie files. Paste the file URL on a page. Below, set the trigger option as hover. Then, enable the link option below. Select the link type and choose the page where the link should point to.
On the live page, when a user clicks on the animated button, they’re led to the shop page.
3. Scroll-triggered Animations
Scroll-triggered animations can be a cool way for your users to interact with your webpage. Plus, they’re easy to add.
Simply set the trigger as Scroll. Below, change how fast the animation runs when scrolled. You can also choose the portion of the viewport where the animation will be active.
If you prefer a video version, please check the video below:


