
Last updated - July 8, 2021
Well, this is a guide for lazy guys who are not ready to spend months learning boring things like HTML/CSS coding and pay bags of money. But this doesn’t mean that they have nothing to tell the world. On the contrary, their life is full of thrilling adventures that deserve public attention.
Are you one of those guys? Then read on and you will learn how to start a website/blog quickly, easily, and affordably.
Consider this before you start
There are so many different website building platforms and website builders available on the market.
WordPress, HTML, Magento, Joomla, to name a few.
You can try to code a website from scratch, but we wouldn’t recommend it.
- Coding takes too much time.
- The result will sooner be disappointing.
OK, which platform should you choose?
We guess these recent statistics made by BuiltWith will help.
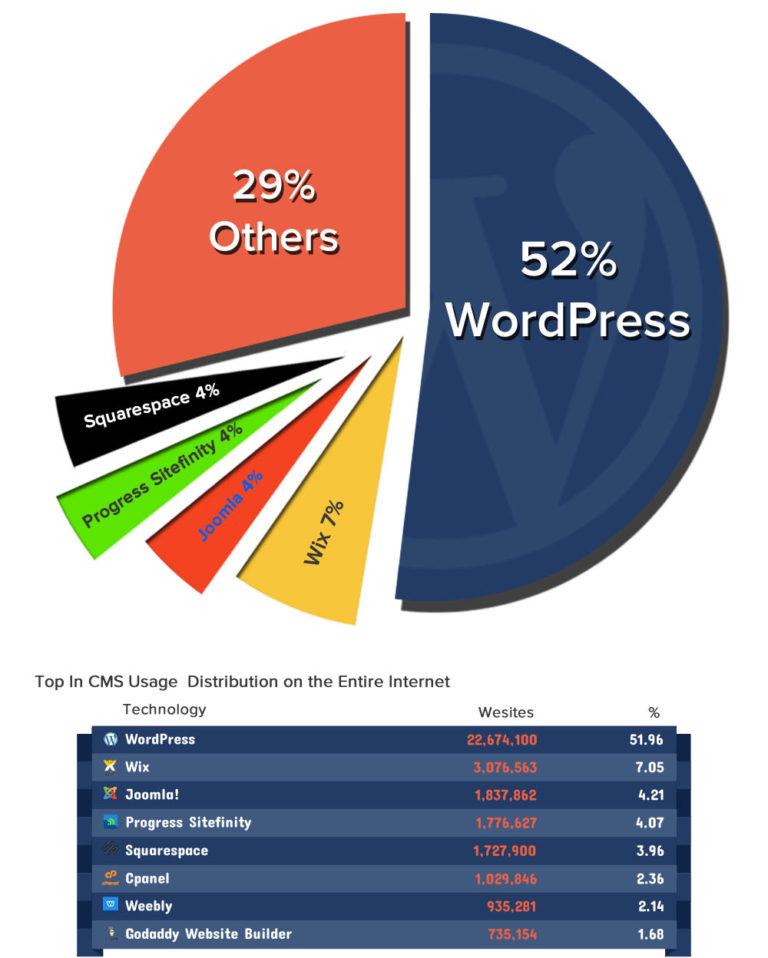
From the graph above you see that in 2019 the most popular website builders (or content management systems) are:
- WordPress (free) 52%
- Wix (paid) 7%
- Joomla (free) 4%
- Progress Sitefinity (free) 4%
- Squarespace (paid) 4%
- Weebly (paid) 2%
If you need some time to think, don’t choose the platform right now. Most of the web hosting services offer one-click-installs for WordPress, Joomla, and Drupal. You can take a decision on that later on.
Don’t have time/desire to read on? Just want somebody fair enough to do everything instead of you? Just click this button
Ready-to-Use
and all your problems will be solved for $149 only.

The first step
- Get web hosting and register a domain name
To set up your WordPress or any other type of website you’re going to need two things:
- Domain Name, which is a web address like YourSiteName.com
- Web Hosting, which is a service that connects your site to the internet
Your website will not be visible on the Internet without web hosting. You need it to store your images, content and website files.
We advise you to own your domain name as it looks more professional than having your site on someone else’s domain like yourbusiness.my-free-website.com. Moreover, it’s affordable. Most hosting providers offer domains free for one year. Usually, a domain name costs nearly $15/year.
The takeaway is – your site won’t exist without a web hosting and a domain name.
We guess we can just skip the steps of registering a domain name and getting a web hosting. They are pretty simple.
For instance, if you decide to use the
Ready-to-Use
offer, domain name and web hosting are already included in it.
The second step
- Set up your website
Once you have your domain name and your hosting set up, it’s time to proceed.
It’s time to get your website up and running. What you need to do at first turn is installing WordPress to your domain.
There are two ways of installing WordPress. One is much easier than the other.
Almost every decent hosting company has integrated 1-click-installation for WordPress, which makes it a piece of cake.
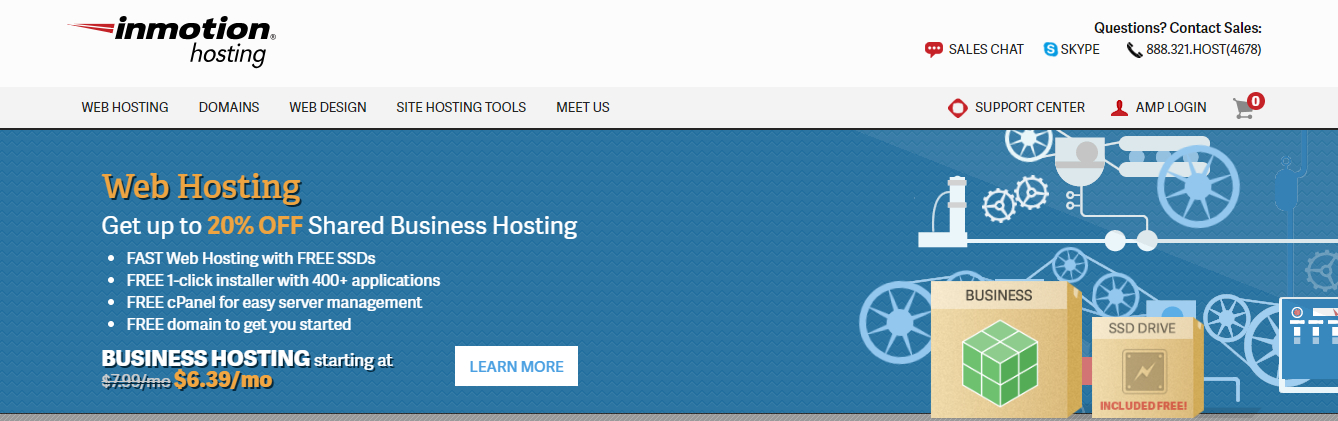
If you signed up with Inmotion hosting or any other similar hosting company, you should find your “1-click-installation” in your account control panel.
When you find it, follow these steps, which should be similar/same on all the major web hosting companies:
- Log in to your hosting account.
- Go to your control panel.
- Look for the “WordPress” or “Website” icon.
- Choose the domain where you want to install your website.
- Click the “Install Now” button and you will get access to your new WordPress website.
If for some odd reason your hosting company doesn’t provide one-click-install for WordPress, you will need to install it manually. But we recommend you to think twice. Why should you overcomplicate the simple automated process? Is that company really the best choice?
The third step
- Design your website
Well, now when WordPress is successfully installed to your domain, you’ll see a very basic clean site.
But the issue is that you don’t want to look like everyone else, do you?
What you need is a theme. We mean a ready-made design template telling WordPress how your website should look. Here is an example of a premium WordPress theme that you can install:
Imperion – Multipurpose Corporate WordPress Theme
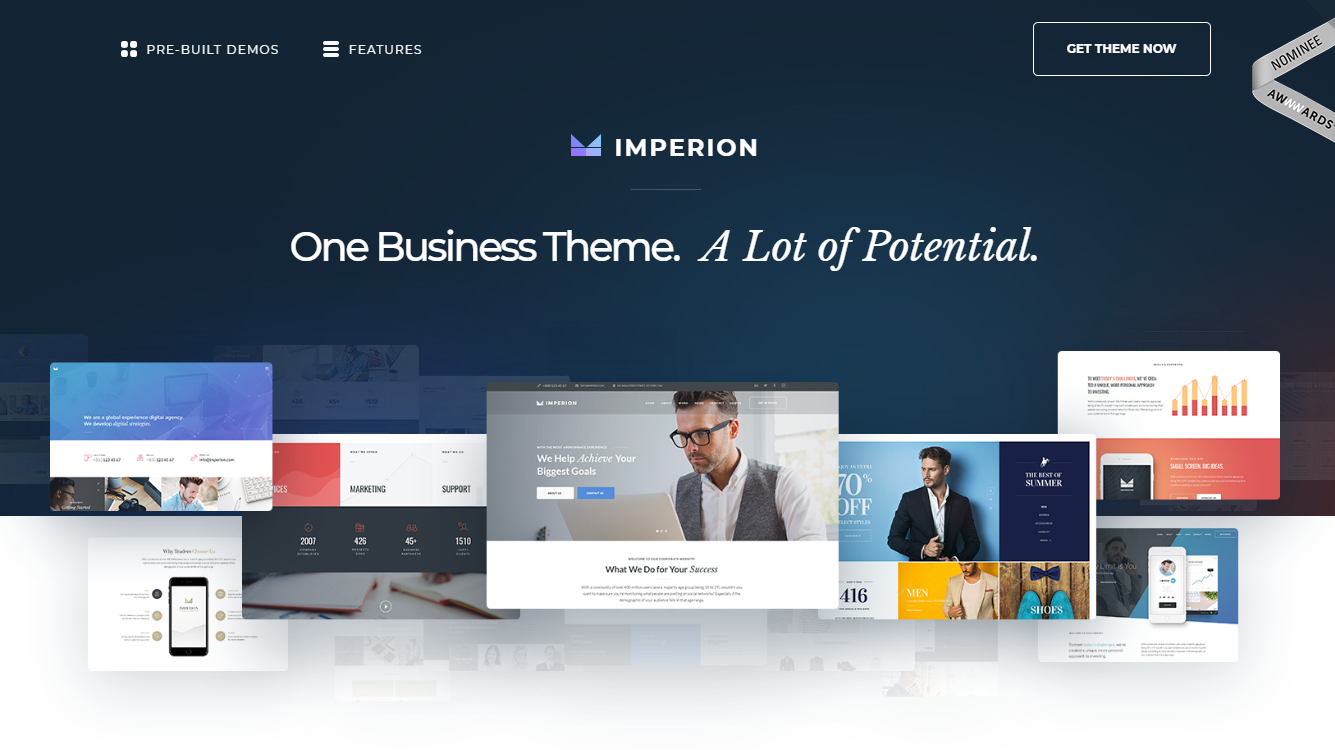
It gets fun here. There are so many professionally designed themes to choose from and customize for your own needs on the Internet.
A lot of WordPress themes are available for free. Here you should consider all the pros and cons of free and premium themes. Premium ones are more feature-rich and come with free lifetime 24/7 support (if we speak about a top-notch provider).
As to the free themes… It will be rather challenging for you to handle them on your own without web design and web development skills. Free themes come without support.
Install your new theme
Supposing you have found a theme you like. Installing it is really simple. All you need to do is click “Install” and “Activate”.
Please note that changing themes won’t delete your previous posts, pages, and content. You can change themes as often as you wish without having to worry about losing something that you’ve created.
The fourth step
Add Content To Your Website
When your theme is installed, you’re ready to start creating content. We are going to quickly run through some basics:
Adding and editing pages
Would you like to add a “Services” or an “About Me” page?
- Look along the sidebar in the WordPress Dashboard and find “Pages” -> “Add New”.
- You’ll see a screen similar to Microsoft Word. Add text, images, and other elements to build the page you want. Then save it when you’re done.
Adding pages to the menu
Would you like your new page to be linked to your navigation bar?
- Save any changes you’ve made to the page by clicking “Update”
- Click “Appearance” -> “Menus” in the sidebar of the WordPress Dashboard
- Find the page you created and add it to the list by clicking the checkbox next to it and then “Add to Menu”.
Adding and editing posts
You will surely want to have a blog on your website. So, “Posts” will be where you go next. Use different categories to group similar posts.
Need to add a blog to your website? Use different categories and posts. Let’s imagine that you want to create a category named “Blog”. Simply add it to your menu and start creating posts.
How to do it:
- Go to “Posts -> Categories” to create a new category
or
- b) Go to “Posts -> Add New” to create a blog post. When you’ve finished writing your blog post, you need to add the right category for it.
Once you’ve created the appropriate category, add it to the menu, and you’re done.
Customization & Tweaks
Changing Your Title and Tagline
Page titles tell users what your website is about. They also affect how search engines determine your rankings. You surely want to cram the keywords you target for. Please do it naturally, write for real people.
Use a unique title on every page of your site.
Add taglines at the end of titles across every page.
To change the title and tagline on your website, go to “Settings -> General” and fill in the relevant form.
Disabling Comments for Posts & Pages
Don’t want your visitors to leave comments on your pages?
Here’s how to shut them off on WordPress pages:
- While you are writing a new page, click “Screen Options” in the top right corner.
- Click the “Discussion” box. The “Allow Comments” box will appear at the bottom.
- Untick “Allow Comments”.
Want to disable comments on every new page by default?
- Go to “Settings -> Discussion” and untick “Allow people to post comments on new articles”
Setting Up a Static Front Page
What is a static page? It’s a page that doesn’t change. That is – a static page will show the same content every time a user enters the site – like a home page you’ve designed.
Here is how to set up a static front page:
- Go to “Settings -> Reading”
- Choose a static page that you have created. “Front Page” denotes your home page. “Posts page” is the front page of your blog (if your entire site isn’t a blog).
If you don’t choose a static page yourself, WordPress will take your latest posts and start showing them on your homepage.
Editing sidebar
Most of the WordPress themes have a sidebar on the right or on the left side.
Would you like to get rid of it or edit the items you do not need like “Categories”, “Meta” and “Archives”? Here’s how to do it:
- Go to “Appearance -> Widgets” in the WordPress Dashboard.
- From here, you can use drag and drop to add different “boxes” to your sidebar or remove the items you don’t want.
There’s also an “HTML box”. This is a text box where you can use HTML code. If you are a beginner, just ignore it. Drag and drop the elements you’d like in your sidebar.
Installing Plugins to Get More out of WordPress
Plugins are extensions that expand WordPress’ capabilities, add features, and functions to your site that don’t come right out of the box.
They make your site what you want it to without having to build the features from scratch.
You can use plugins to do everything – from adding photo galleries and submission forms to optimizing your website and creating an online store.
How to install a new plugin?
Go to “Plugins -> Add New” and simply start searching.
There are over 25,000 different free WP plugins, so you’ve got a varied choice.
Installation of the plugin is easy. Just click “Install” when you find the right one.
Here is a video tutorial that will help you understand the process of installing a new plugin on your WordPress store.
But please think well if you really need to install this or that plugin as some of them may slow or even harm your website.
Here is a short list of the most popular plugins other webmasters install:
- Contact form 7 – It’s an awesome feature as people can fill in the form and send you an email without logging into their own email provider.
- Yoast SEO for WordPress – If you want to make your WordPress site even more SEO-friendly, this plugin is a must-have. It’s free and awesome. You’ll be able to edit your title tags, meta descriptions and more, all from within the page – no more fuss with WordPress settings.
- Google Analytics – Are you interested in tracking your visitors/traffic and their behavior? Just install the plugin, connect it with your Google account and you’ll have this info at hand.
You are ready to launch
Have you followed us? Then you should have a fully-functional WordPress website now. It wasn’t so bad, was it?
Those who are ready to pay $149 in order not to mess with all this stuff… Hurry up, this is a limited time offer. Actually, it is valid till the eights of February.
Click this button Ready-to-Use
and get
And much more.
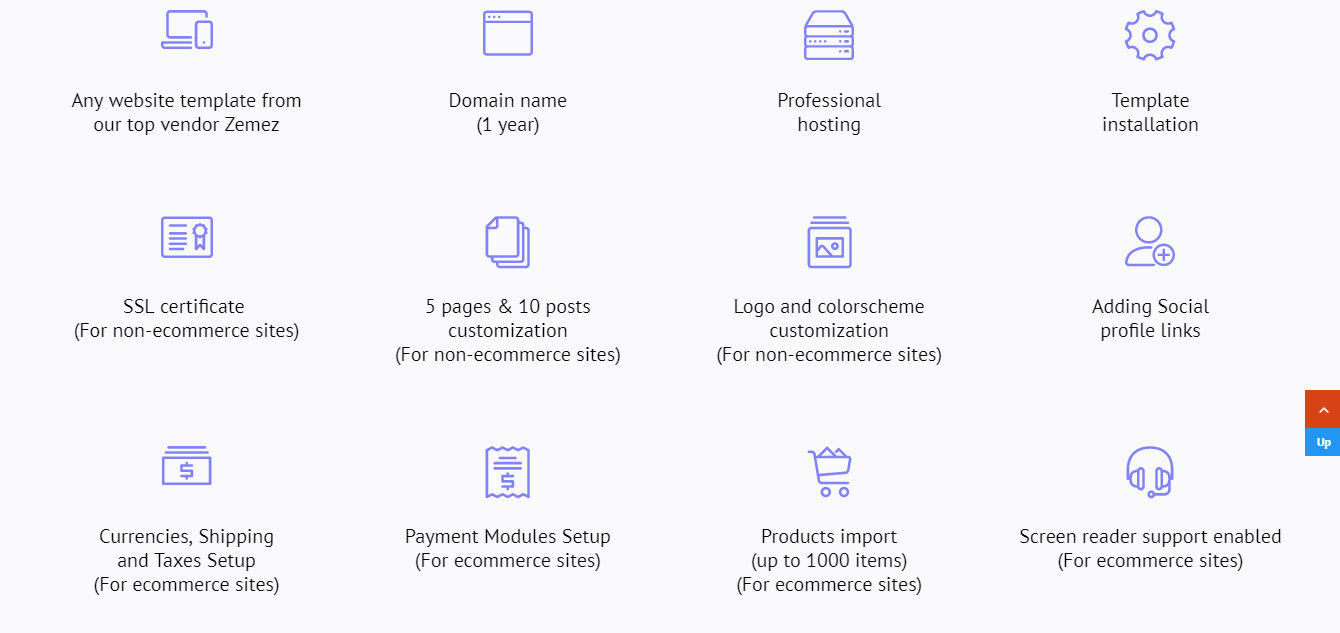
Here’s how this generous offer works:

What you will need to provide:

Sounds good, isn’t it?
P.S. Never stop improving your website!
WordPress is highly customizable. If you want to master it, continue to study the CMS and maintain your site. This way your online business will always thrive.


")
")
")