")
In the growing world of content creation, the demand for professional videos has skyrocketed. However, not everyone has access to a charismatic presenter or the budget for expensive voiceover services. Text-to-speech (TTS) technology offers a viable solution, but the challenge lies in creating a natural-sounding voice without breaking the bank.
In this guide, we’ll explore a cost-effective approach using Clipchamp, a popular online video editing software, to generate realistic TTS voice overs for free.
Generate TTS Voiceover with Clipchamp
Clipchamp, known for its robust video editing capabilities, also provides a unique feature for generating free text-to-speech voice overs. Follow these steps to harness the power of Clipchamp:
Access Clipchamp: Head to Clipchamp.com, and either sign in or create a new account.
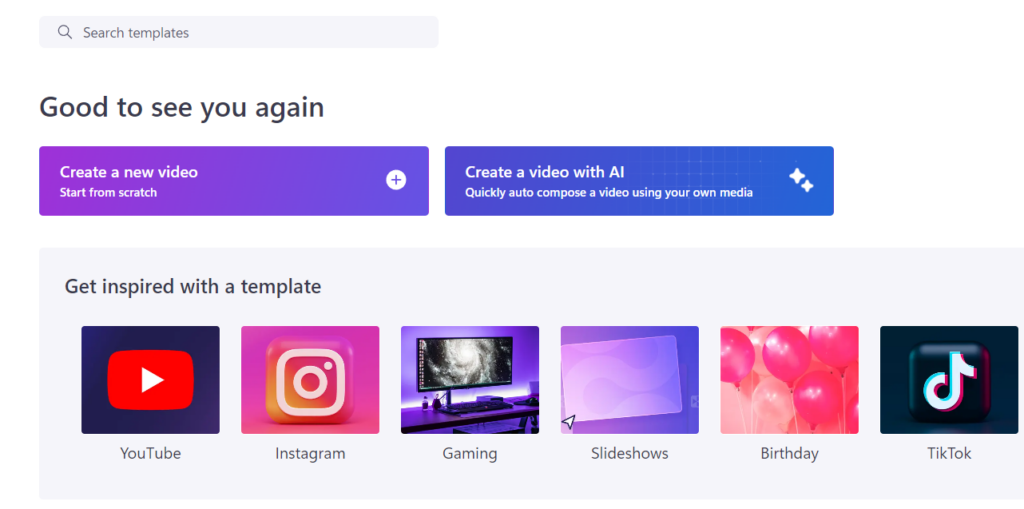
Create a New Project: Once on the Clipchamp dashboard, click on “Create a new video” to initiate a new project.
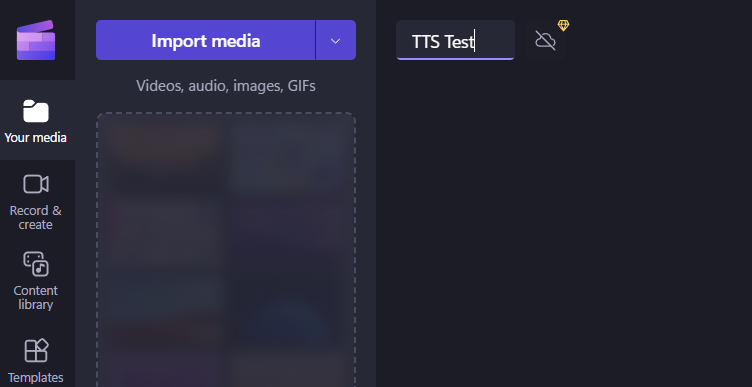
Give it a name that reflects your content, such as “TTS Test.”
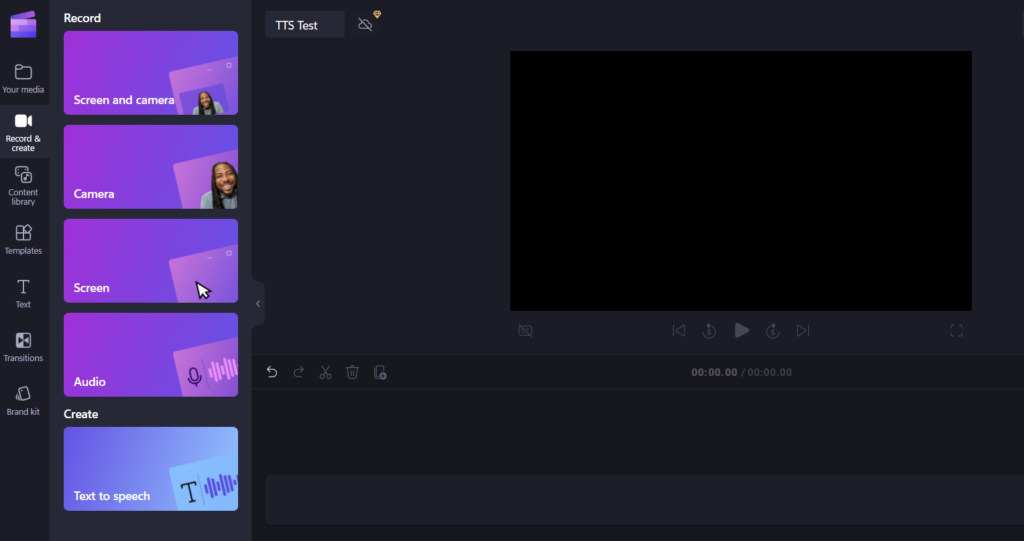
Navigate to Text-to-speech Feature: In the left column, click on “Record and Create,” and then select “Text to speech.”
Customize Voiceover Settings: In the new column on the right, input your desired text and choose language preferences. Experiment with different voices, emotions, vocal pitch, and speech pace to achieve the desired result. Utilize the “Advanced Settings” for more nuanced control, adjusting the emotion, pitch, and pace of the voiceover.

Preview and Save: Click on “Preview” to listen to the generated voiceover. Fine-tune as needed, adding pauses with commas or full stops. Once satisfied, click “Save.”
Export the Voiceover: With the voiceover added to the timeline, click on “Export” and choose the quality. Opt for 750p, as only the audio is required.
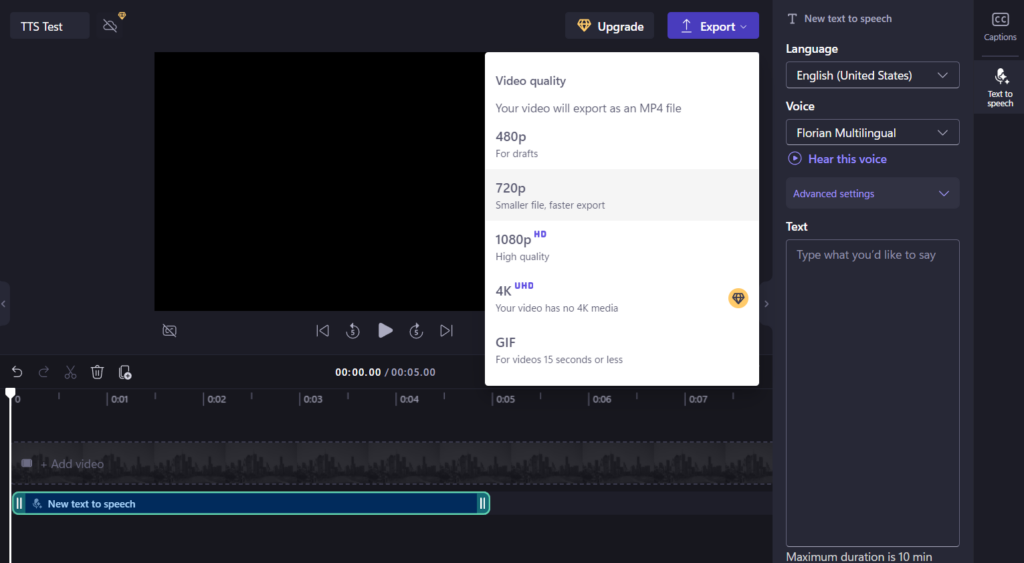
Note that the file will be exported in MP4 format.
Convert Video to Audio
Now that you have an MP4 file containing your voiceover, the next step is to convert it into an audio file. Two methods are outlined below:
Using FreeConvert
FreeConvert is an online website that lets you convert files from one format to another. So, to convert the video file into an audio file, first, visit the FreeConvert website.
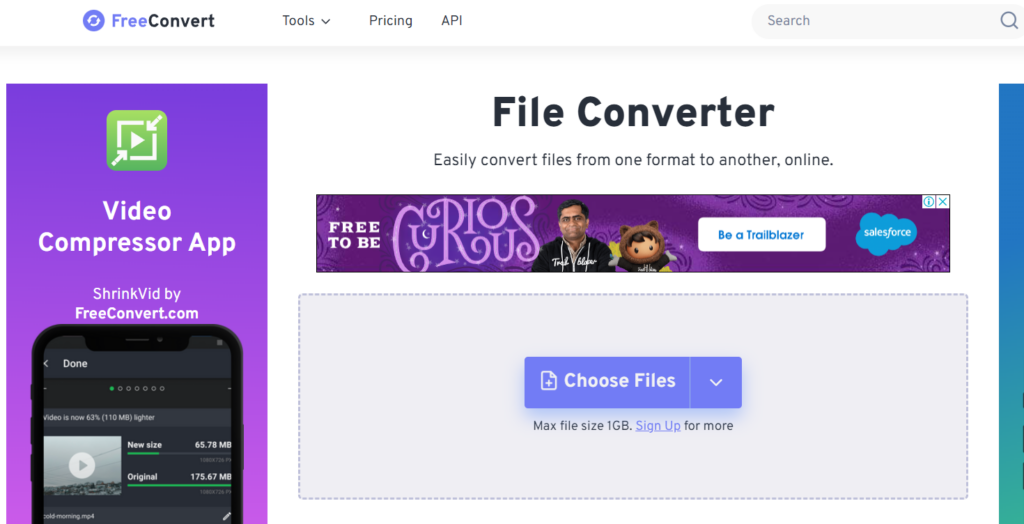
Click on ‘Upload files’ → Upload the MP4 file → Click ‘Convert’ → download the converted audio file.
Using Final Cut Pro
Final Cut Pro is a video-editing application for creating, editing and producing the highest-quality video. It also lets you detach the audio from the video file while editing the video. Let’s see how you can do that. For that, first, open Final Cut Pro.
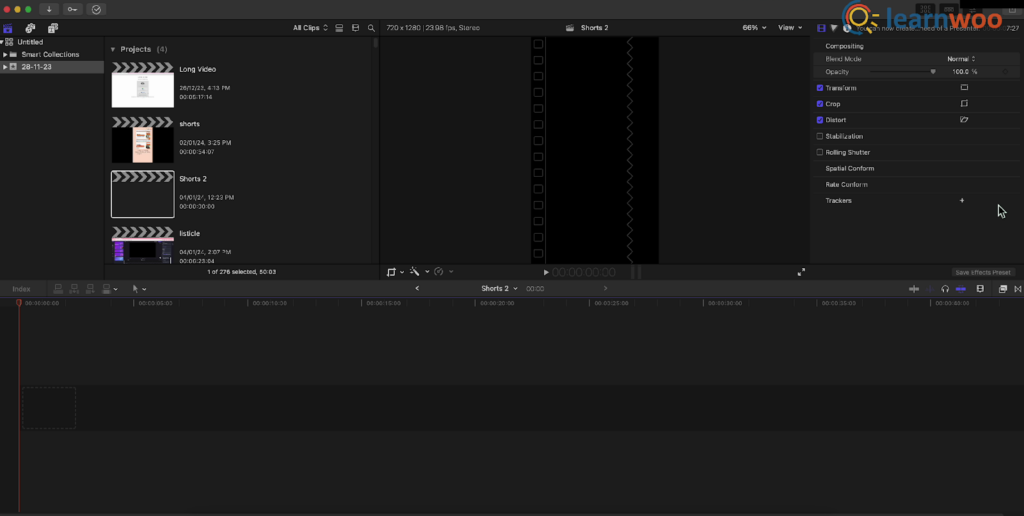
Open a new project → Drag and drop the video file onto the timeline → Right-click → select ‘Detach Audio’
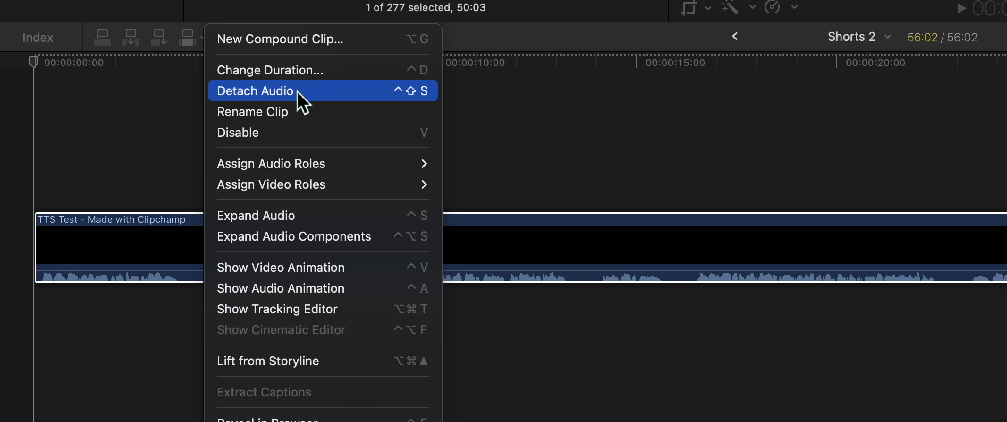
Next, Delete the detached video part, leaving only the audio.
Sync Audio to the Video
After obtaining the audio file, syncing it with your video content is essential. Here’s how to do it using Final Cut Pro:
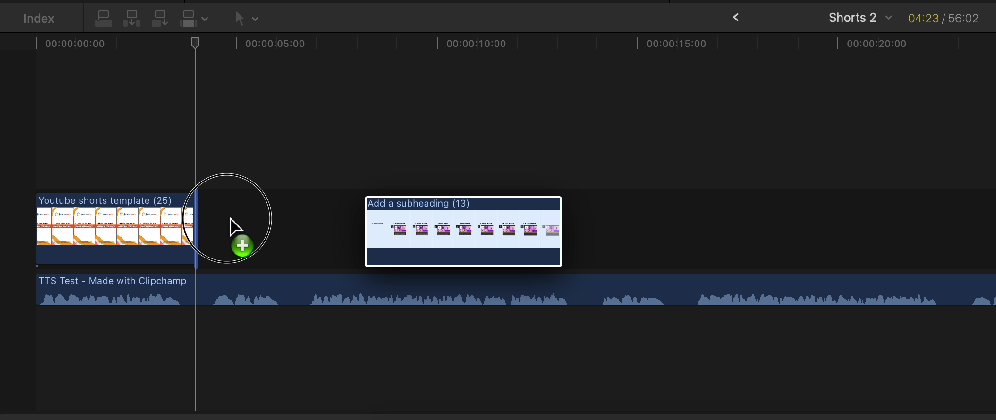
Import Files: Add the voiceover audio and video to your Final Cut Pro project.
Cut and Align: Use the ‘Command + B’ shortcut to cut both the video and audio at the desired points. Ensure that the audio matches the corresponding video segment.
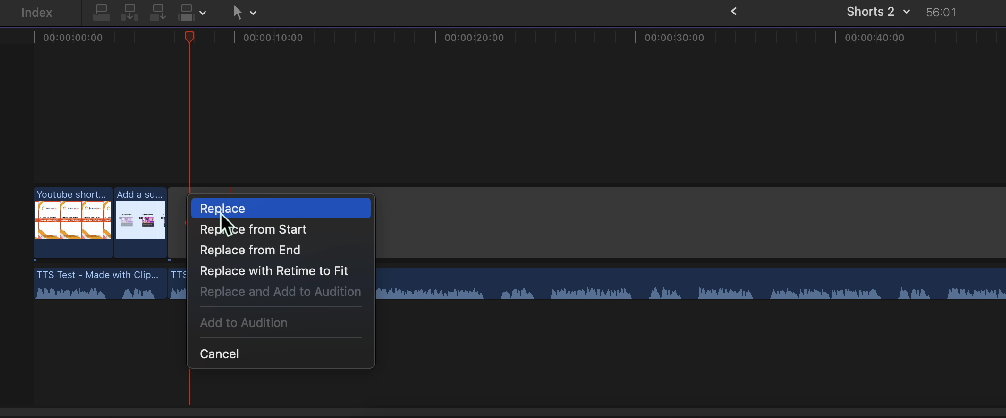
Adjust Speed: If needed, adjust the speed of the video to synchronize it with the audio. This can be done by selecting the video part, clicking ‘normal,’ and adjusting the length accordingly.
Final Adjustments: Make any necessary adjustments throughout the video to ensure seamless integration between the voiceover and the visual content.
Conclusion
Making professional-sounding videos without a presenter is now doable and free, thanks to text-to-speech tools like Clipchamp. This guide showed you the easy steps to create natural-sounding voice overs without spending money or settling for robotic voices.
Whether you use the straightforward FreeConvert website or the more advanced Final Cut Pro, converting your voiceover video to audio is hassle-free. By syncing the audio with your video using these methods, you can make your content stand out with a polished and genuine touch. Embrace the simplicity and affordability of these tools to enhance your video-making journey and leave a lasting impact on your audience.
If you are someone who is more comfortable with video content, then here is a detailed video on ‘How to Generate Realistic Text-to-Speech (TTS) Voice Overs for Free?’
Further Readings


")
")
")