
Last updated - November 10, 2023
Just done installing WooCommerce? Congratulations! You are one step closer to launching your own, completely new eCommerce website and storefront to rule your target market. But before you can launch your website and attract people from all over the world, there are a few other crucial procedures you must complete after installing WooCommerce.
You may structure, tweak, and design your website in a variety of ways to immediately increase conversion rates. However, there are a few things you need to perform in the site’s backend to set it up correctly before you can start showing products on your site and making sales. Additionally, it can be extremely difficult for new WooCommerce users to determine which tasks are the most crucial and which must be completed first.
We, therefore, provide you with thorough instructions for those of you who are new to this popular eCommerce website platform and want to begin by meeting the fundamental criteria after installing WooCommerce.
Essential Things to Do After Installing WooCommerce
You will find a fully blank canvas that you can customize to reflect your business’ brand or how you want to position yourself in the market as soon as you have finished the first step (installing WooCommerce). Here is a fast checklist of the top 10 things you must do right away to launch and maintain your website in order to help make the process a little easier.
Add Your Website Title, Tagline, and Timezone
You must start at the very beginning when building up your new WooCommerce website. After installing WooCommerce the website’s tagline and title are the most crucial aspects that you should customize right away. These are the elements of your website that users and search engines will initially take notice of and base their evaluation of your new website on.
Now, the title acts as the name of your website and can be found in both the header of your website and the title bar of the browser. On the other hand, the tagline is typically an optional brief description or brand motto that is also shown in the browser’s title bar, next to the title.
Creating a unique title and tagline for your WooCommerce website is really simple. Your preferred title and brand slogan can be entered with just a few clicks by navigating to the General Settings tab directly from the dashboard.
Once things have been resolved, it’s time to fix the time zone on your website. Adjust the date and time in the General Settings tab so that they reflect your geographic area or that of your intended audience.
Update Your Profile, Avatar, and Passwords
Now that you have already set up the initial steps after installing WooCommerce, it is time to fill out your User Profile and add some basic information about yourself. Your first and surname names, a display name, an email address, optional social network links, a brief biography about you, and other information are some of the things you need to consider. Simply go to your User Profile from the dashboard side panel and fill in the details to complete your profile.
But it doesn’t stop there. Additionally, you need to provide a profile photo or avatar for when you post blog comments or other content to your website. And in order to achieve that, WooCommerce mandates that you make a Gravatar (Globally Recognized Avatar) using the email address associated with your account.
Add a Contact Form
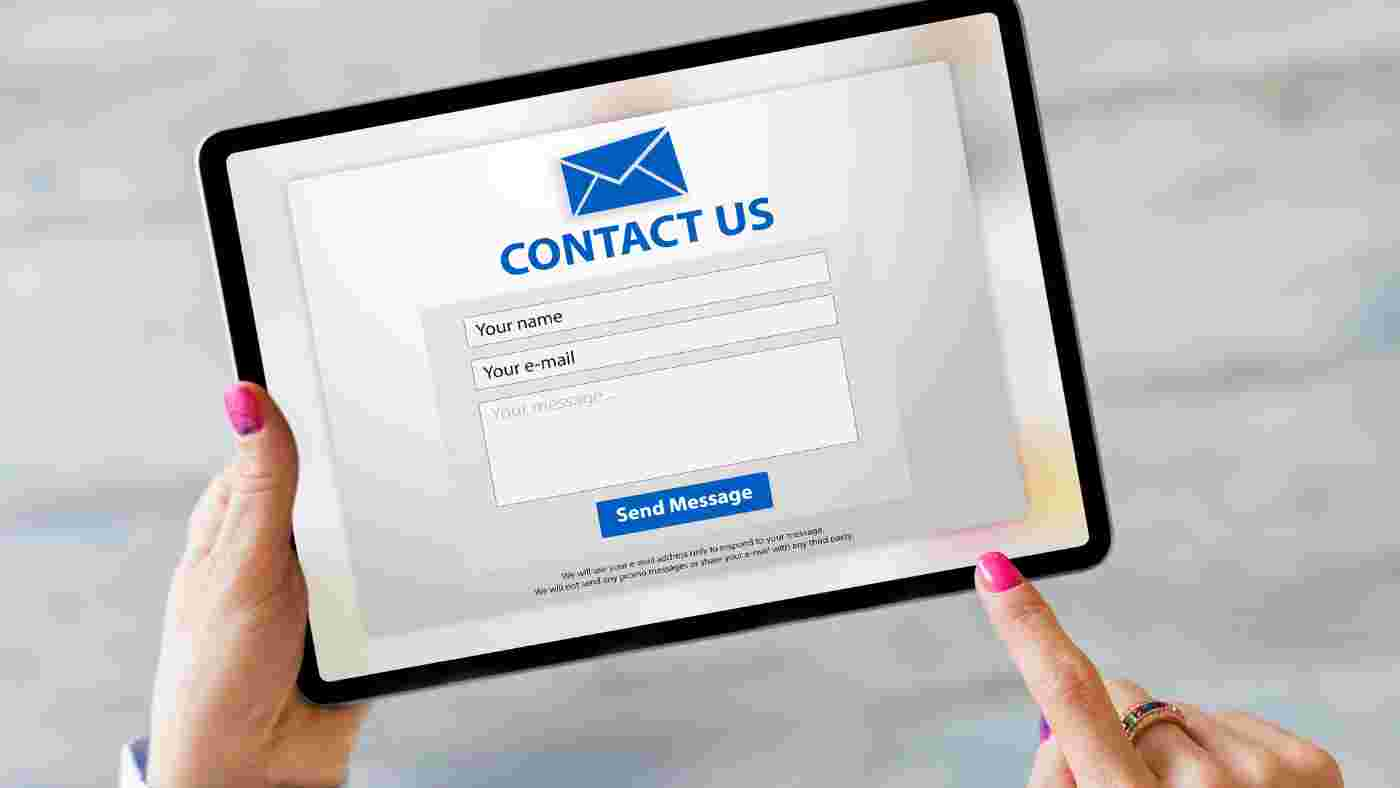
A contact form is absolutely necessary for all online websites. It enables website users to get in touch with you easily by completing a form on your website. Users can provide feedback and assist in answering your queries. WooCommerce does not by default include an integrated contact form.
Therefore, you need to install a plugin for adding the contact form after installing WooCommerce. There are a few exemplary contact form plugins available and you can choose the appropriate one based on your preferences.
Update Address URLs and Permalink Structure
Installing WooCommerce is only the first step. You need to select both a WooCommerce address URL and a site address URL. To put things in a more simplified manner, you need to fill out the WooCommerce Address (URL) section with the complete URL of the directory that contains your WooCommerce core files. Additionally, you must enter the URL you want your visitors to type to access or find your WooCommerce website in the Site Address (URL) area.
WooCommerce gives you the option to select a URL with or without a www prefix. The decision is entirely up to you, but during the initial phases of website setup, you should set it up properly in your WooCommerce admin panel. Simply select the General Settings tab and enter your selected version in the WooCommerce URL and Site Address URL fields.
Changing the permalink structure is a necessary additional action you must take after installing WooCommerce. The permanent links or URLs to certain pages, articles, and resources on your website are known as “permalinks,” and once they have been published, they cannot be altered.
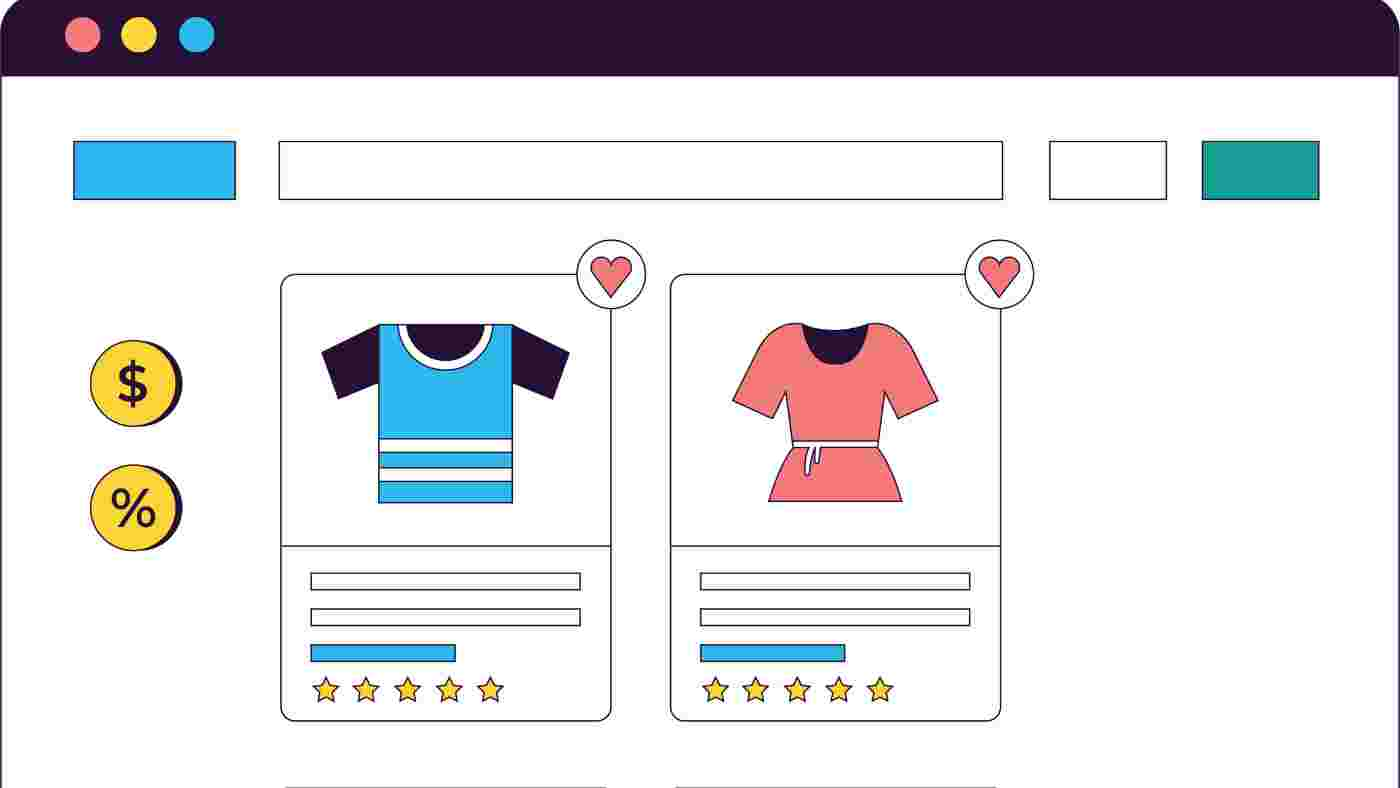
Remove Dummy Content and Publish Webpages

You will discover dummy sample content added as soon as you are done installing WooCommerce. The next step is to clear all dummy content from your website and replace them with appropriate content. From your WooCommerce dashboard, click the Posts and Pages tabs. Next, erase the dummy content by clicking the Trash option while your cursor is over the already-posted item.
Then, design your WooCommerce website’s gorgeous core pages, including the Landing page, the About page, the Privacy Policy page, and others. The interactive pages on your website can be made with the most recent block editor for WooCommerce, Gutenberg, or you can make compelling landing pages with Elementor in under 5 minutes.
Install Google Analytics
The basic procedures to follow after installing WooCommerce are almost complete, so it’s time to make sure your website works smoothly and meets your conversion targets. And Google Analytics is the best tool available for keeping an eye on the performance and data of your website. To be able to monitor website traffic, user behavior, and other useful data, anyone starting with a brand-new WooCommerce website should link it to Google Analytics.
You’ll gain a better understanding of your audience as a result, and it will also help you make better management decisions. Since almost all profitable companies keep track of operational data to inform management choices, you can’t afford to ignore your own data.
Setup Backups
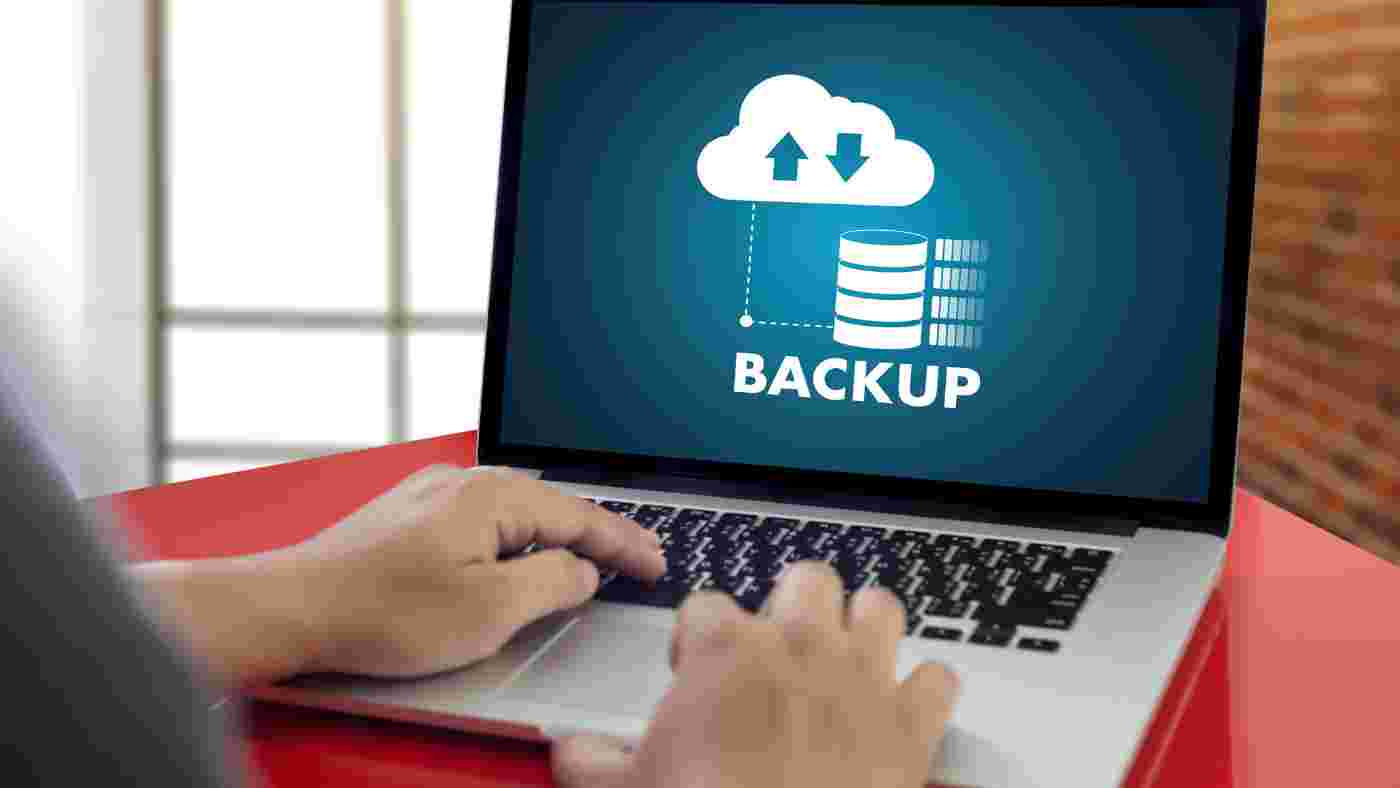
Data loss results in losses costing millions of dollars each year. The only method to guarantee that you can quickly recover your website in the event of a disaster is to create backups soon after installing WooCommerce.
A few WooCommerce hosting providers bundle basic backup services with their hosting packages. It is your duty to back up your website on your own because these backups are not guaranteed to happen. You can utilize a number of excellent WooCommerce backup plugins to generate backups automatically.
We advise making use of Duplicator Pro. You may create automatic backup schedules with the help of the finest WooCommerce backup plugin. On safe remote cloud storage services like Google Drive, Amazon S3, Dropbox, and others, you can also keep your backups. Additionally, Duplicator has a free version that enables you to make manual backups.
Install Caching
According to studies, a one-second time delay for a page to load can result in a 7% loss in conversions, an 11% drop in page views, and a 16% drop in customer satisfaction. As the owner of a website, you must ensure that it loads quickly and functions well even during periods of high traffic.
Caching is useful in this situation especially immediately after installing WooCommerce. Instead of creating pages as visitors request them, it enables your website to provide users with rapidly cached copies of your content. This lessens the strain on your website’s servers and speeds up page load time.
There are numerous WooCommerce caching plugins, but we suggest utilizing the WP Rocket plugin. The speed of your website can be considerably increased only by caching.
Setup WooCommerce Security

WooCommerce comes pre-configured with good security. To keep your website secure, you must still adhere to best security practices once you are done installing WooCommerce. Some of the best practices, like establishing secure passwords, protecting the WooCommerce admin area, and applying updates, are simple enough to complete on your own.
You may utilize a number of excellent WooCommerce security plugins. Sucuri is something we suggest. They are the market pioneers in malware defense, vulnerability scanning, and website security. The fact that Sucuri provides the greatest WooCommerce firewall plugin is its best feature. Unsafe traffic is prevented from ever accessing your website by a website firewall.
Setup Spam Protection
Spam comments may be quite troublesome. The majority of them include links to noxious websites renowned for spreading malware. Your website’s reputation and search engine rankings may be impacted by spam comments.
In order to stop comments from appearing without your permission, you can enable comment moderation after installing WooCommerce. However, as the amount of spam increases, you will have to spend more time filtering comments.
Installing and turning on the Akismet plugin is what you need to do to remedy this. It is one of only two plugins that come pre-installed on every WooCommerce website and is a WooCommerce anti-spam plugin.
Conclusion
While there are a lot more things you can do after installing WooCommerce, these 10 tenets are the most important and essential things you cannot miss. So, make sure to bookmark this article so that you can revert back to it quickly when installing WooCommerce.


")
")
")