
Last updated - April 13, 2023
Having a sandbox environment to test your WordPress website is necessary as you can’t always risk directly implementing changes on your live website with new plugins, themes, and other content modifications.
WordPress staging sites are handy in solving this as they can make copies of your live website and give you a testing space for the changes you want to make to your website before you apply them. This article will help you create testing environments for your WordPress website with staging sites and the different methods you can use to achieve them.
Method 1 – Using a Plugin
As with any solution you are seeking for your WordPress website, there is always a plugin that can come to your rescue. WPvivid Backup is a plugin that takes away the manual task of creating a staging site for your website in a few steps. To begin with, download, install, and activate the WPvivid backup plugin.
WPvivid Staging Settings
Now open the plugin from your WordPress dashboard and click on the Staging menu to start creating a staging site.
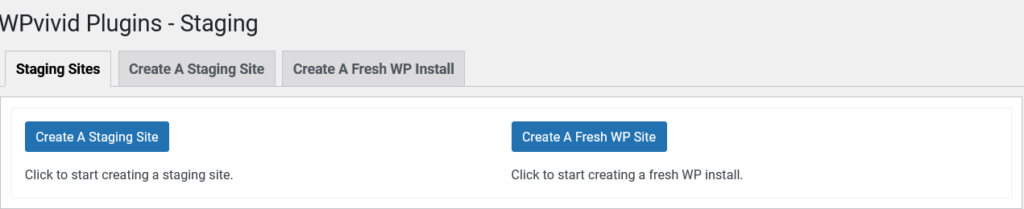
Here, click on “Create A Staging Site” to create a staging site based on your existing website. You will be taken to the next section where you can configure the staging site’s parameters.
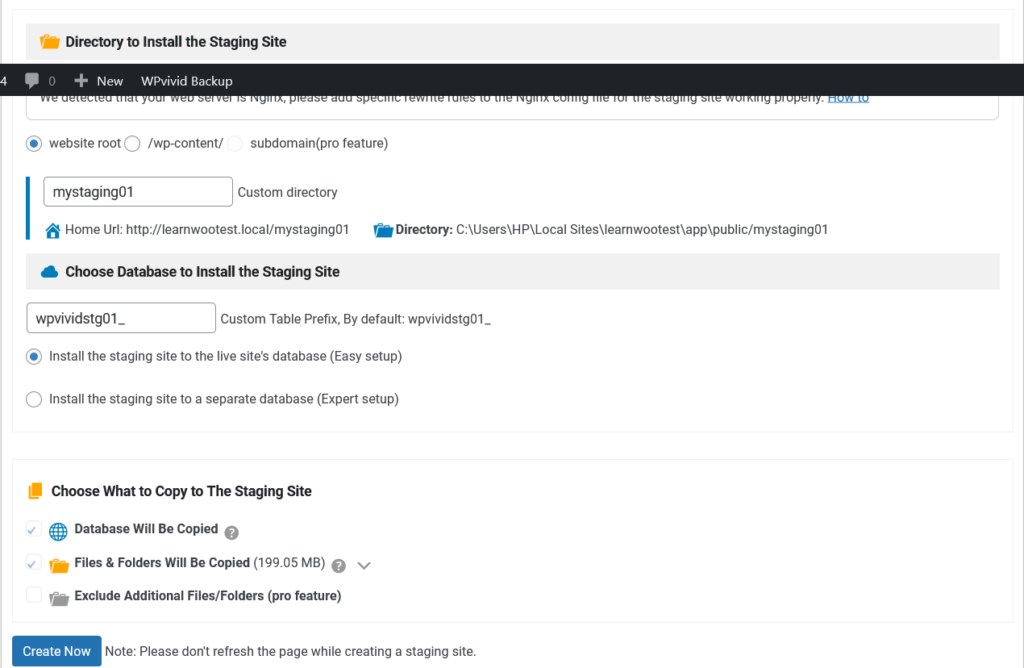
Choose the database for your staging site and pick whether you want to install the staging site to the live site’s database or in a separate database and other information to be copied to the staging site. Click on “Create Now” and the plugin will start working on creating it.
Take care to not click refresh or close the tab while the plugin is processing the information and creating the staging site. Now sit back and let the plugin do its work as depending on the size of the data, the process will take time from a few minutes to under an hour to finish copying live website data to the staging site.
Once the process is finished, the staging creation menu will look like this.
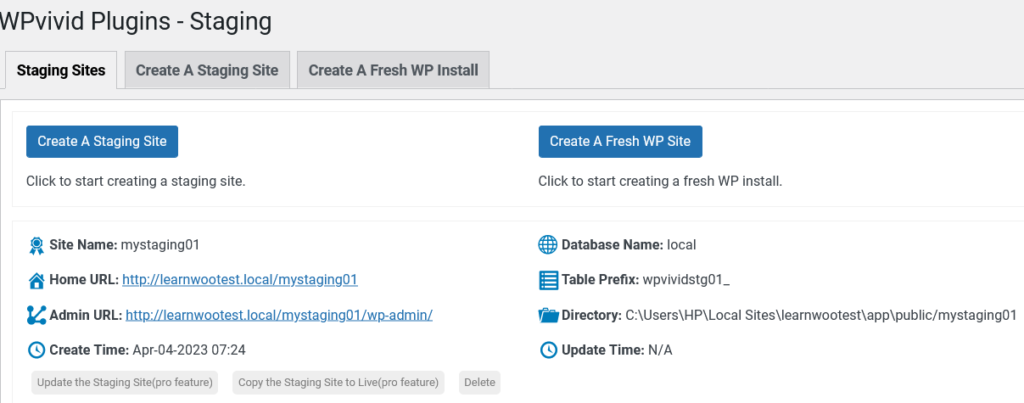
Your staging site is now accessible and the home URL and admin URL for it is available. This is one of the easiest ways to create a WordPress staging site with the use of a plugin.
Additional features oke updating the staging site and copying staging website content directly to your live site are available in the pro version of the plugin. To sum up, WPvivi is a useful plugin to create test sites even without the pro feature.
Method 2 – Using TasteWP
The next method for creating WordPress staging websites is to use TasteWP. TasteWP is a managed WordPress hosting service that allows for readymade, self-expiring staging sites that are best suited for developers, designers, and service providers to test and demo their products with ease.

How to Set Up WordPress Staging Site with TasteWP?
It is a straightforward process to create a staging site with TasteWP. Open the website and click on “Set it Up” and the TasteWP will start creating a staging website with a set of default presets. Another bonus of using TasteWP is that you don’t need to sign up to use their service so it really is an only click creation of a WordPress staging site in this method.

Once the site is created you will have the site name, URL, username, and password. Note that in the free version of TasteWP the staging sites you create are temporary and will expire after 90 minutes. The storage is also limited to unlock more time and space you will have to upgrade to their paid plans.
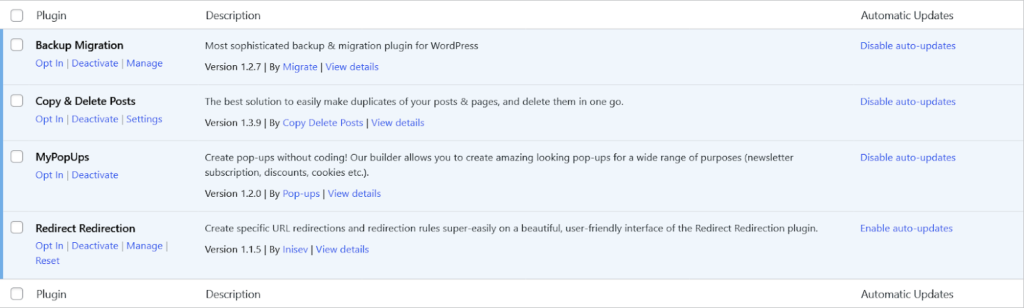
You also get a few preinstalled plugins that are useful for backup and migration.
TasteWP Pricing and Premium Features
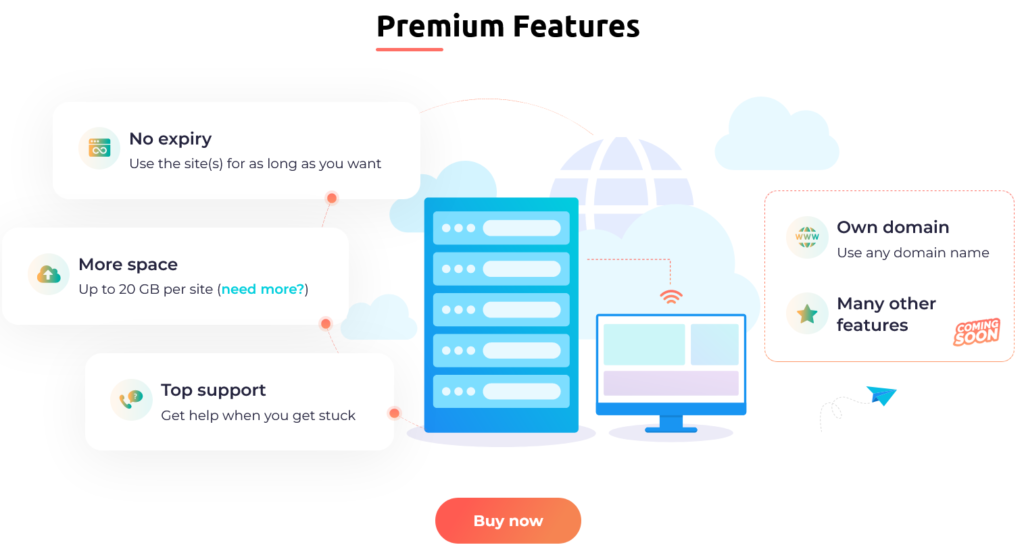
With the premium version, you get up to 20 GB of space per website, any domain name you want, no expiry so you can have the staging site live for as long as you want, and custom preinstalled plugins, themes, and templates to tinker around with.
Method 3 – Manually Creating a Staging Site
Creating a staging site manually involves some more technicality than the previous methods but it is doable if you are committed to creating a test environment for your WordPress website without the assistance of external resources. Let us now see the steps involved in manually creating a staging site for your WordPress website.
Step 1 – Create New Directory and Database
To begin with, create a new directory for the staging site in your server where the files of the staging site will be stored. Duplicate all the files of your live website and copy them to the directory of the staging site that you created. You can do this by using a file manager or the following command line:
cp -a /path/to/live-site/* /path/to/staging-site/Instead of staging-site in the command line, use the path name that you have used for your staging website.
Next, create a database for the staging site, this can be done using the control panel of the hosting provider or a tool like phpMyAdmin. Also, make sure to create a new user and allow all access to the database for the user.
Step 2 – Copy Live Site’s Database to Staging Site
Copy the live site’s database to staging site to the staging site’s database by exporting it using phpMyAdmin. Next, update the database credentials by editing the ‘wp-config.php’ file in the staging site’s directory. The things to be changed are the database name, username, and password.
Step 3 – Update Site URL and Test
If you are using a website URL that is absolute like “www.example.com” then you have to create a separate one for the staging site like “staging.example.com”. Having done that check the website to see if everything is working as intended by visiting the staging site’s URL. Also, make your website password protected so you don’t want unwanted visitors.
This is the overall workflow of creating a staging site for your WordPress website manually. Note that there might be slight variations in workflow depending on the hosting provider you use and other setups.
Having a reliable test environment for your website is crucial and it is true for developers and designers as well. These methods will help you create the perfect testing site whether using a plugin, external service, or manually. Use any of the methods that are the most convenient for you to create a staging website now. Have thoughts or other ideas to create test sites? Let us know in the comments.


")
")
")