
Website speed is a critical factor in user experience and search engine rankings. As a WordPress website owner, ensuring optimal performance is paramount. A fast-loading website not only enhances user experience but is also a crucial component of effective SEO strategies.
In this comprehensive guide, we’ll delve into five crucial steps to boost your WordPress website’s speed. We will unlock the secrets of accelerating your WordPress website’s performance in just five straightforward steps. Whether you’re a seasoned website owner or just venturing into the digital landscape, these strategic measures promise to not only optimize your site’s speed but also elevate its overall efficiency.
Evaluate Current Website Speed
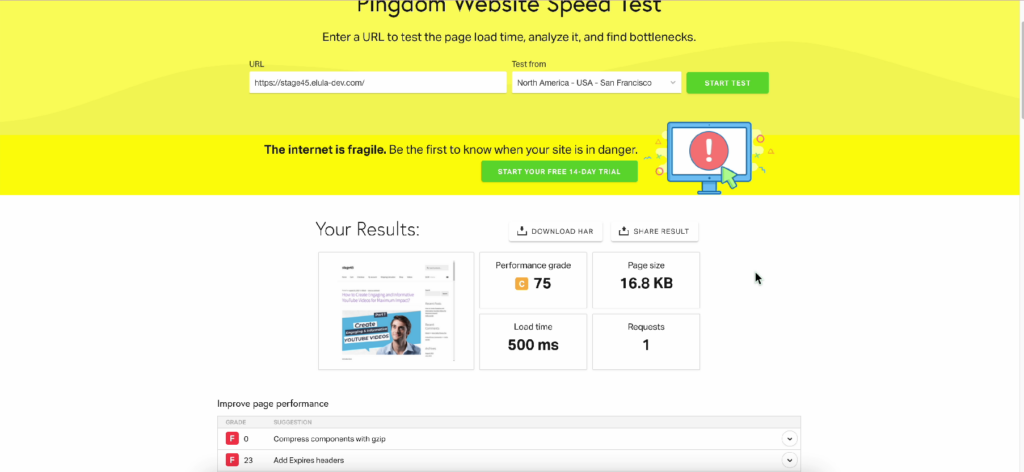
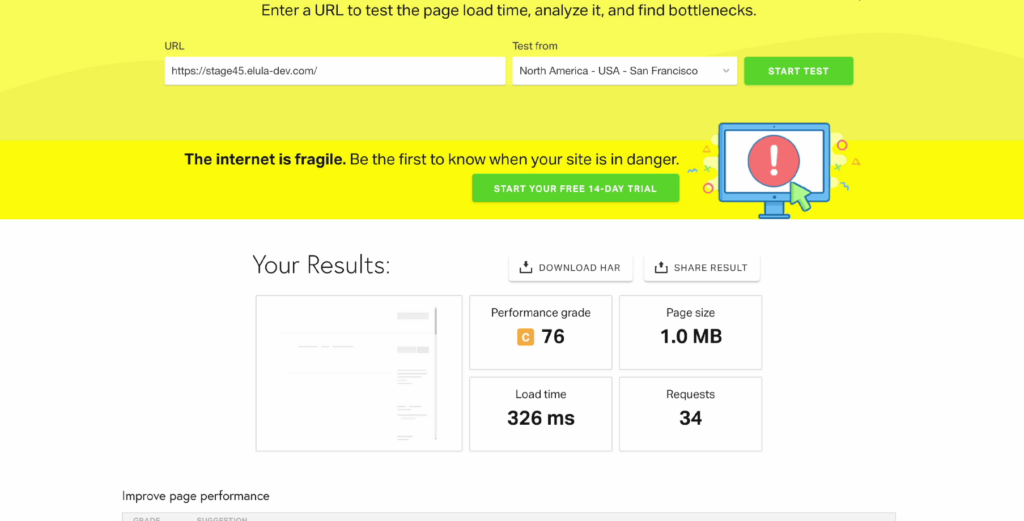
Understanding your starting point is essential. Utilize tools like Pingdom to assess your website’s current speed.
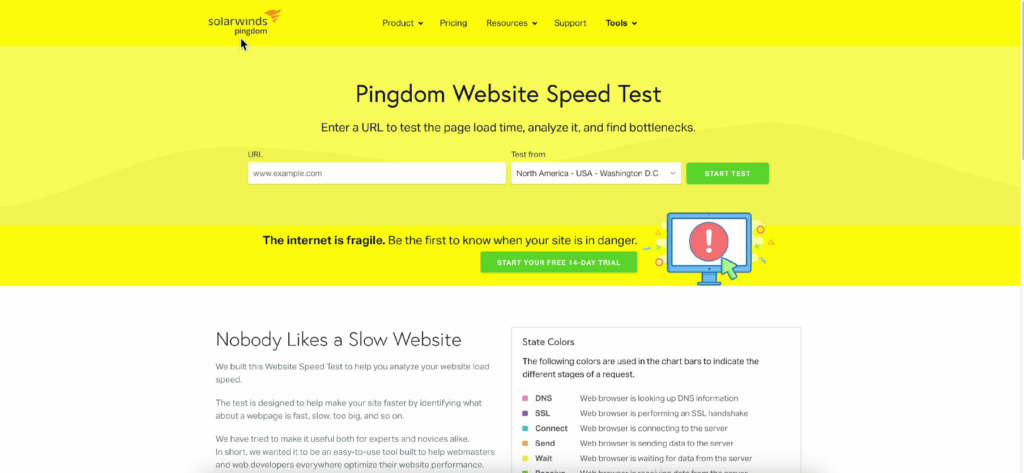
Input your website URL, select a testing region, and initiate the test.
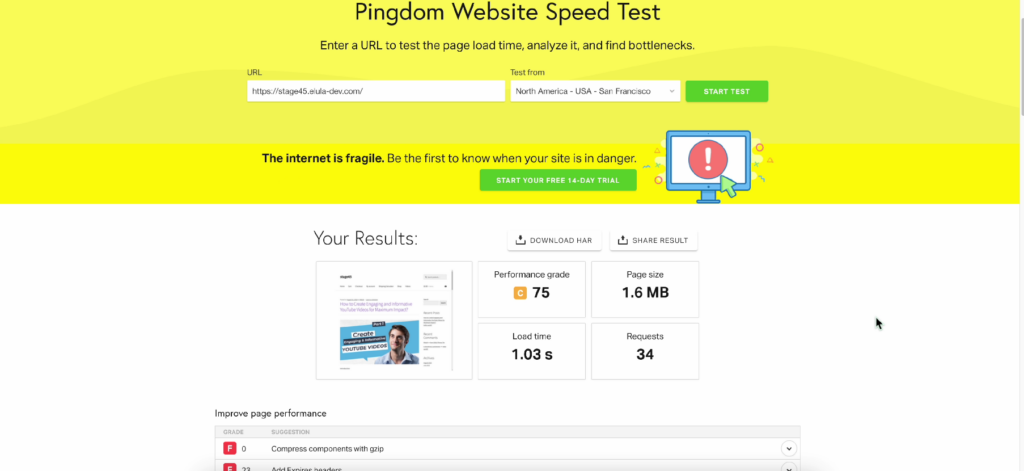
This initial benchmark will provide valuable insights into your load time, page size, and overall performance.
Step 1: Optimize and Resize Images
Assess Image Sizes
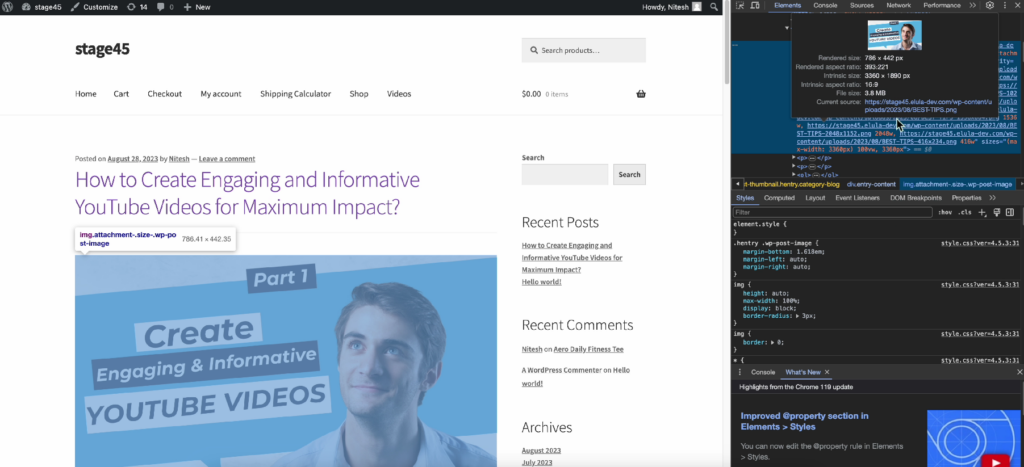
- Right-click on any image on your website → choose ‘Inspect’ → locate the image URL.
- Hover over the URL to identify the image size.
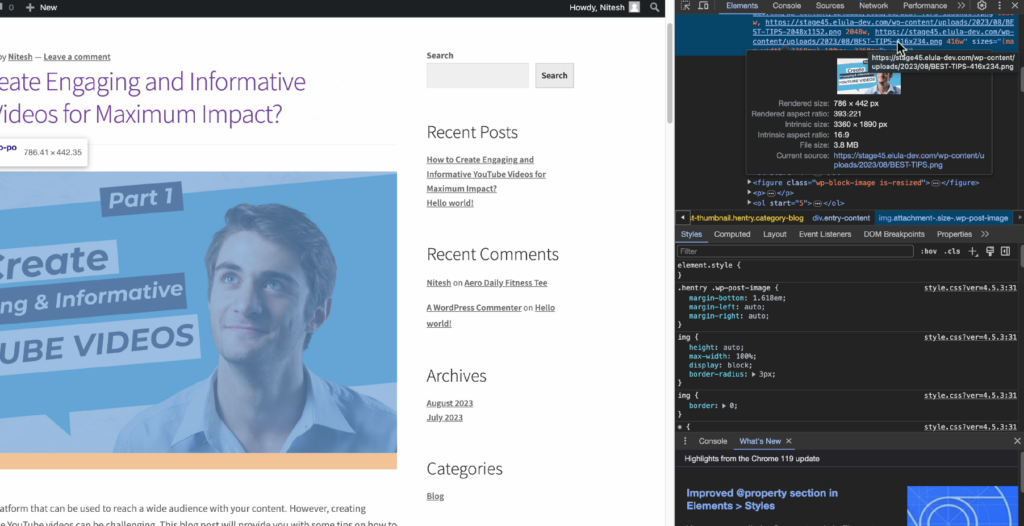
Image Optimization Using WP Optimize
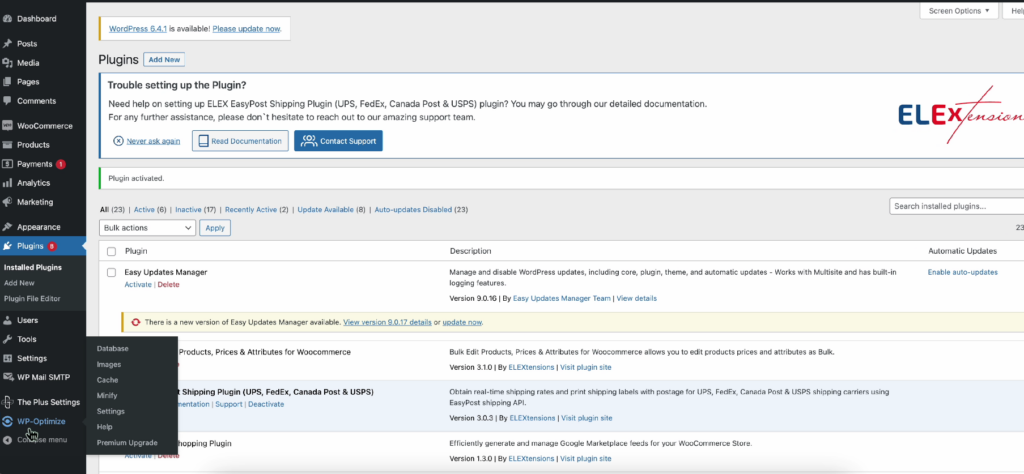
Install the ‘WP Optimize’ plugin from your WordPress dashboard.
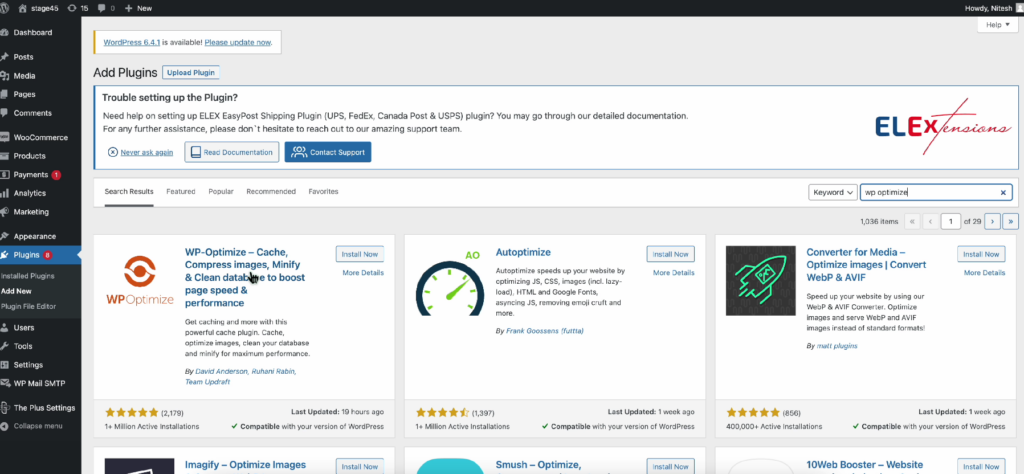
Activate the plugin and navigate to WordPress Dashboard → Click on ‘WP Optimize’ → ‘Images.’
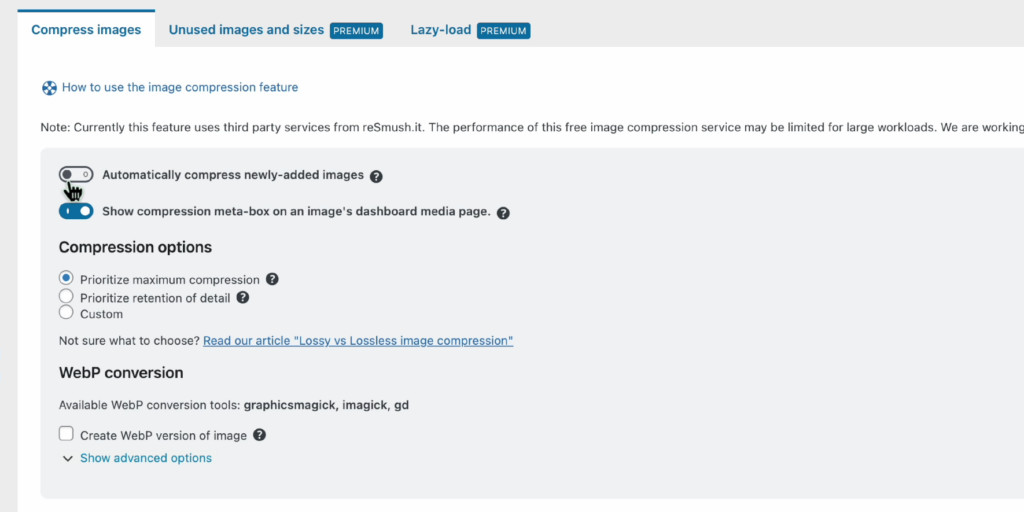
Select ‘Prioritize maximum compression’ → click ‘Select All’ → then ‘Compress the selected images.’

Verify the optimized image sizes by right-clicking on an image and inspecting.
Now, to ensure that any image added in the future is also optimized, simply go to WP Dashboard wp optimize → images → and here toggle the button in front of ‘automatically compress newly-added images’.
Now, all the images on your website are successfully optimized, also the images that will be added in the future will also be optimized.

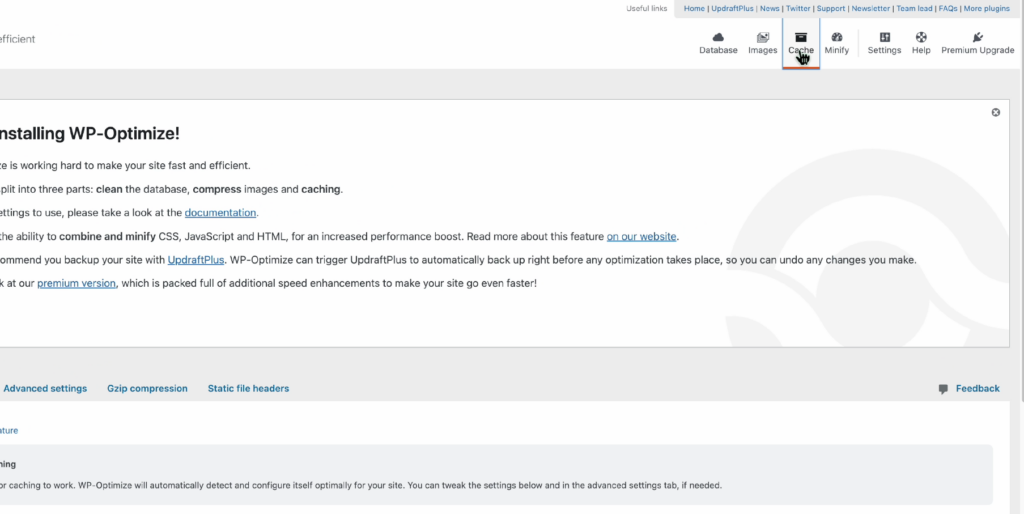
Step 2: Enable Page Cache
Leverage the power of caching to enhance your website’s loading speed.
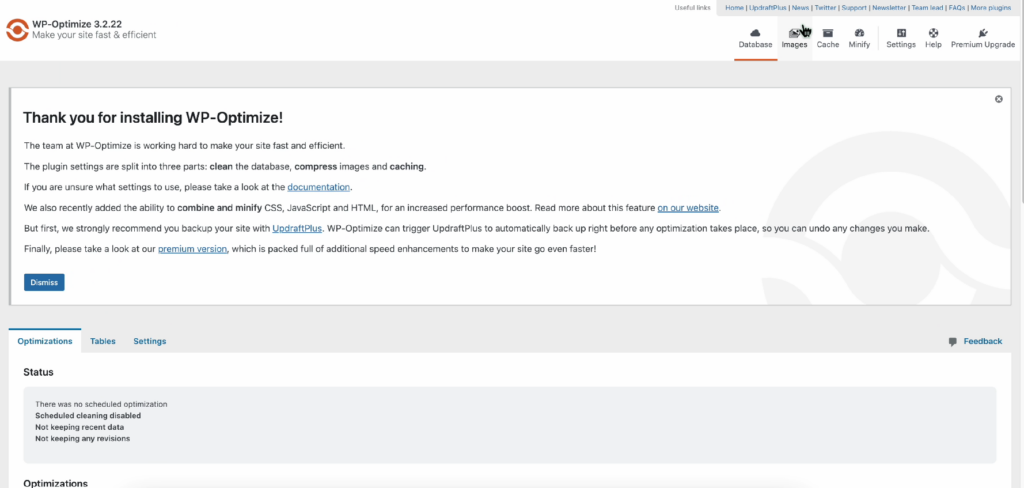
For that, Navigate to your WordPress dashboard and access ‘WP Optimize.’
Click on ‘Cache’ and toggle the button to enable page caching.
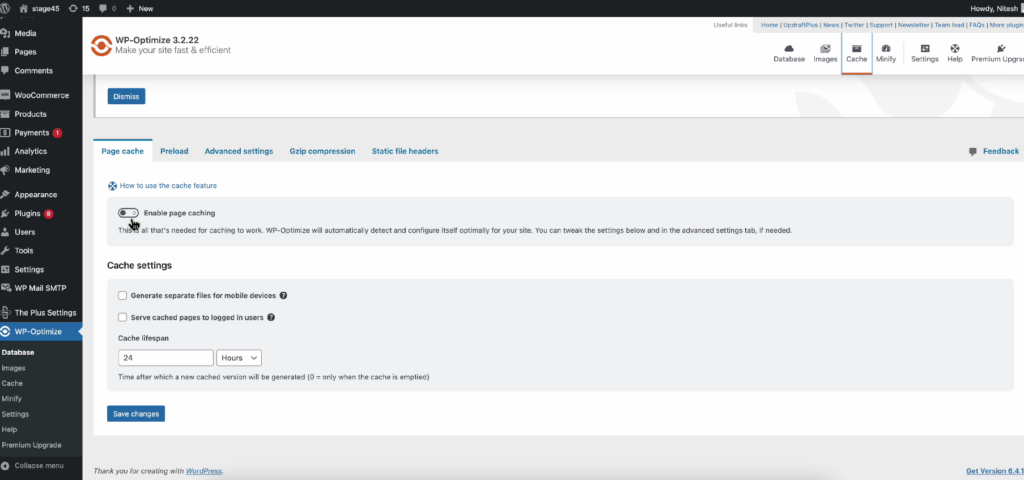
Save changes.
Rerun the speed test to witness the positive impact on load speed.
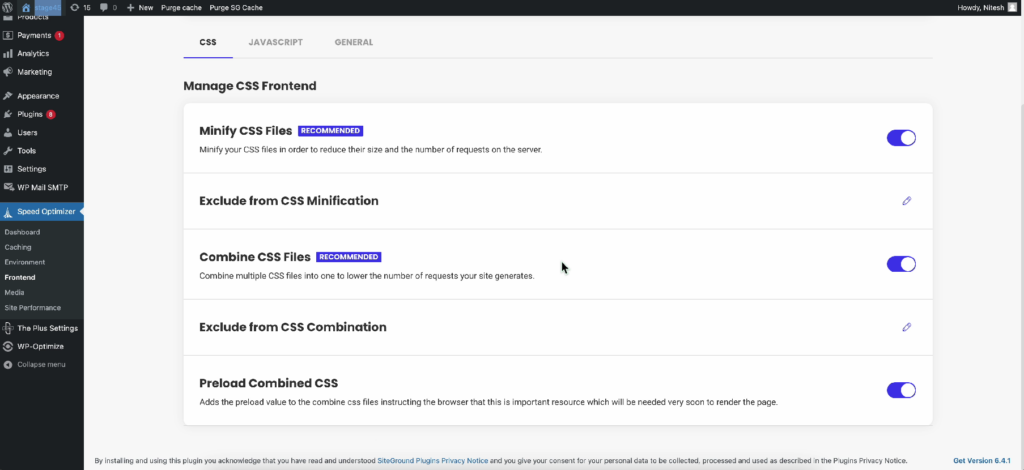
Step 3: Optimize CSS and JavaScript
Using Speed Optimizer by SiteGround
Install the ‘Speed Optimizer by SiteGround’ plugin.

Activate the plugin and go to ‘WP Dashboard’ → ‘Speed Optimizer’ → ‘Frontend.’
Optimize CSS
- Toggle ‘Minify CSS Files.’
- Toggle ‘Combine CSS Files.’
- Toggle ‘Preload Combined CSS.’
Next, verify your website’s functionality.
Optimize JavaScript
Toggle relevant buttons.
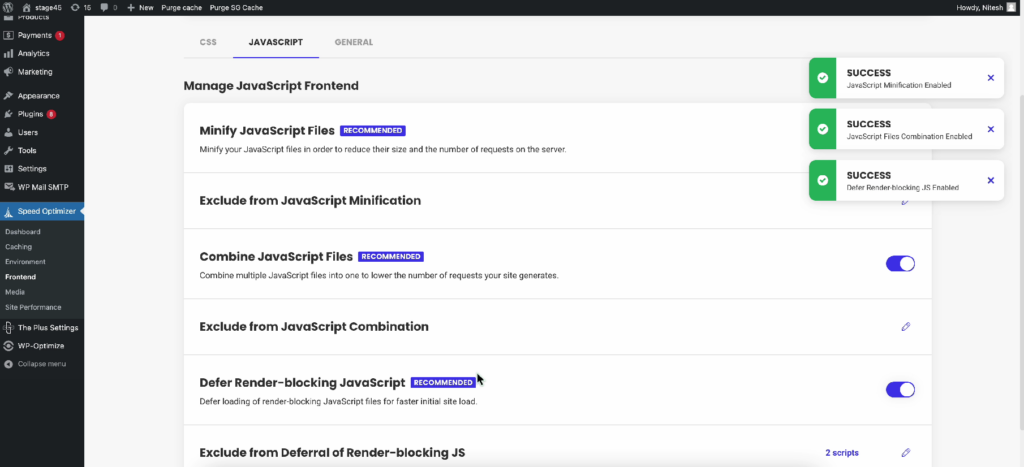
Confirm the seamless functioning of your website. Next, Rerun the speed test to observe the improvements.
Step 4: Choose a Lightweight Theme and Remove Unused Plugins
Opting for a Lightweight Theme
Navigate to ‘WP Dashboard’ → ‘Appearance’ → ‘Themes.’
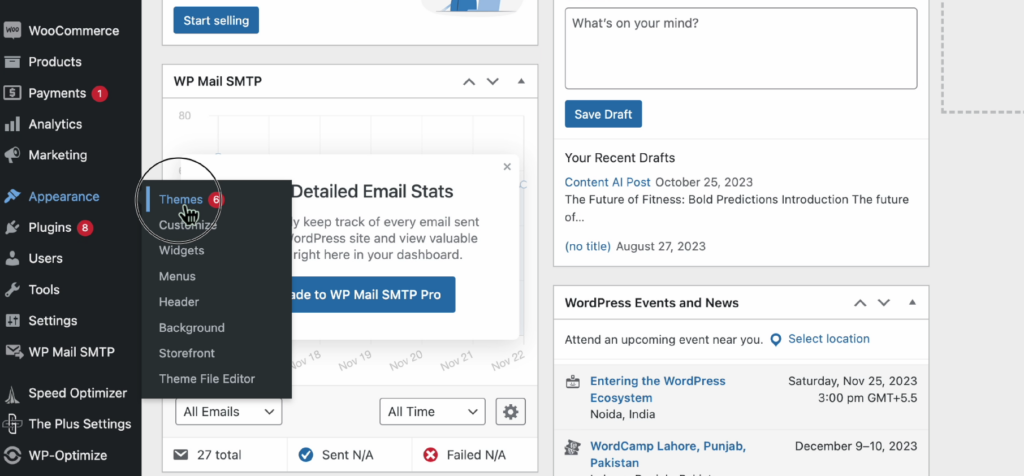
Click ‘Add New’ and select a lightweight theme from options like GeneratePress, Astra, OceanWP, or Storefront.

Install your chosen theme.
Removing Unused Plugins
Head to ‘WP Dashboard’ → ‘Plugins.’
Access ‘Active Plugins’ and deactivate any unused plugins.
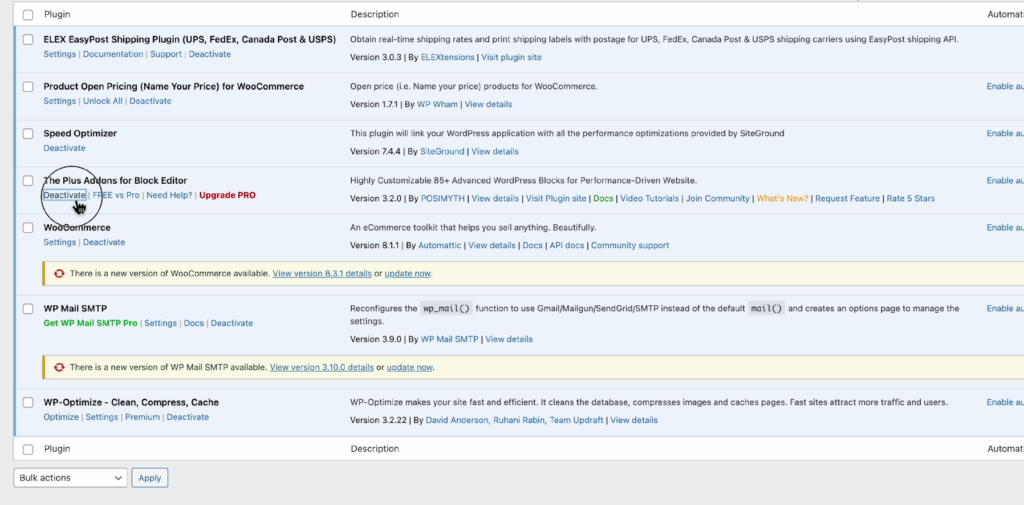
Move to the ‘Inactive Plugins’ section and delete the unused plugins.
Step 5: Implement a Content Delivery Network (CDN)
Connecting to Cloudflare
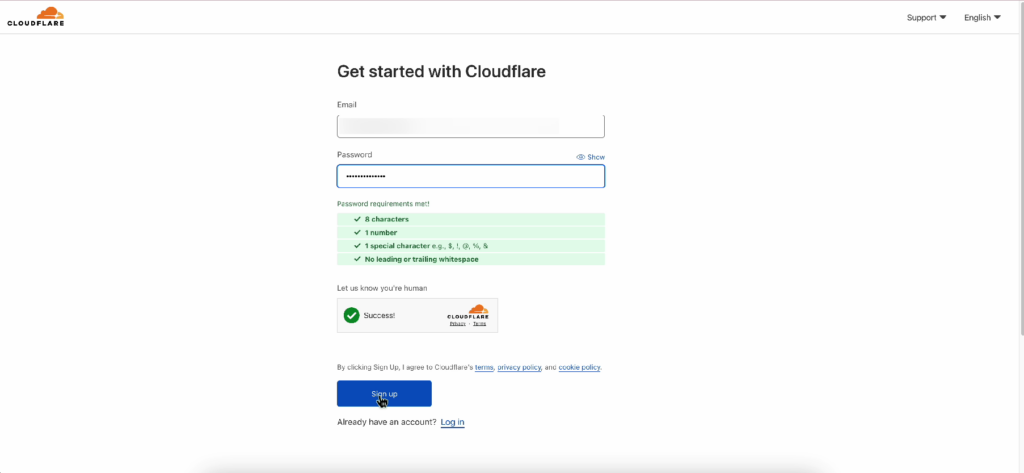
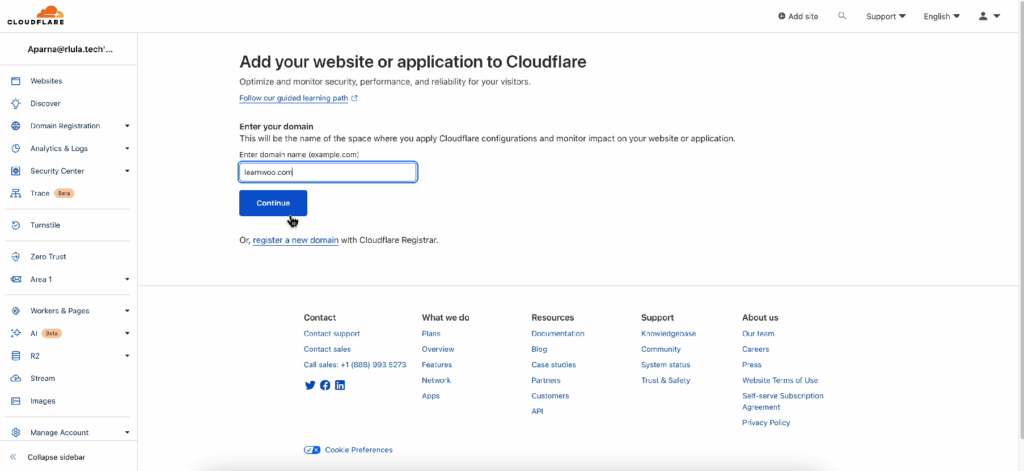
To connect to Cloudflare, first visit the Cloudflare CDN website and Sign Up.
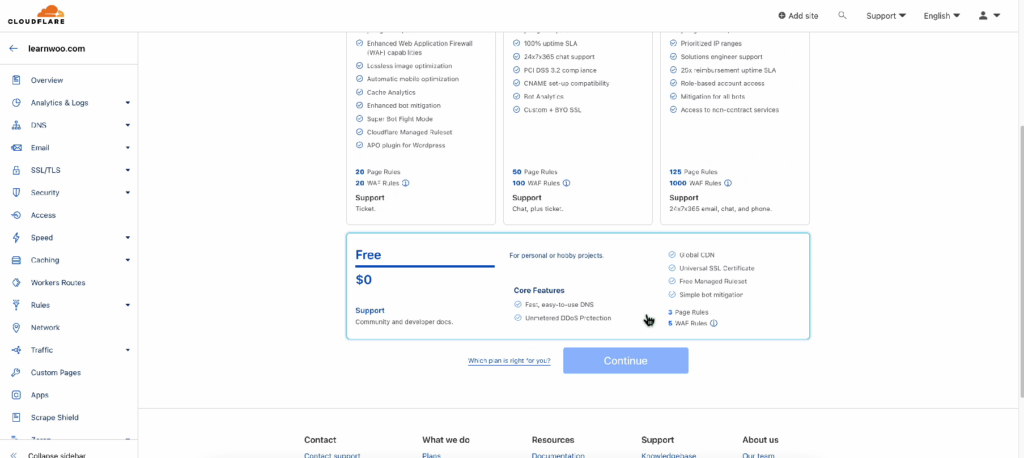
Next, enter your domain → select a plan.
Next, click ‘continue’ → Copy the Cloudflare nameservers.
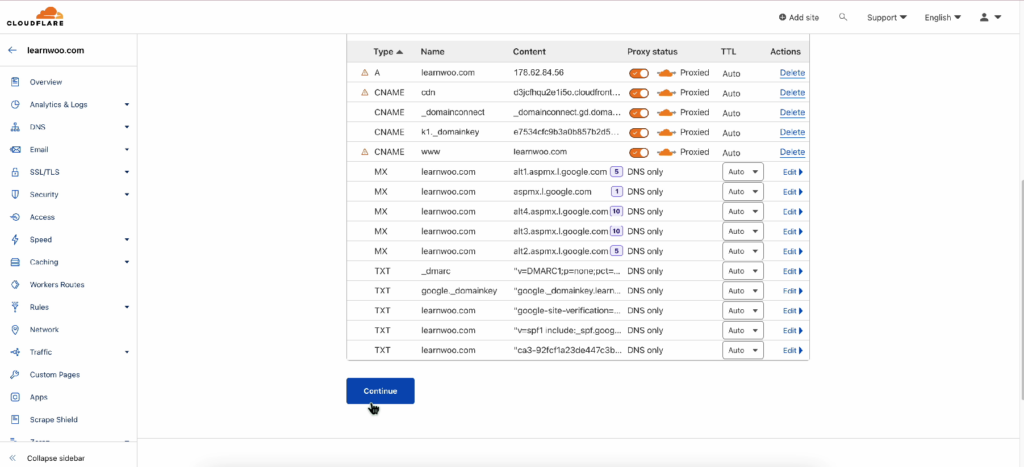
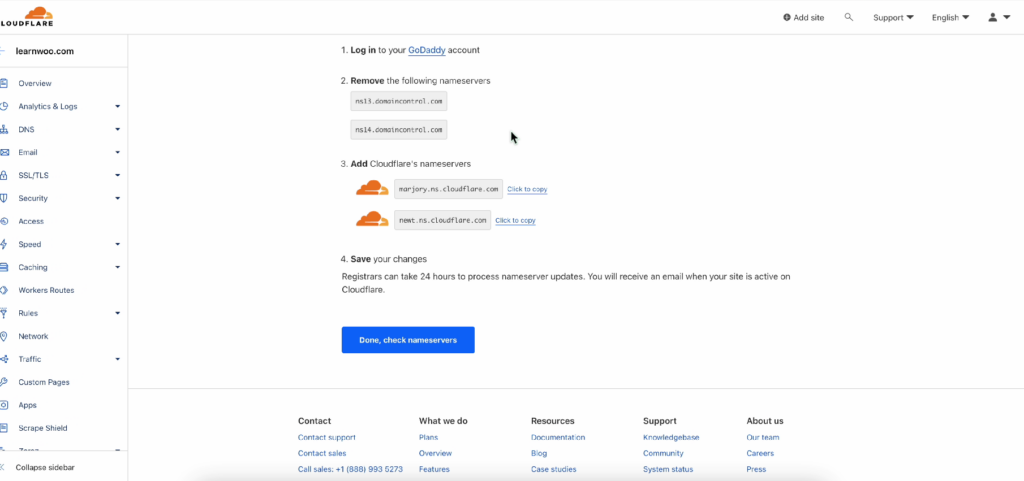
Now, all you need to do is add these nameservers to your hosting server website.
Conclusion
By evaluating the current speed, optimizing images, enabling page cache, streamlining CSS and JavaScript, and adopting a strategic approach to theme selection and plugin management, you have the tools to enhance not only the loading speed but also the overall efficiency of your website.
As you implement these steps, remember that a fast website not only keeps visitors engaged but also contributes to improved search engine rankings. Embrace these strategies, and watch as your WordPress website becomes a beacon of speed, efficiency, and user satisfaction in the digital landscape.
Congratulations! You’ve successfully optimized your WordPress website for speed in just five comprehensive steps. Regularly monitor and reassess your website’s performance to ensure a consistently fast and responsive user experience.
If you are someone who is more comfortable with video content, then here is a detailed video describing 5 simple ways to speed up your WordPress website.


")
")
")