")
Last updated - October 23, 2023
WordPress is the most popular platform, with a massive 74.6 million users. WordPress powers 810 million websites in 2023, accounting for 43% of the whole internet. Given how extensively used WordPress is, it simply makes sense to utilize it for your online store/blog. If you already have a WordPress website, it’s time to make sure it’s secure, optimized, and ready to build your online presence.
Here are 5 essential steps you need to take immediately after installing WordPress to get your site in shape. So buckle up! With some basic housekeeping, you’ll have a solid foundation for creating content and connecting with readers.
Once these tasks are done, you’ll be well on your way to building an awesome site with the world’s most popular CMS. The open road of possibilities awaits!
Pick a Theme to Customize the Look and Feel
Once you’ve installed WordPress, it’s time to make it your own! Here are the essentials to get started:
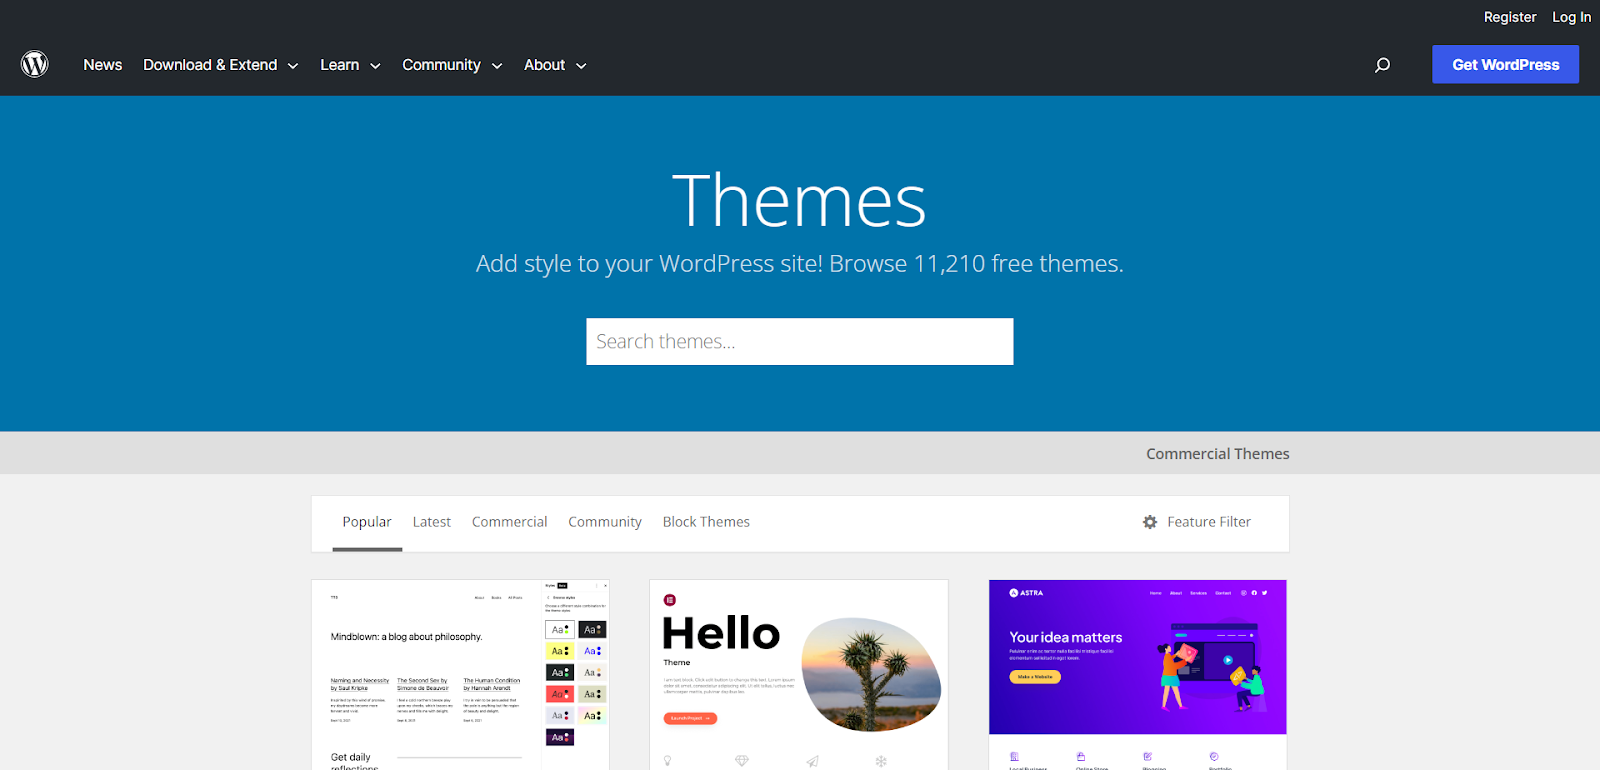
First things first, choose a theme to determine how your site should look. There are thousands of free and paid themes to choose from on the WordPress theme gallery. A good place to start is the WordPress Theme Directory. Browse themes suited to your needs like blogging, business, portfolio, etc. Install a few you like, activate one, and you can always change it later.
- Consider a responsive theme for mobile-friendly viewing.
- Check reviews and ratings to find high-quality, well-supported themes.
- Look for themes with the features you need like sliders, page builders, eCommerce, etc.
- Preview themes to see how posts and pages will actually look before activating.
Once you activate a theme, you can further customize it by adjusting colors, fonts, and layouts. Many themes also allow you to add custom headers, footers, sidebars, and more. Take time to explore the options and make it reflect your style. With the right theme in place, your site will be up and running in no time!
Install Essential Plugins for Security and Functionality
Once you have customized your site’s theme, there are a few essential things you need to do to secure your site and add important functionalities.
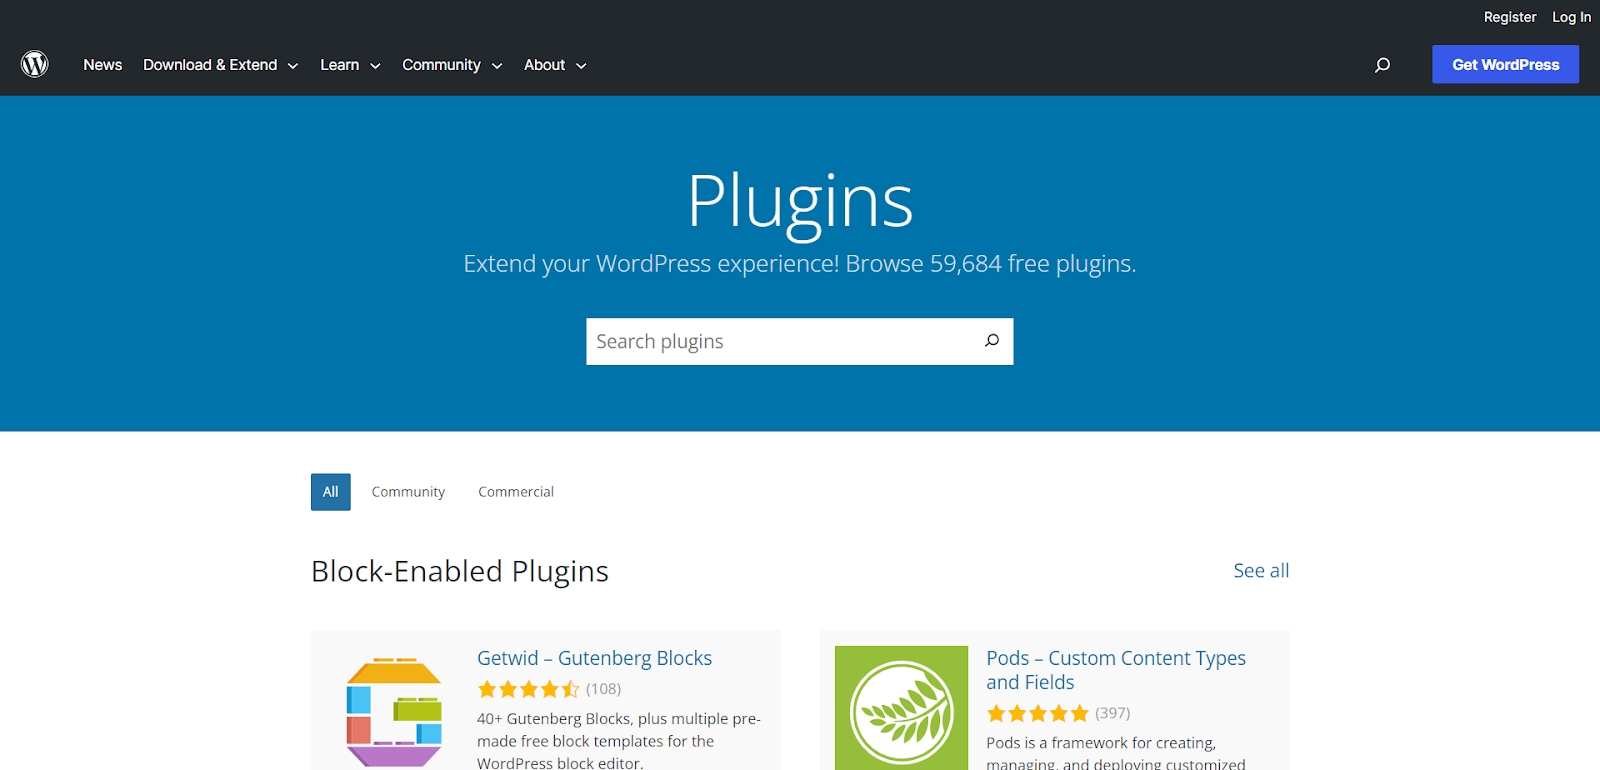
First, install some security plugins. A good place to start is Sucuri Security, a free plugin that helps prevent malware. You should also install Wordfence Security, which provides a malware scanner, firewall, and login security.
For functionality, install some of these useful plugins:
- Akismet: Catches spam comments and keeps your site clean.
- Yoast SEO: Optimizes your content for search engines like Google.
- WPForms: Provides an easy way to create contact forms, surveys, and more.
- WP Mail SMTP: Allows you to use an SMTP service to send all email from your site. This prevents issues with email deliverability.
With these plugins installed, your WordPress site will be off to a great start. But don’t stop there — explore the thousands of other plugins available to add eCommerce, social sharing, photo galleries, and countless other features to your site. The power of WordPress lies in its huge ecosystem of themes, plugins, and integrations.
Take advantage of this flexibility to build a site that suits your exact needs. With some time and experimentation, you’ll be creating an amazing WordPress site!
Set Up Permalinks
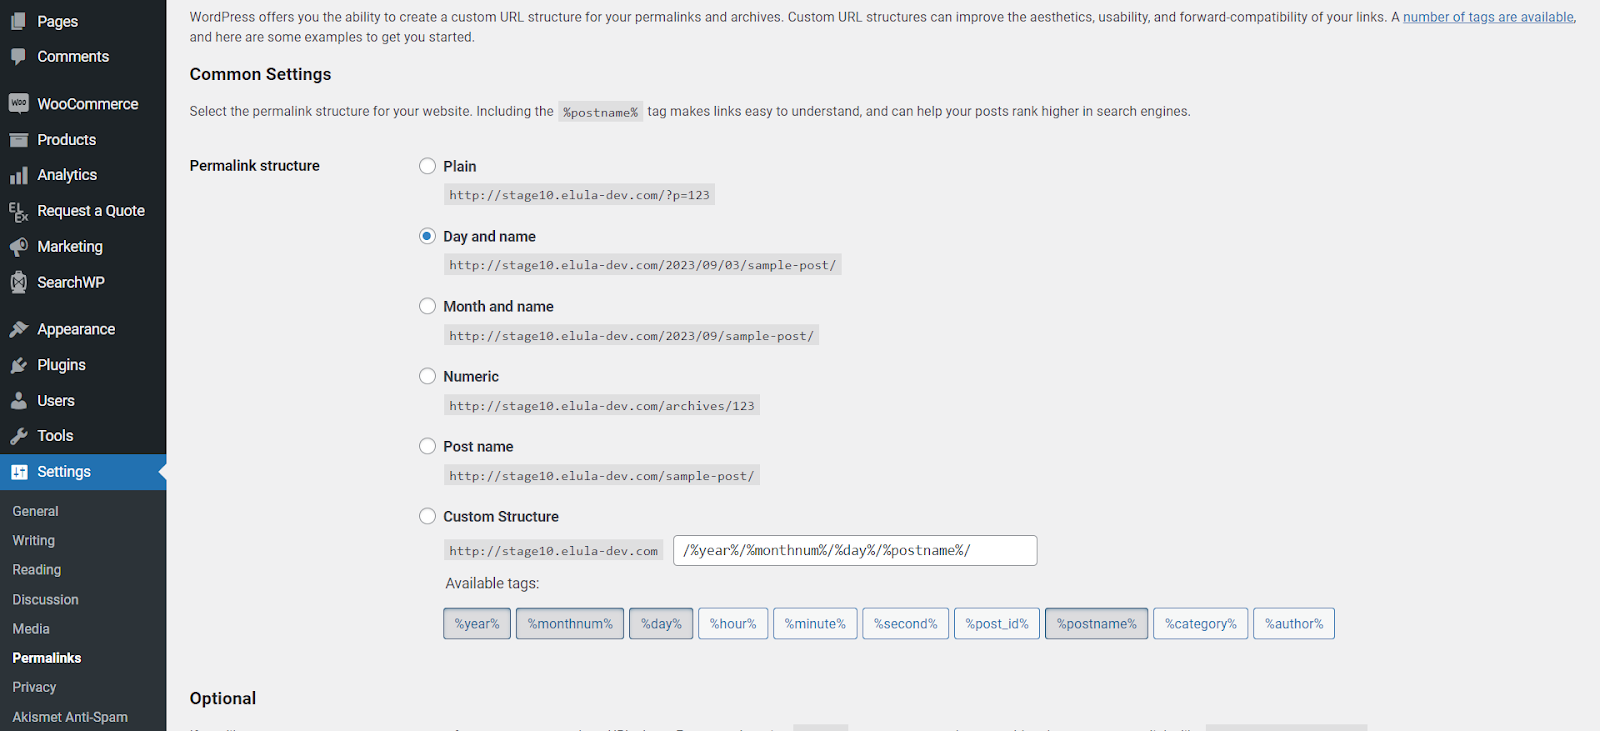
Once you’ve installed the essential plugins, it’s time to set it up and configure the permalinks. Permalinks are the permanent URLs for your posts and pages. By default, WordPress assigns posts generic URLs with numbers, like www.yourdomain.com/?p=123.
Permalinks make your site more user-friendly by using actual words in the URLs instead of numbers. They also help with Search Engine Optimization (SEO) since search engines prefer real words to numbers. WordPress offers a few permalink structures to choose from:
- Plain – Uses numbers, like /?p=25. (Not recommended)
- Post name – Uses the post title in the URL, like /sample-post. (This is a good option for most sites)
- Custom structure – It lets you define your own structure using tags like %postname% or %category%. For example, /%postname%/%category%/. This works well if you want category names in your URLs.
- Day and name – Uses the year, month, day, and post name, like /2019/12/31/sample-post. Good for blogs or news sites.
- Month and name – Uses month and year, like /2019/12/sample-post. Also useful for blogs and news sites.
- Numeric – Uses numbers but has a word archive and no special characters, like /archives/25.
To set up your permalinks, log in to your WordPress dashboard, go to Settings > Permalinks, and choose your desired permalink structure from the options. Save your changes, and your posts and pages will now have the new URL format. Be sure to double-check that your permalinks are working properly after changing the settings.
Permalinks are an important part of optimizing your WordPress site. Choosing a structure that fits your content and is easy for users to read and understand will make a big difference in your site’s usability and search rankings.
Set Up User Roles and Permissions
Once you’ve configured the permalinks, one of the most important things you need to do is set up user roles and permissions. This ensures that the right people have access to the right areas of your site.
User Roles
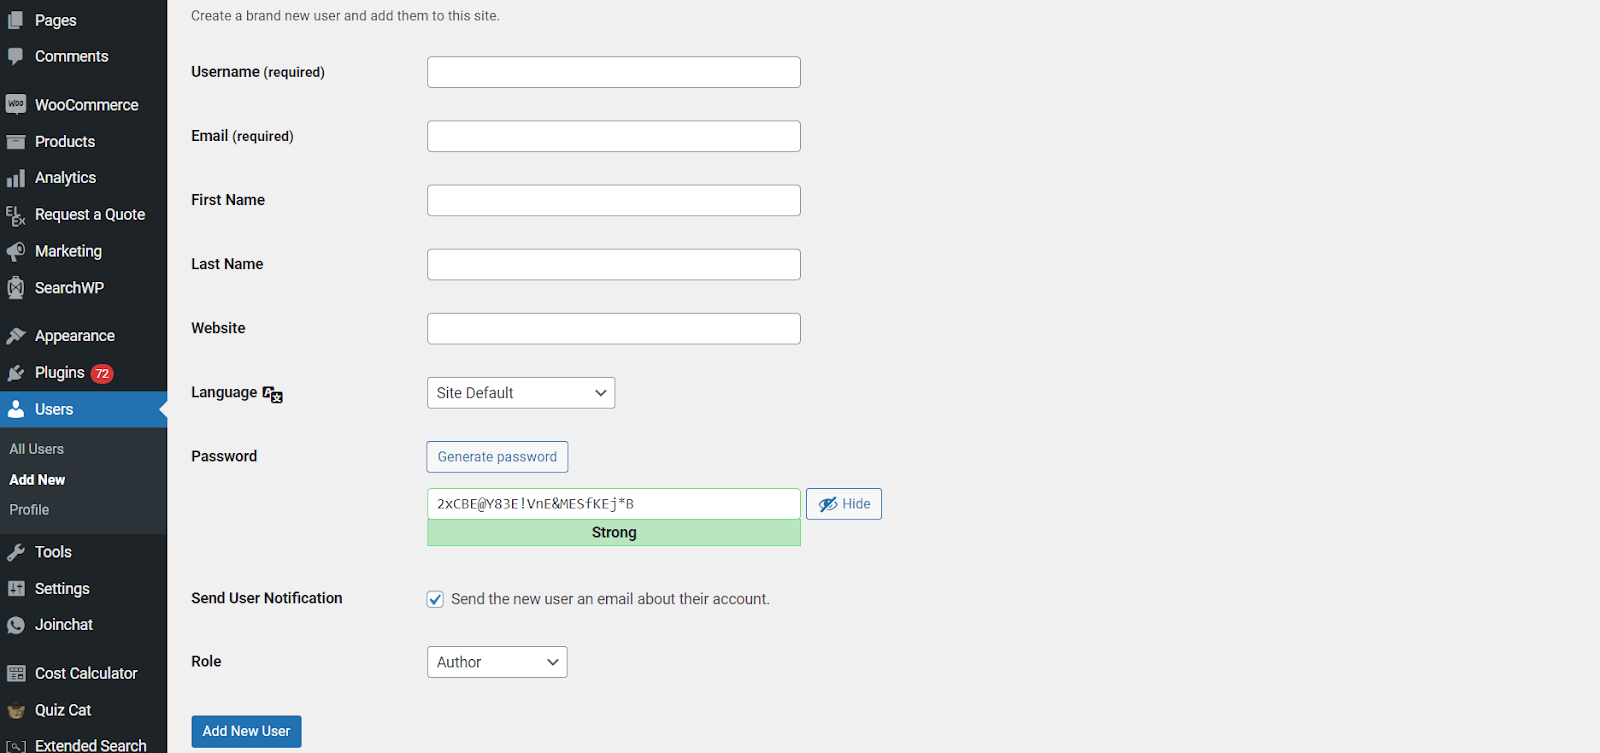
WordPress comes with default user roles like Administrator, Editor, Author, Contributor, and Subscriber. As the site owner, you’re automatically given the Administrator role, which has full access. You’ll want to assign your team members a role that matches their needs. For example, give Editors access to create and edit posts, but not delete users. Authors can write and edit their own posts. Contributors can write posts for review, and Subscribers can only read content.
To add new roles, go to Users > Add New. Here you can customize the capabilities for each role. Start with the default capabilities and adjust as needed. It’s best to give users only the permissions they need to do their job.
User Permissions
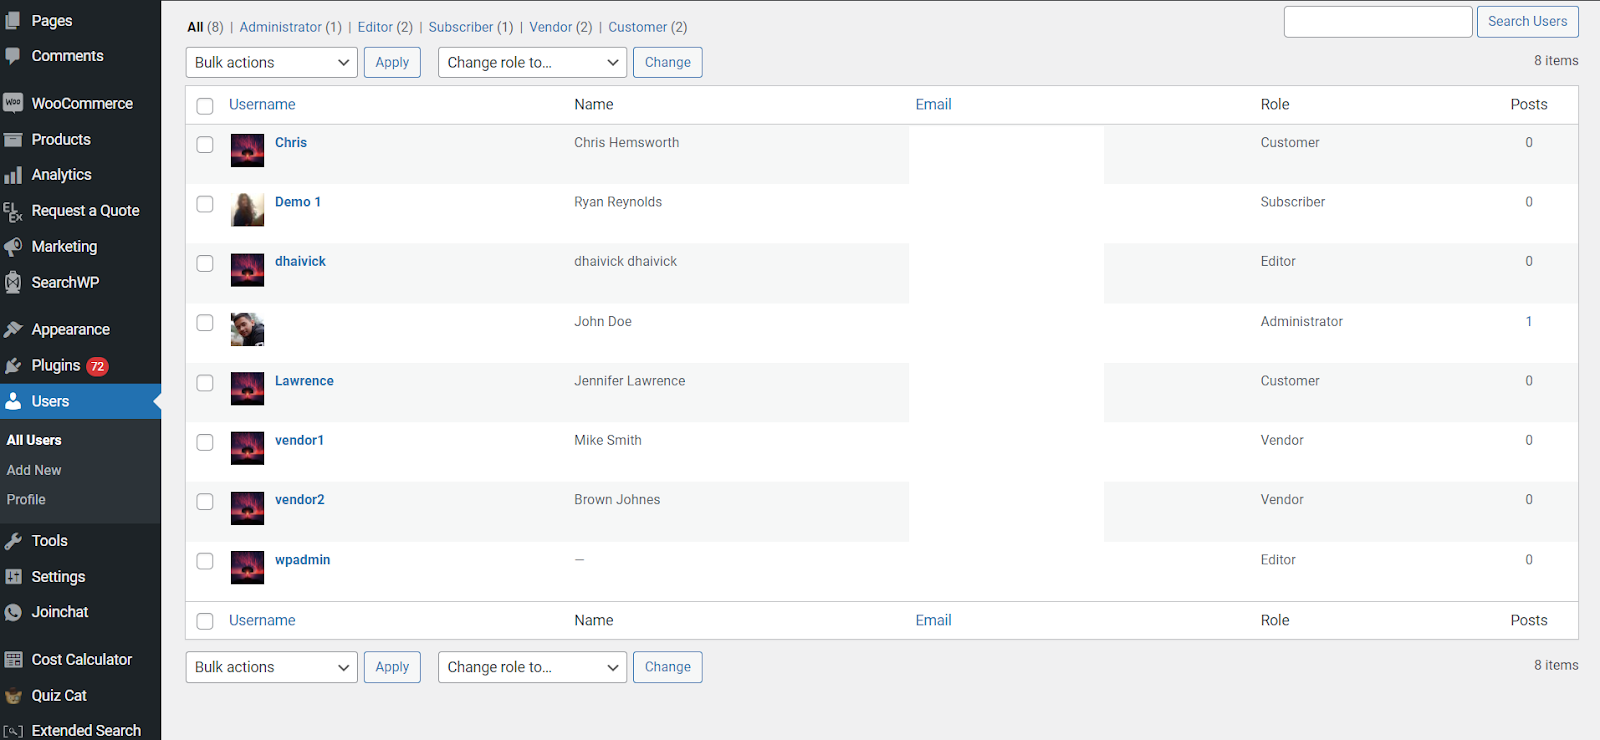
Once you have the right roles set up, you need to assign those roles to your users. Go to Users > All Users to edit permissions for existing users. When adding a new user, select a role that matches their needs. For example, give blog contributors the Contributor role and content editors the Editor role.
Double-check that the permissions for each role are accurate. If a user needs access to a certain plugin or an area of the site that their role doesn’t cover, you can manually enable specific capabilities for just that user. But use caution, as too many exceptions can complicate things.
Keeping your user roles and permissions updated is key to a secure WordPress site. Review them regularly and make changes as needed to make sure the right people have access to the right areas of your site.
Configure Basic Settings and Options
Once you have configured the user roles and permissions, there are a few essential configuration settings you’ll want to check on right away. These settings will help shape your overall site experience for you as the admin and your visitors.
General Settings
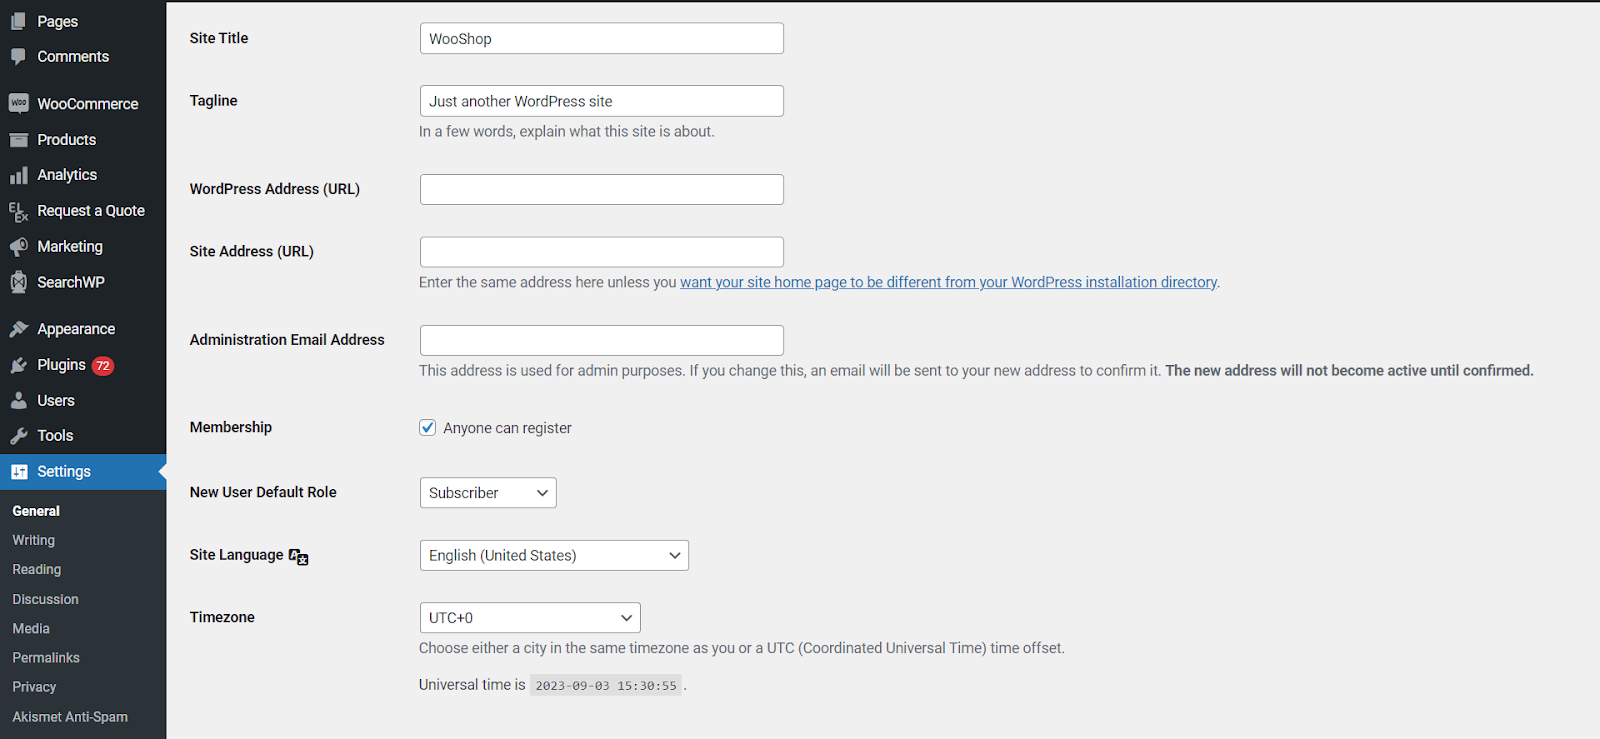
Under General Settings, you can set things like your site title and tagline, timezone, site language, site address, default user role for new users, and date/time format. Choose a title and tagline that capture the focus and purpose of your site. Setting the right timezone and date/time format ensures everything is displayed properly for your visitors.
Discussion Settings
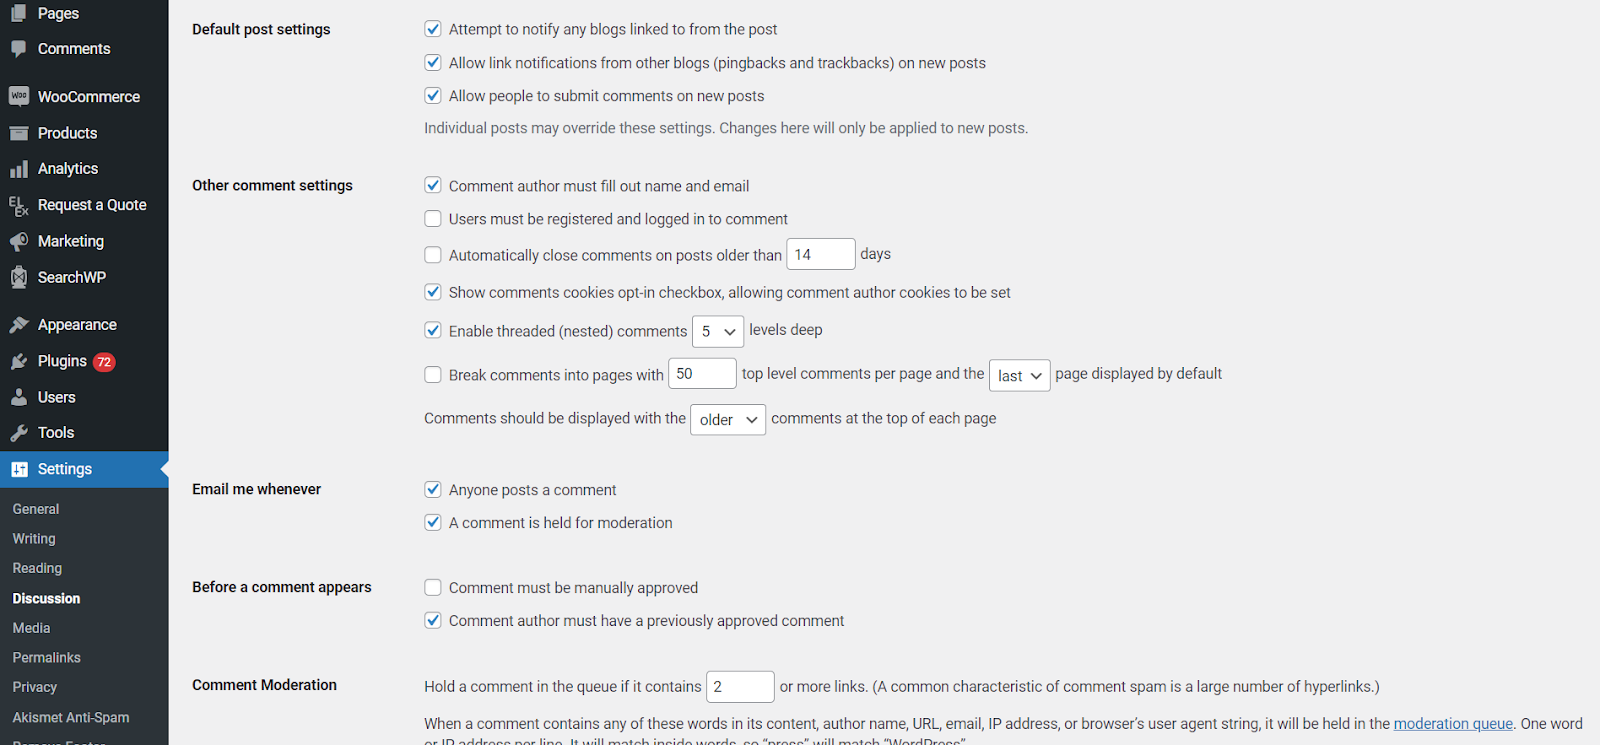
Discussion Settings control how comments and pingbacks/trackbacks work on your site. You’ll want to review options like comment approval (moderation), comment author info requirements, and pingback/trackback settings. Enabling comment moderation is a good way to prevent spam comments from showing up on your site. Requiring name and email for comments adds an extra layer of accountability for your visitors.
Reading Settings
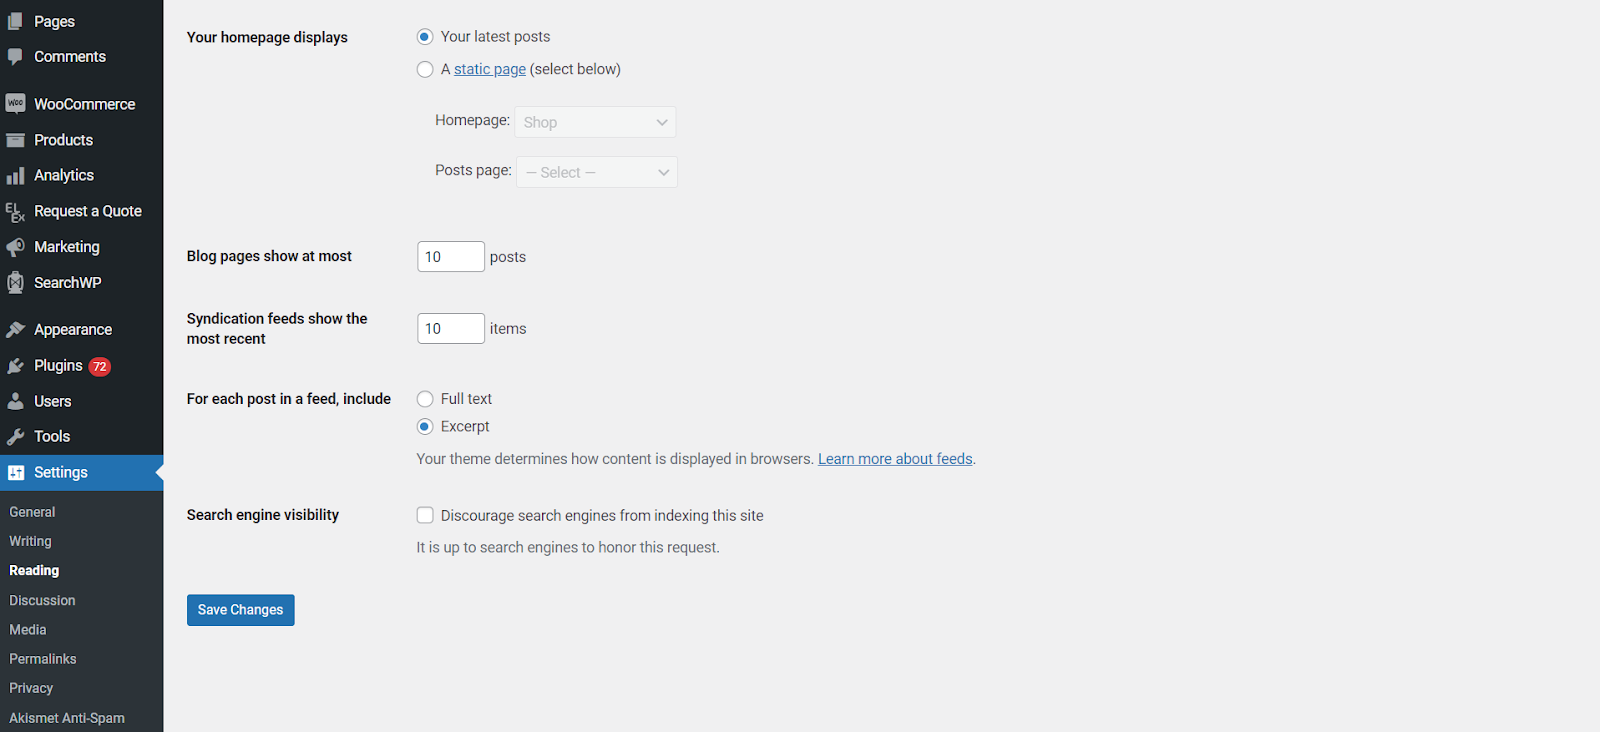
Reading Settings determine how your homepage and posts page are displayed. For most sites, you’ll want to set “Your latest posts” as the homepage and a static page for your posts page. This makes your blog posts easily accessible while reserving the homepage to showcase other important site sections or content. You can also control post formats, excerpt lengths, number of posts per page, and more in the Reading Settings.
Adjusting these basic configurations will go a long way toward customizing your WordPress site and optimizing the user experience. Be sure to revisit the settings from time to time as your needs change to keep your site running smoothly.
Create Essential Pages
Once you have configured the previous settings, it’s time to create some essential pages to help your site function properly and give visitors what they need. To do so go to Pages > Add New and start creating the pages. Some of the crucial pages needed for a properly functioning website are:
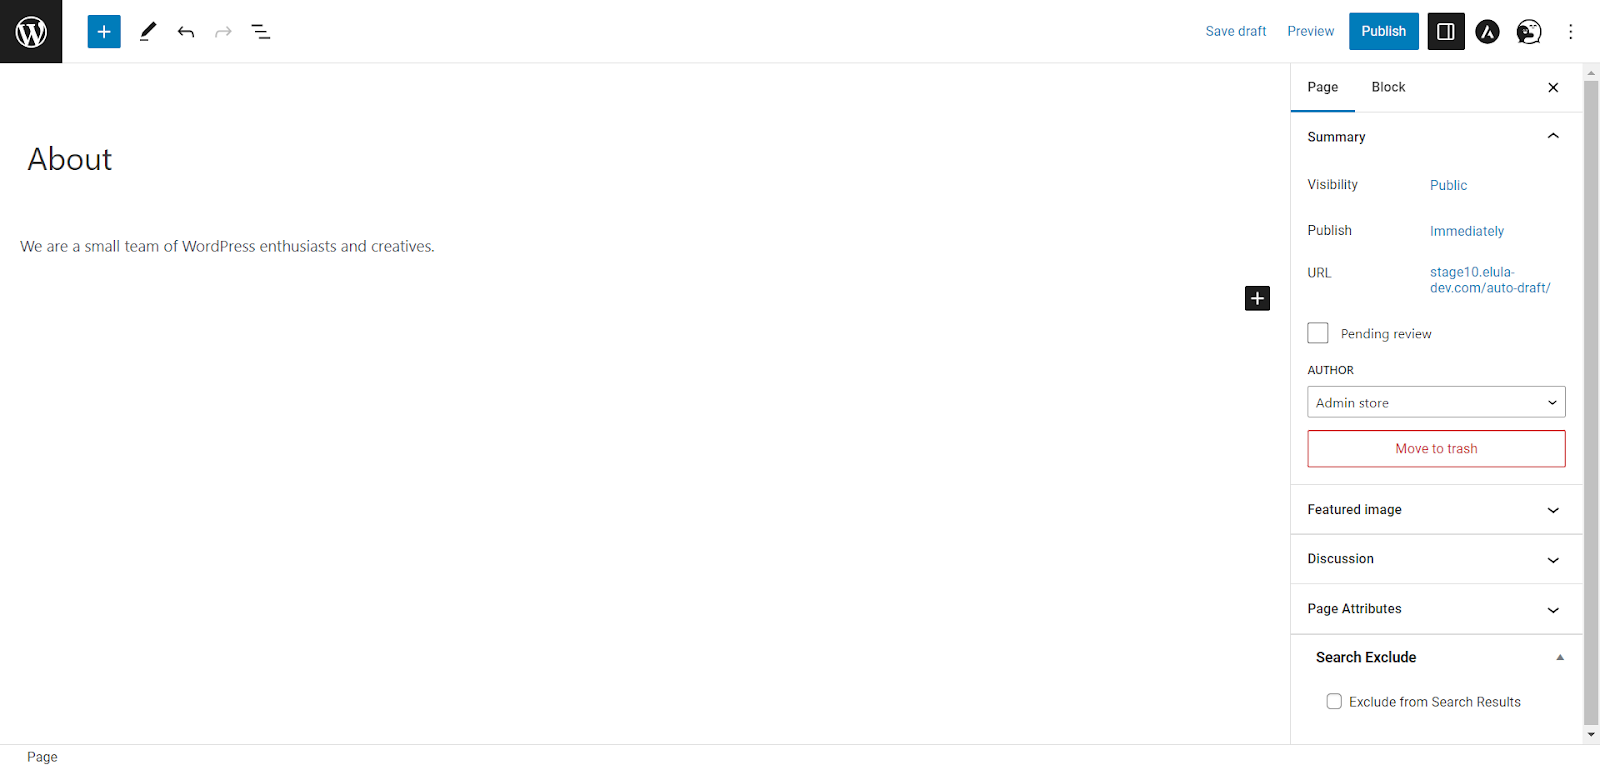
About Page
An About page tells your audience about you, your site, and your brand. Share some background about yourself or your business and what inspired you to start the site. An About page helps to build trust and connection with your readers.
Contact Page
A Contact page allows your readers to get in touch with you easily. Include details like your email address, phone number, social media profiles, and your business address. For blogs or businesses, a contact form is helpful for readers to send messages directly through your site. Be sure to check the form regularly and respond promptly to build good customer relations.
Privacy Policy Page
A Privacy Policy page discloses how you collect, use, and share personal information from your visitors. It’s important for building trust and transparency, and for legal compliance. Explain what data you gather, how it’s stored, and how people can access or delete their information. You can find free Privacy Policy page templates online to customize for your needs.
Terms and Conditions Page
Terms and Conditions, or Terms of Service, establish the rules for using your website and any products or services you offer. It covers things like copyrights, user behavior, payments, liability, and more. While not always legally required, a Terms and Conditions page is a good idea to help avoid confusion or disputes down the road.
With these essential pages in place, your WordPress site will be off to a great start. Don’t forget to also create a home page to welcome your visitors, and start adding blog posts, products, or other content to build up your site.
Import Content and Media to Populate Your Site
Now that you have completed configuring your WordPress website, it’s time to start creating content for your site. The fastest way to populate your site is by importing content and media that you already have created.
Import Posts and Pages
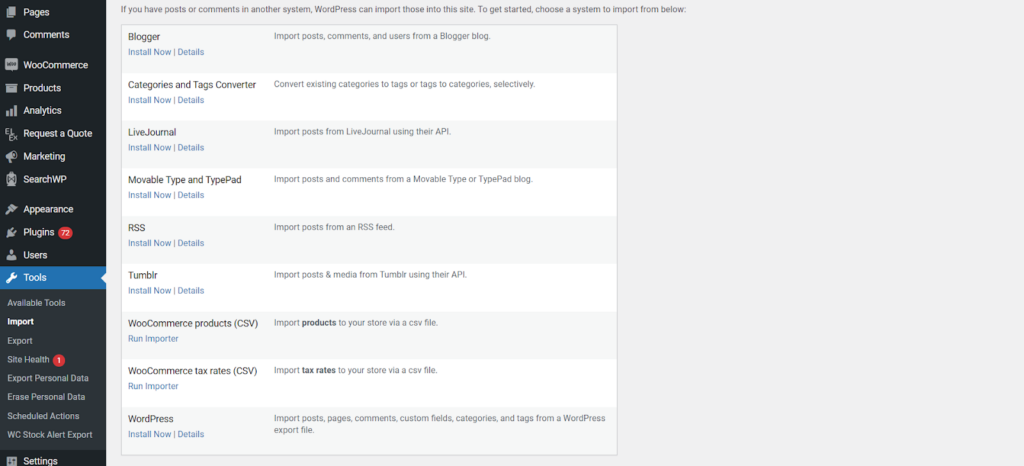
If you have blog posts, articles, or page content from another site or CMS, you can import them into WordPress. Go to Tools > Import and select the platform your content is currently on. Follow the steps to connect to that platform and select the posts/pages you want to import. WordPress will transfer the content, images, and metadata to your new site.
Upload Images and Media Files
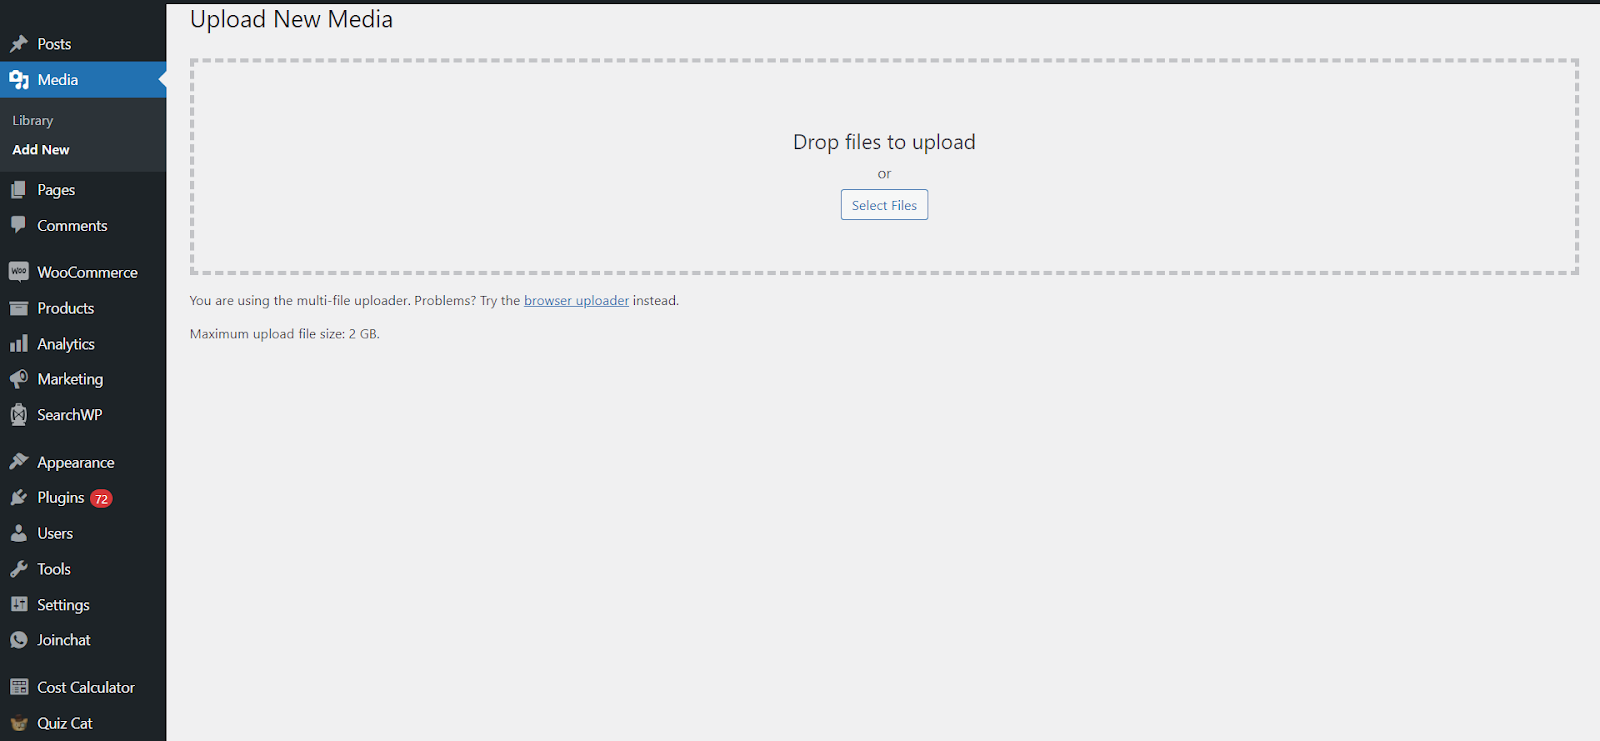
WordPress makes it easy to upload images, videos, audio files, and documents to use in your posts and pages. Go to Media > Add New to select files from your computer to upload. You can also drag and drop files directly into the media uploader.
Upload images in multiple sizes so you have options for your content. For example, upload a large version for featured images or gallery slides, a medium size for inserting into posts, and a thumbnail size for listings and archives.
Categories and Tags
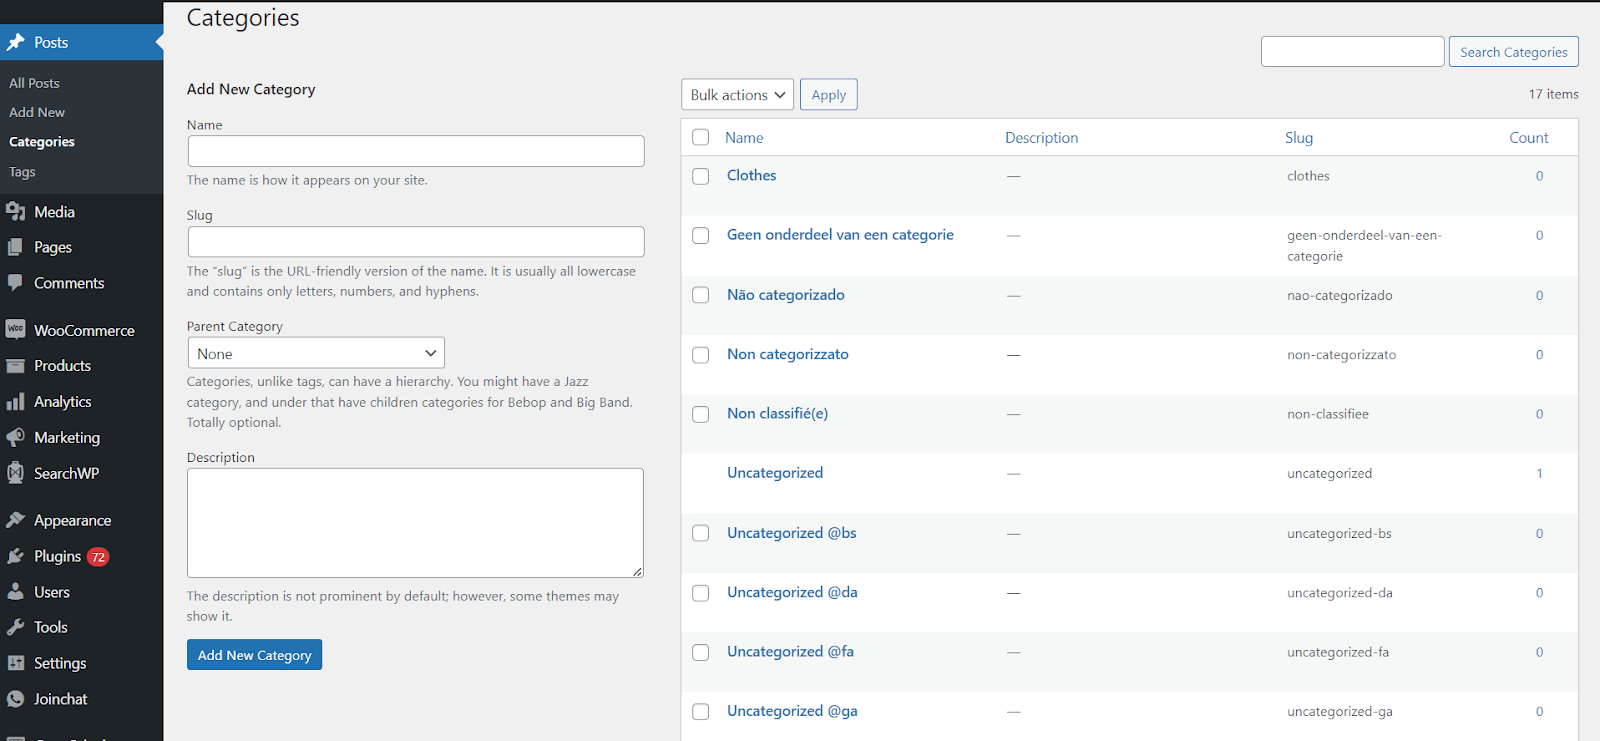
If your imported posts aren’t already classified, now is the time to organize them with categories and tags. Go to Posts > Categories to categorize posts. A key tip is to categorize posts broadly, like “News” or “Products”.
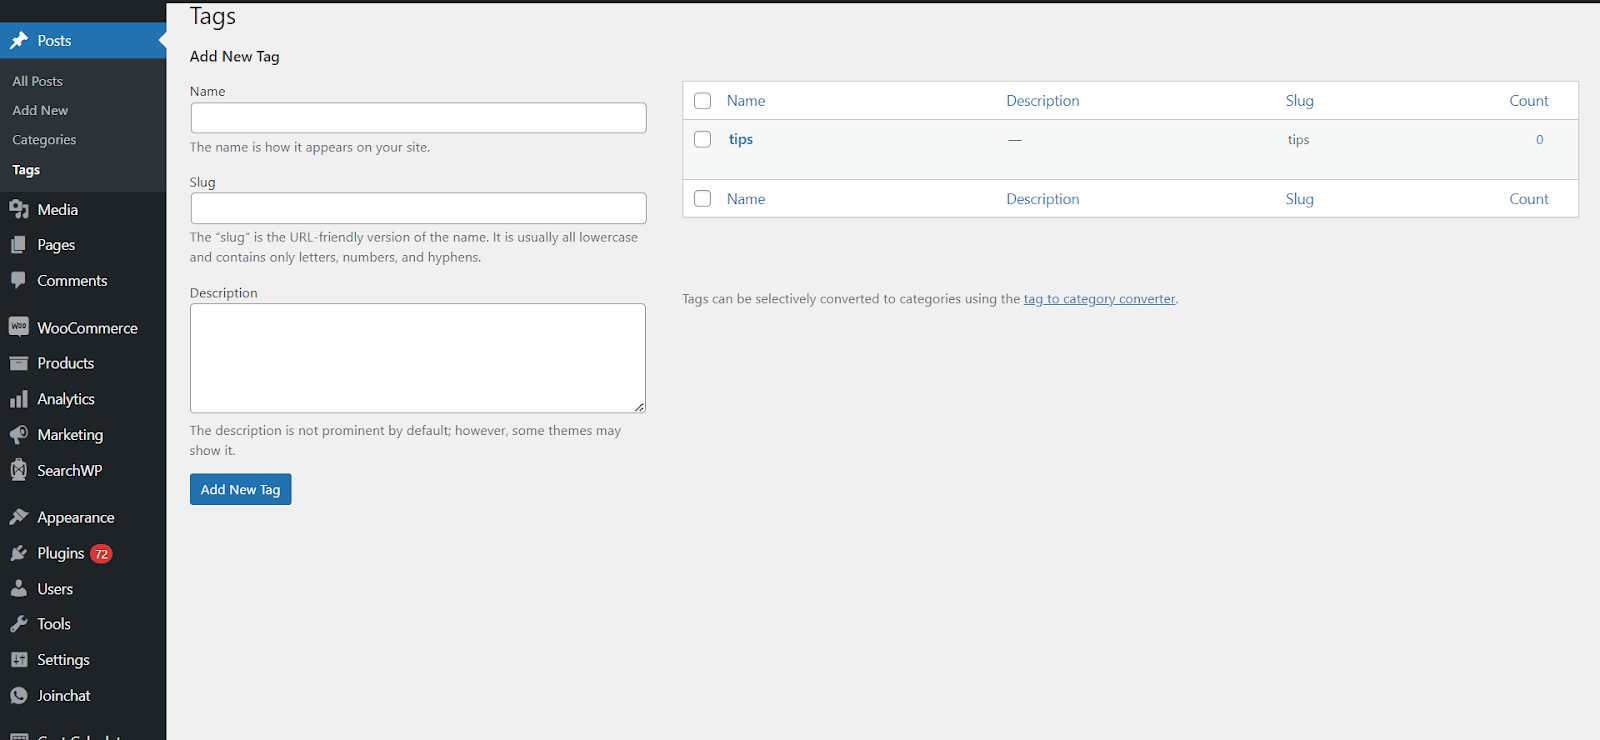
Similarly, go to Posts > Tags to tag your posts. A key tip is to Tag posts in more detail, like “tips” or “reviews”.
Menus
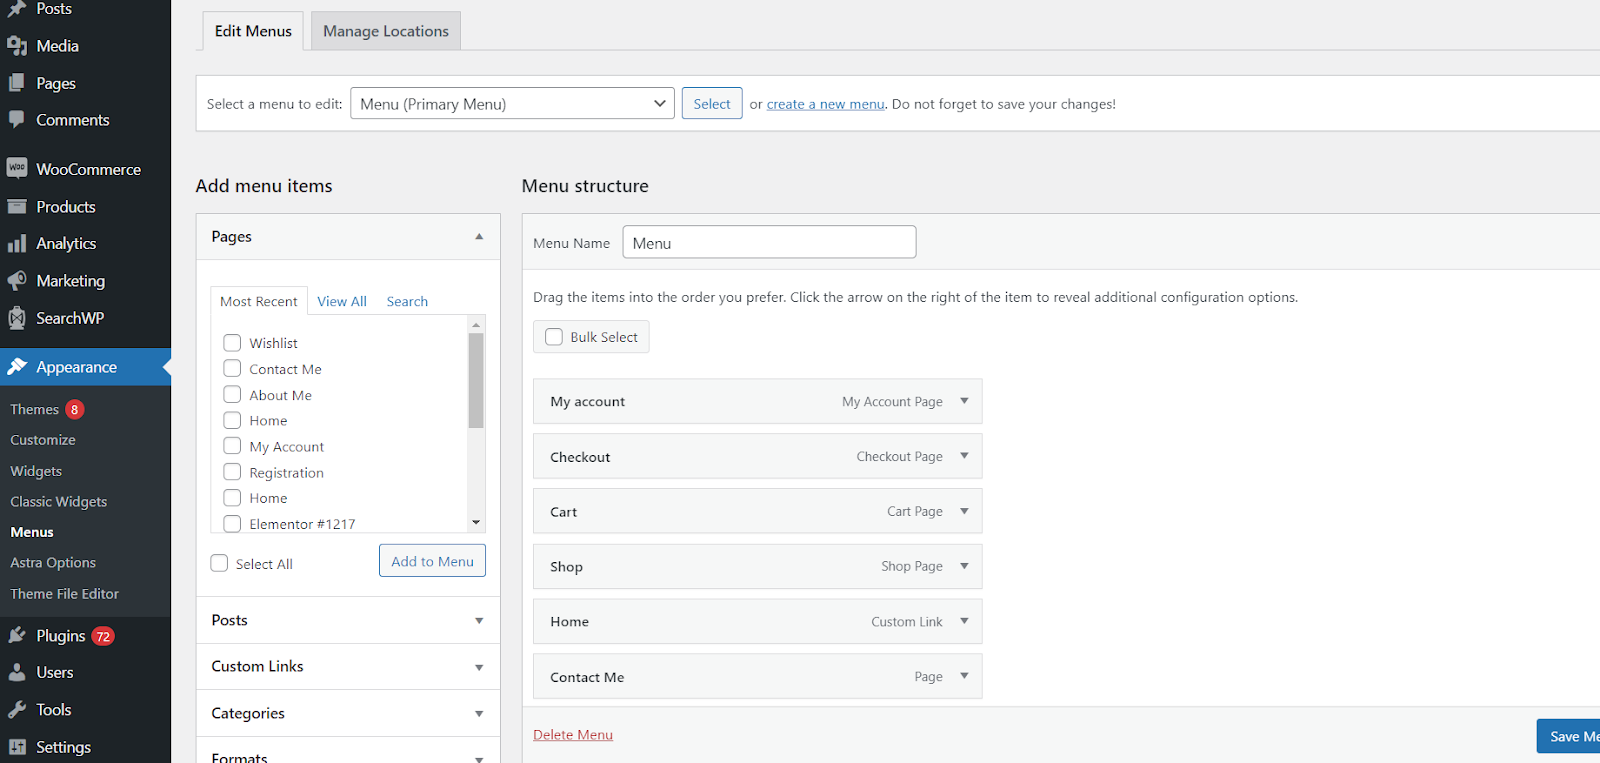
Set up the main navigation menu for your site under Appearance > Menus. Create links to important pages like “About Us” or “Contact”. Select the desired pages and click Add to Menu. This will add the page to the “Primary Menu” and display it on your site.
Following these tips will quickly get your WordPress site populated with content, images, and structure. You can then focus on creating new posts and pages to build up your site!
Videos, particularly guides and tutorials, are essential for learning something new. As a result, we’ve prepared a video on the same subject to help you learn faster.
Conclusion
In conclusion, spending time on customization after installing WordPress is key to making the most of your new website. Ensure your content and branding properly represent your business or organization. With the rich ecosystem of WordPress themes and plugins, you have endless possibilities for customizing an aesthetic and fully-functional site to suit your needs.
Before you know it, you’ll have a fully functioning website that’s ready to go live. Keep making improvements and updating to keep readers coming back. The possibilities are endless.
We hope this post has helped you set up and optimize your WordPress site!


")
")
")