
Last updated - August 20, 2023
Ever notice how some eCommerce stores display text around product prices like “starting at” or “only”? It’s a simple but effective trick to influence customers. As a WooCommerce store owner, you have the power to do the same and boost your sales. You can easily add before and after text around product prices to create urgency or emphasize affordability.
In this tutorial, we’ll show you how to add text before and after prices in your WooCommerce store. Whether you want to highlight sale prices, showcase a discount, or create a sense of urgency, you’ll have the skills to do it in minutes. Let’s get started!
Why Add Custom Text Before and After Product Prices?

Adding custom text before and after product prices in your WooCommerce store is a great way to influence customers and increase sales. Here are a few reasons why you should consider it:
- You can highlight sales or promotions to draw attention to deals and steals.
- You can emphasize the value or savings to motivate shoppers.
- You can feature callouts to boost certain products.
- You can include financing options to alleviate sticker shock.
- You can reassure buyers about price matching.
- Custom price text is also useful for bundling related products or recommending add-ons.
- One of the biggest advantages is the opportunity to strengthen your brand voice. The text around your prices allows you to speak to customers in a friendly, engaging tone that reinforces your brand personality.
The options are endless! With some creative custom price text, you can highlight value, increase urgency, upsell similar products, and strengthen your brand voice. All of which can lead to higher customer satisfaction and more sales.
Use Cases of Adding Custom Text Around the Product Price
Upselling related products
Adding custom text around a product price is a great way to upsell complementary or related products. For example, if you’re selling a tent, you could add text like “Save 20% when bundled with a sleeping bag and air mattress!” with links to those related products. This makes it easy for customers to purchase everything they need for their camping trip in one transaction.
Highlighting product features or value
You can also use the price text area to call out important features, specifications, or the value proposition of the product. For a backpack, you might say something like “Made from water-resistant nylon material with padded straps and multiple storage compartments to keep you organized on the go.” For a software product, you could say something like “The #1 project management tool for small businesses.”
Promoting sales or coupons
If you frequently run sales or have active coupons, the price text area is ideal for promoting them. You could say something like “25% off this week only with code SAVE25” or “Click to redeem your $10 discount coupon.” This encourages customers to take advantage of the savings and may prompt them to buy now before the sale or coupon expires.
Discount messages
If you’re offering a special coupon code or discount for email subscribers or new customers, add messaging to highlight the savings. For example, “Sign up for our newsletter to get a 10% discount!”. This kind of customized messaging helps incentivize customers to take action.
Scarcity warnings
If you have a product with limited inventory or availability, create a sense of scarcity by adding texts such as “Only 2 left in stock!” or “Selling fast – order today!”. This kind of urgency encourages customers to buy right away before the product sells out or the deal expires.
Customer reviews
Share some of the glowing reviews and ratings from real customers to build social proof. You might add texts like “Over 500 5-star reviews! Or “Our customers say: ‘The best product of its kind. Highly recommended!’”
Quoting customer reviews is an authentic way to demonstrate how much others love your products.
With some creative thinking, the possibilities for using custom pricing text in your WooCommerce store are nearly limitless.
Now that we understand the importance of adding custom text around product prices, let us go through the process of implementing this feature in your WooCommerce store!
Using a Plugin to Add Custom Text Around Product Prices

The ELEX WooCommerce Custom Text (Before & After Text) and Discount plugin makes it simple to draw attention to sales or other relevant information about your products. Your customers are unlikely to miss a promotion or a price drop by incorporating these custom text messages into your product pricing.
The plugin is packed with features like:
- Add custom text to the product price that is displayed on the shop page, individual product pages, and cart page as a prefix, suffix, or both.
- Apply a flat rate or percentage discount to each item in the store’s inventory.
- You can limit the appearance of customized messages and offers on particular pages based on your preferences.
- Apply customized text and discounts to particular products based on their product categories.
- Show the price range for variable products and much more.
Now that we have seen the features and functionalities packed into this plugin, let us see how to configure it.
The plugin must be installed and activated first. After doing so, you may go ahead and access the plugin settings by going to WordPress Dashboard > WooCommerce > Settings > Custom Text & Discount.

The process of configuring the settings is very simple and quick. All the settings are on a single page and will just take a few clicks to get through. Start by enabling Use Custom Text & Discount.
The rest of the features are dependent on your requirements and can be personalized. Before we see examples of the various configurations, let us understand what each feature does:
- Select Pages: Choose the specific pages on which you would like to display personalized text and discounts, or select all to display them on every page, including the shop, product, and cart pages.
- Product Categories: If you prefer not to apply custom text and discount settings to all products in your store, then you have the option to apply them only to specific product categories. This choice should be made based on your individual requirements.
- Add Prefix: Include custom text to appear before the product price on both the shop page and individual product pages.
- Add Suffix: Include custom text to appear after the product price on both the shop page and individual product pages.
- Discount Type: Determine whether you would like to apply a percentage or fixed discount. This discount will be applied universally, making all products eligible.
- Discount: In this field, you may enter the desired discount amount. Every product will be eligible for this discount value because it will be applied to the entire store.
We will go ahead and configure the settings in order to provide examples. As you can see below, we have added the prefix “Only” and the suffix “For the next 2 days”. These rules have been applied to the Shop page and selected product categories.

Below is the result of the configured settings,

In this example, we have set the suffix to “Including Taxes” and left the prefix empty. Additionally, we have added a discount of 30% with the discount type being “Percentage”. These rules have been applied to the product page and all categories.

Below is the result of the configured settings,

The previous examples were applied globally, meaning they are applied to all the products in the store meeting the rules we set. If you wish to apply custom pricing and discounts at an individual product level, go to your WordPress Dashboard > Products and click Edit under the product you wish to customize.
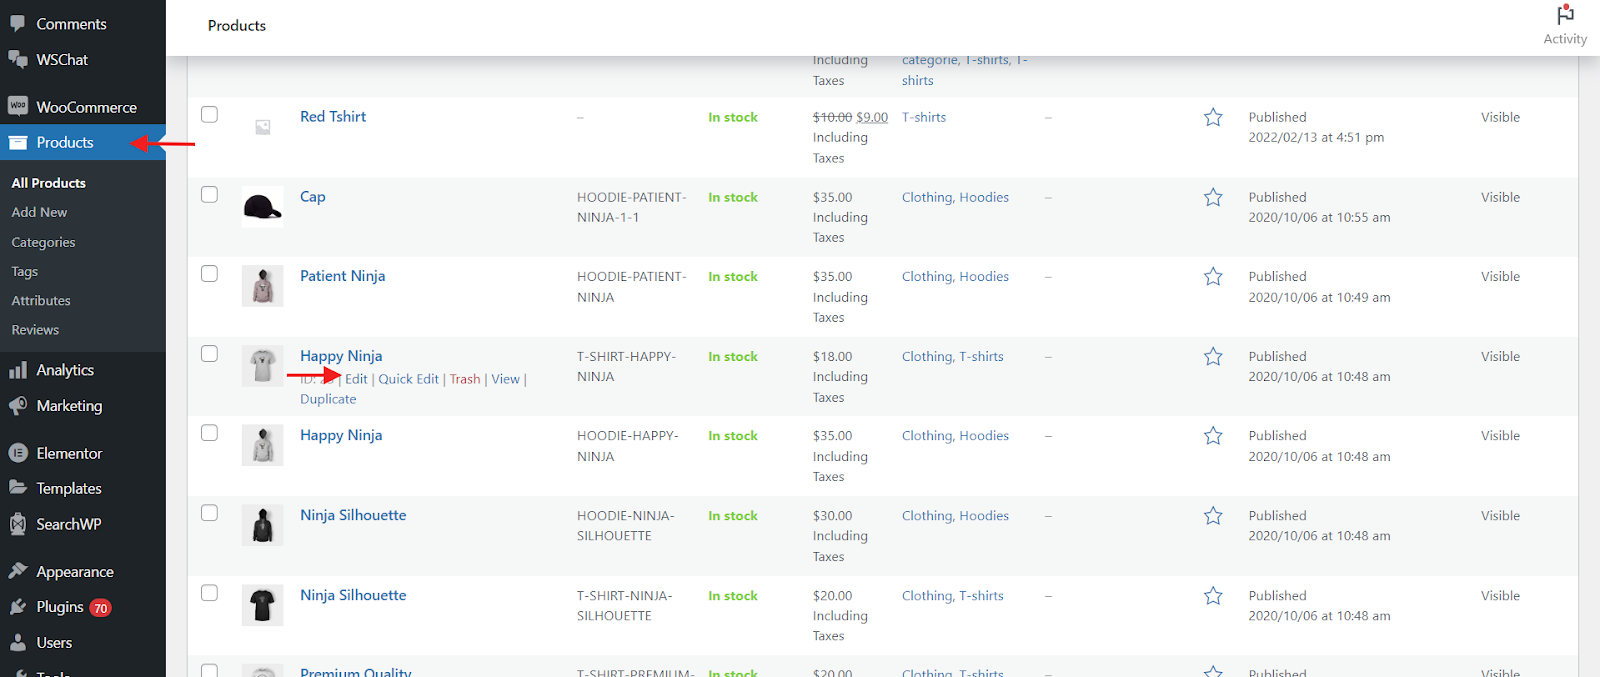
Now scroll down to the Product Data meta box and click the Price Text & Discount tab. The settings are the same as the global settings and can be customized similarly. Once you are done, click Update.

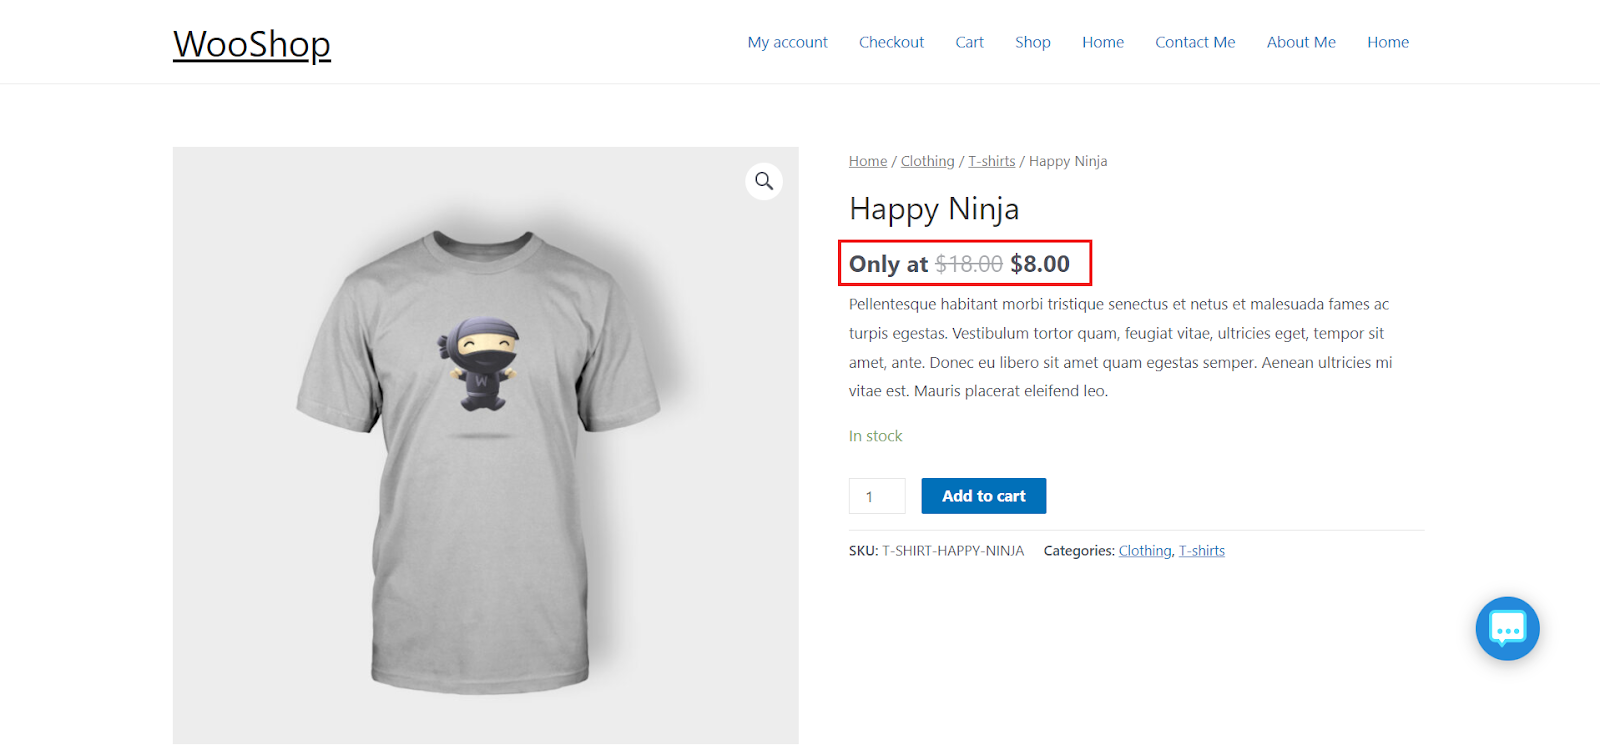
As you can see, we have entered the prefix “Only at” and set the discount type to “Amount”(Fixed amount discount) and the discount to 10$. This change is only applicable to this specific product. Below is the result of these settings.
Go ahead and check out our YouTube video on the same topic for a well-demonstrated visual explanation of this article.
Conclusion
And that’s it — you now know how to add custom text around product prices in your WooCommerce store. The options are endless. Customizing these small details in your store can make a big difference in how professional and polished it looks to your customers.
Give it a try and see how it impacts your sales and customer experience. With this tool, it is easy to make your WooCommerce store and its products even more compelling, and all of this is completely free.
We hope this post has helped you add before and after text to your WooCommerce product prices!


")
")
")