
The checkout process is a strong determinant for conversion rate in eCommerce. Designing an optimum checkout flow could be an ongoing challenge for eCommerce store owners. If you have a WooCommerce store, and would like to optimize the checkout flow, there are a few ways to go about it. In this article, we will discuss how you can easily create a WooCommerce product direct checkout link that will ease the purchase process for customers.
How to Easily Create WooCommerce Product Direct Checkout Link?
The easiest way to create WooCommerce product direct checkout link is by using the product id. For example, you can create a custom url in the following format:
“https://yourstore.com/checkout/?add-to-cart=ProductID”
If you want to create a direct checkout link for the product with ID ’25’, the url will be:
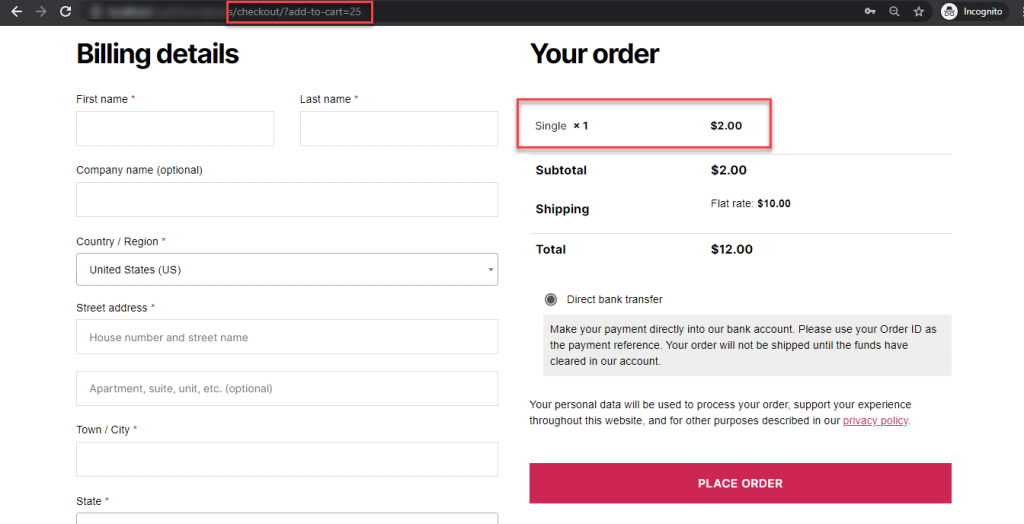
“https://yourstore.com/checkout/?add-to-cart=25”
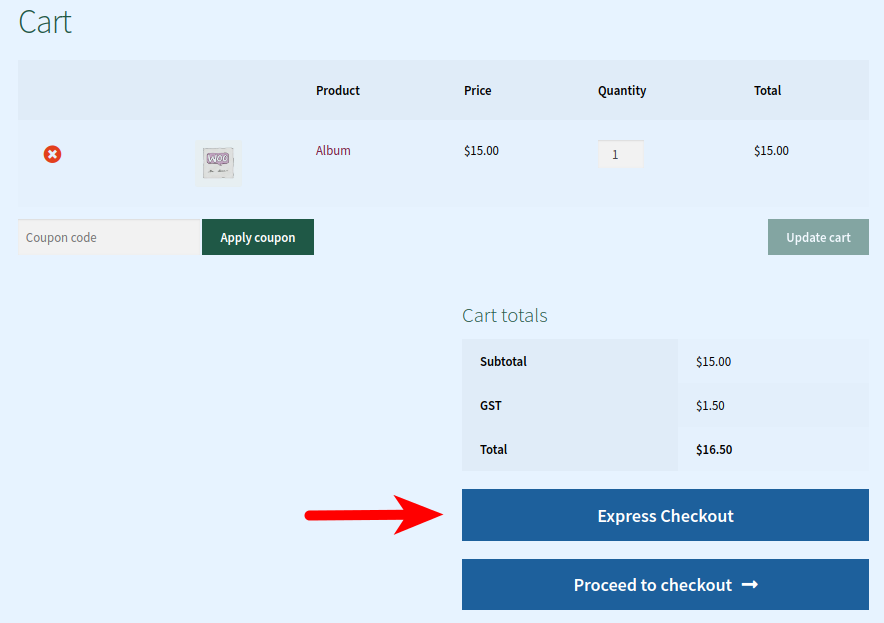
You can check the screenshot below that shows the checkout page of our demo site with the product with ID=25 added.
How will you find the product ID?
To find the product ID, you can go to the Products section of your WooCommerce admin, and hover the cursor around a product. The product ID will be displayed along with other options.
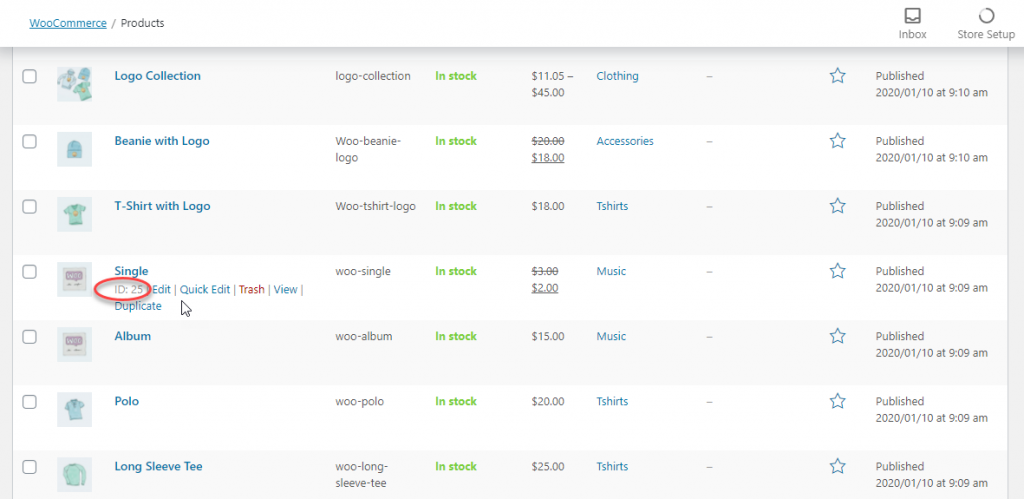
You can find the product ID for simple and grouped products this way.
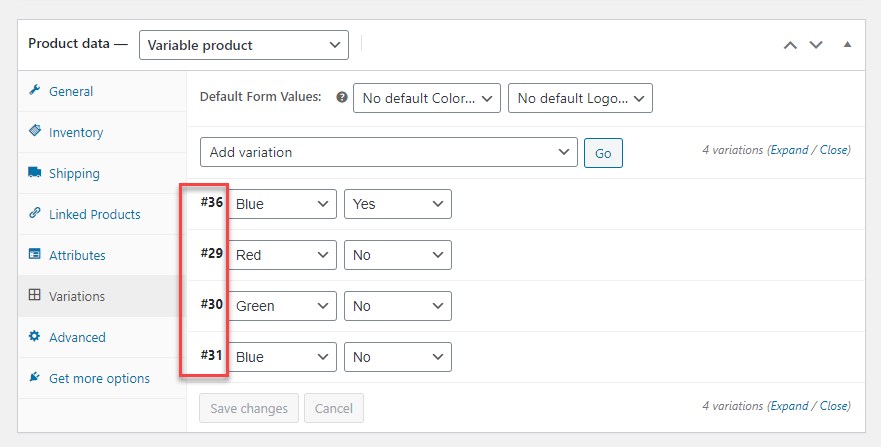
However, for variable products, you will have to find the ID for the individual variation.
Go to the variable product and navigate to the Variations section in the Product Data meta box. Here, you will see the ID next to individual variations.
If you want to create a direct checkout link with a specific variation of a variable product, you can include the specific id of the variation.
How to specify the quantity of products in the direct checkout link?
While creating a link for direct checkout, you can also specify the quantity of products. At the end of url, you can add “&quantity=#”
So, if you want to add 3 nos. of the product with ID=25, the direct checkout link will be:
“https://yourstore.com/checkout/?add-to-cart=25&quantity[3]”
For simple products and variations, this will work smoothly. However, for Grouped products, you will have to specify the quantity of each child product.
So, for example, there is a grouped product with ID=34. The child products’ IDs are 35 and 14 respectively. To create a direct checkout link with 2 items of the first product and 3 items of the second product, you can customize the link as below:
“https://yourstore.com/checkout/?add-to-cart=34&quantity[35]=2&quantity[14]=3”
This is how you can customize a direct link checkout for your products. You can easily manage custom codes if you want to add it for a handful of products. When you need to create direct checkout links for more products, it is advisable to use a plugin.
Direct Checkout with a Plugin
You can use the Direct Checkout for WooCommerce plugin if you want to make adjustments to the checkout flow in your store. The plugin offers multiple options to optimize the checkout flow according to your store strategy. Here is how you can manage WooCommerce Product Direct Checkout Link with this plugin.
Download the plugin from the WordPress plugin repository. Install and Activate it.
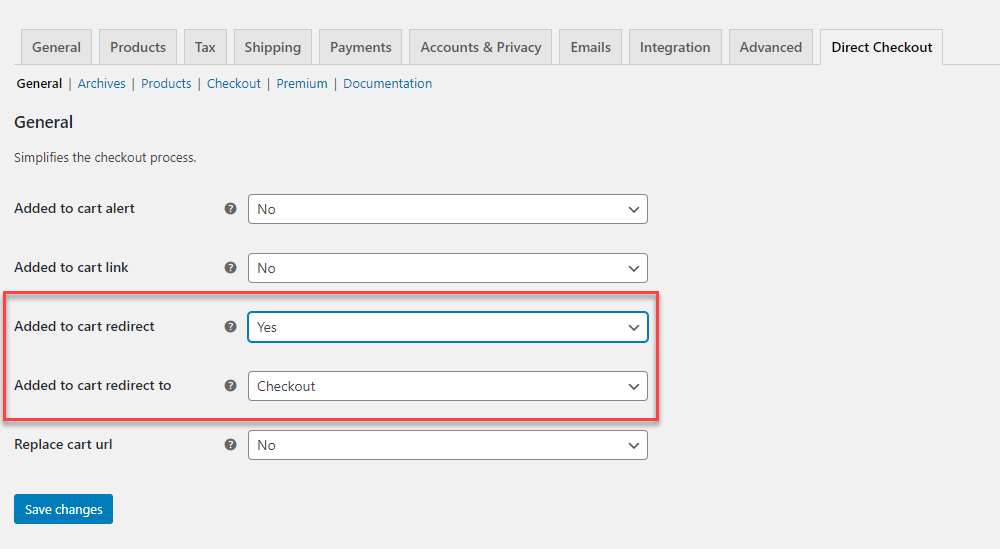
In the General settings, you will find 4 options, which you can selectively enable:
- Added to cart alert
- Added to cart link
- Add to cart redirect
- Replace cart url
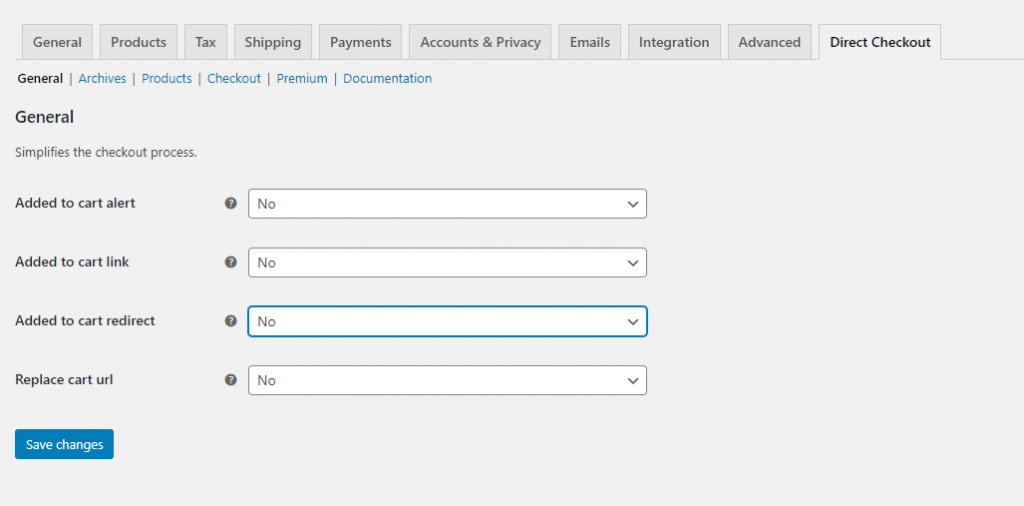
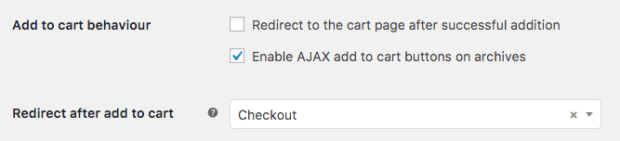
For this example, we will redirect customers to the Checkout page when they click the Add to Cart button by enabling the third option.
Now, customers will be directly going to the Checkout page when they add a product to the Cart.
Customize Add to Cart button text
It may be a good idea to customize the button text when customers are redirected to the Checkout page. The plugin offers options to redirect the button text on the Shop page as well as individual product pages.
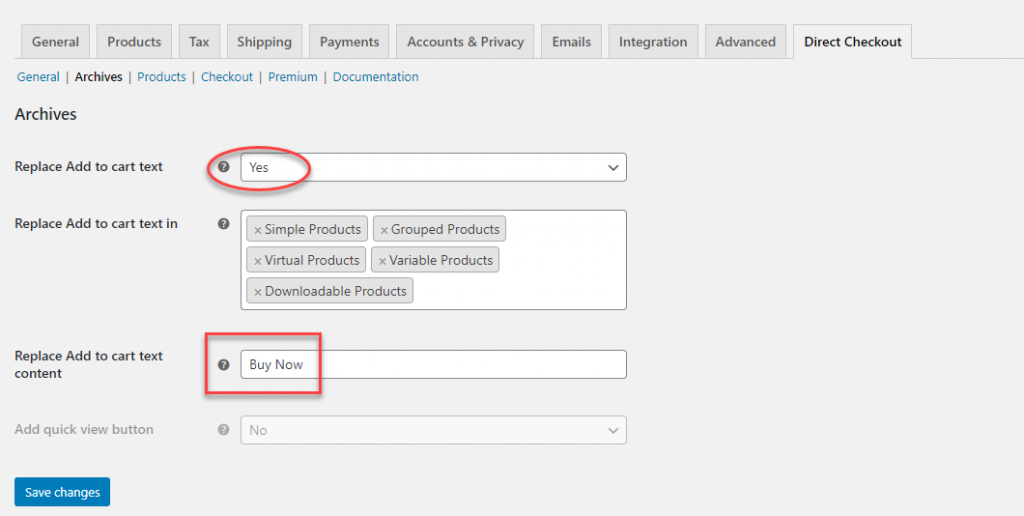
For this, you can go to the Archives section in the plugin settings and enable the ‘Replace Add to Cart text’ option. When you select ‘Yes’ for this option, two other options will be displayed:
- Replace Add to Cart text in – You can specify which all product types you want this custom text to be displayed.
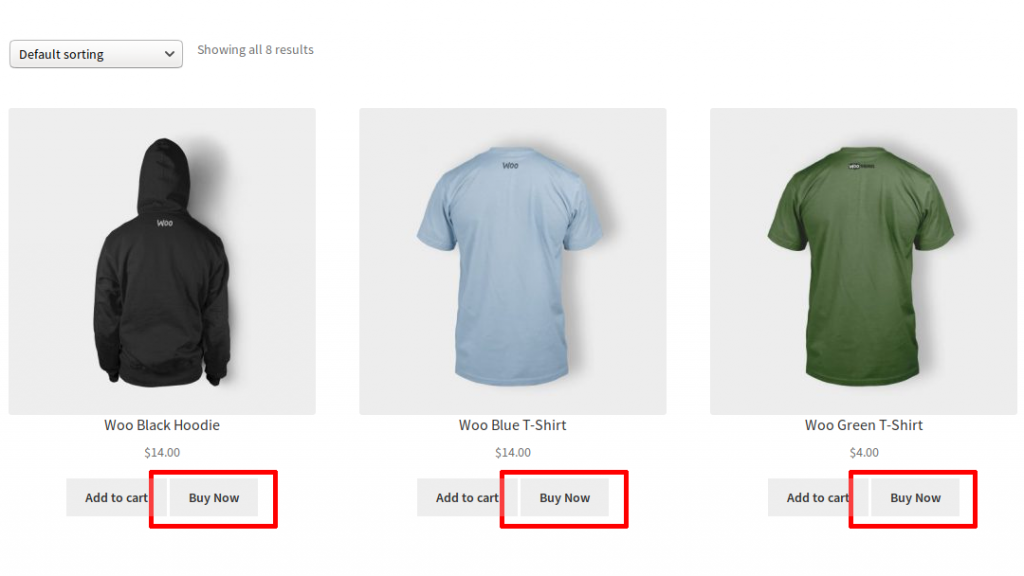
- Replace Add to Cart text content – Add the text you want to display instead of add to cart. For example, “Buy Now”.
You can go to the Products section of the plugin settings to customize the button text in individual product pages.
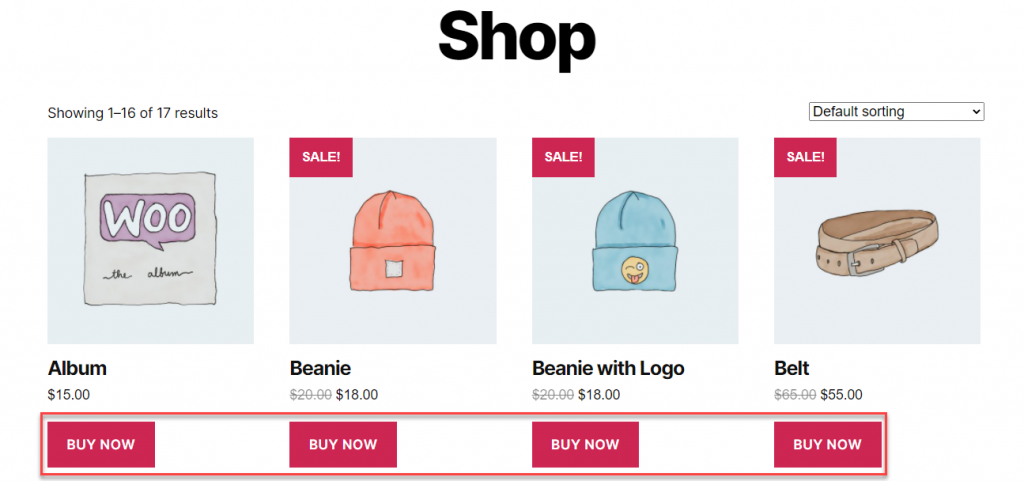
Now, a customer on the Shop page will see the custom text, and they will be taken to the Checkout page instead of the Cart page when they click the button.
The advantage of this method is that you can make the checkout flow much faster by omitting the step of adding to cart. This is a good idea if customers are mostly purchasing one product at a time. If majority of your orders include multiple products and varied quantities, the default flow with the Cart page could be more beneficial.
You can check out the premium version of the Direct Checkout for WooCommerce plugin here.
More plugins to help you modify the checkout flow
Now, we will quickly glance through some of the other plugins that will help you make your checkout process faster.
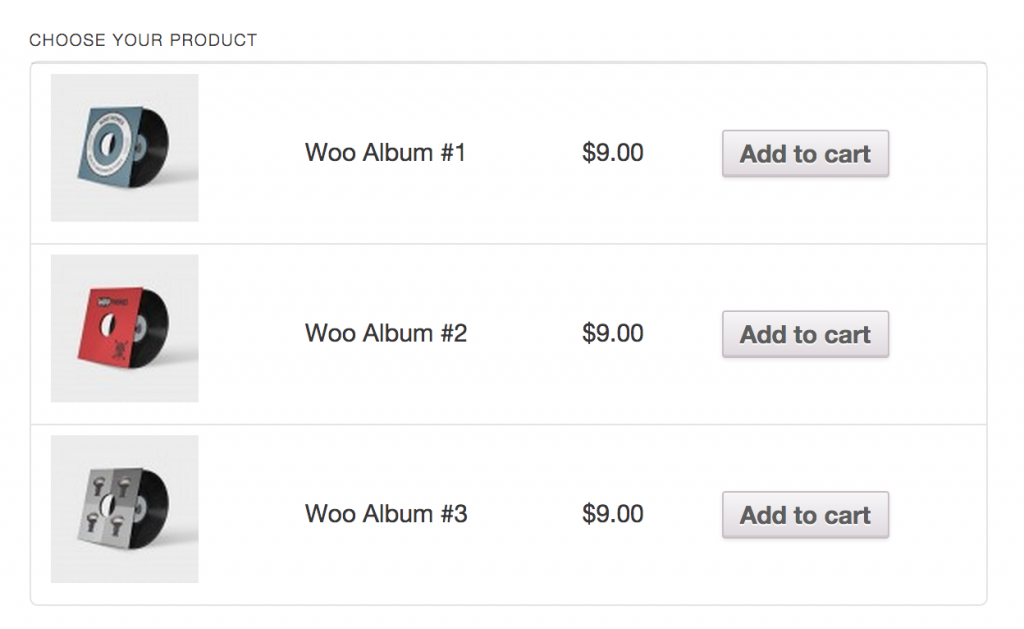
WooCommerce One Page Checkout
With this plugin, you can create custom checkout pages that includes a selection of products as well as checkout fields. This enables customers to complete the purchase process from the same page itself. Moreover, the plugin offers pre-built templates and supports all product types including Subscriptions, Bookings, and Bundles.
Cashier
This plugin offers comprehensive options to optimize the checkout flow on your store. You can configure it to skip Cart and Checkout steps, and directly lead customers to the payment page. If customers have their details stored in the site, things become more easier with automatic payment as well. In addition, the plugin has add to cart redirect and options to set up product recommendations.
Quick Checkout for WooCommerce
This plugin helps you set up an additional Buy Now button on your Shop and Product pages that will aid quick checkout. Customers can click this button to move directly to the Checkout page by skipping the Cart step. The plugin offers a wide range of options to customize the settings including displaying the button only for specific categories or user roles. Furthermore, the plugin also lets customers save multiple addresses in the store.
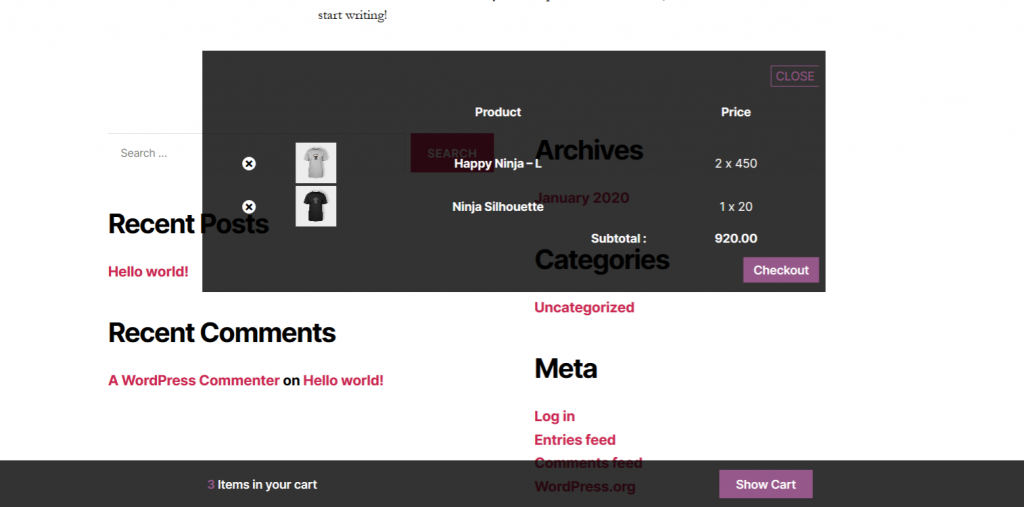
Sticky Cart for WooCommerce
With Sticky Cart for WooCommerce, you can display an “always accessible” Cart option for customers. This will help to easily go to the Checkout page when needed. Moreover, for returning customers the saved Cart will enable direct Checkout from any page. Also, the plugin has extensive customization options.
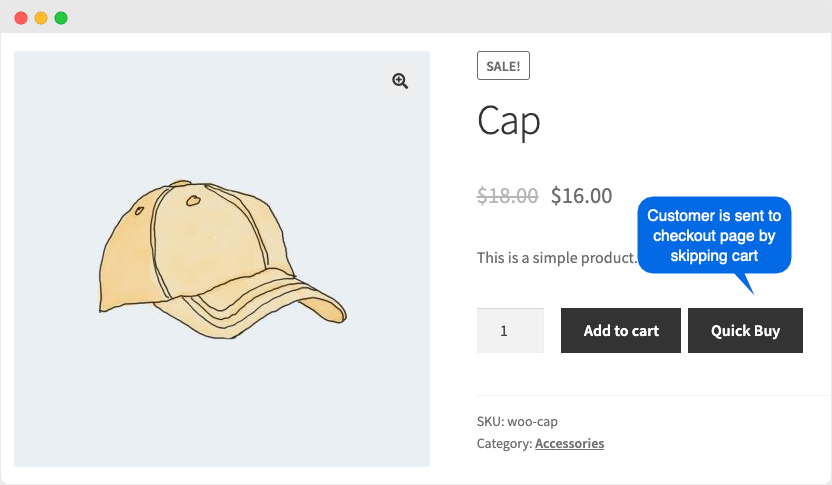
Quick Buy Now Button for WooCommerce
With this plugin, you will have the option to display a Buy Now button alongside the Add to Cart button. Additionally, you can replace the Add to Cart button with the Buy Now button as well. Depending on the store strategy, you can provide this option only for selected products or categories. Furthermore, you can customize the button text and position according to needs. And, with shortcodes, you can place the Buy Now button anywhere on the site.
Add to Cart Redirect
With this plugin, you can set up different redirect options. You can redirect customers directly to the Checkout page, or to a custom url after they click the Add to Cart button. Moreover, the plugin helps you configure redirects globally, or at product or variation levels.
Hopefully, you have got a better understanding on optimizing the checkout flow with the WooCommerce Product Direct Checkout Link option. Based on your store requirements, you can choose the manual option or go for one of the plugins mentioned. Leave us a comment if you have a query.


")
")
")
Hi Lily, Did you try this plugin – https://learnwoo.com/refer/woocommerce-cashier ?