Last updated - March 15, 2022
Facebook has become a preferred advertising platform for a lot of businesses and eCommerce store owners. It will give broader reach to your products and also helps you target the right customers. The reason why Facebook ads are so effective are partly due to the efficient retargeting it manages. Facebook Pixel helps in retargeting with the help of a code that is inserted to your website to track the behavior of your users. It will help a lot in devising a long term advertising strategy for your store. In this article we will discuss how you can set up Facebook Pixel for WooCommerce.
Know more about Facebook Pixel
Facebook Pixel is a piece of code that is inserted on your website, which you can use to track visitors on your site. Once it starts tracking visitors on your site, you can monitor user behavior on your site, and retarget users through ads. Basically, it will help you understand user behavior and will enable you to create more effective ad campaigns. Moreover, with extensive reporting features, you will be able to measure the success of your social media campaigns as well.
How to configure Facebook Pixel for WooCommerce store?
Integrating Facebook Pixel to your WooCommerce store is not a difficult process. You can manually insert the code to the header section of your website. However, you can do this with the help of a plugin, which will be easier for new users. Let’s see the entire process in detail.
Step 1: Setting up Facebook Pixel
You need to have a Facebook Business account to be able to create ads. Login to your Facebook Business account and access Ads Manager.
When you click this option, you will be guided to another screen that details the features of Pixel. Here, you can find a button to create Pixel. Click the ‘Create a Pixel’ button to get started with the process.
Now, you will be able to set a name for the Pixel that you are going to create. Here, you will be also able to specify your website name so that the set up is smoother. However, this is an optional field, and you can move on leaving it empty. Please note, when you click the Continue button, you are agreeing to the terms of Facebook. If you have any doubts, it is better to read the terms in detail before continuing.
Now, you can see your Pixel is created. The next step is to install it on your site, so you can start with the tracking process.
Step 2: Integrating with your WooCommerce store
Once you have created a Facebook Pixel, you will see a few options. The options include:
- Add code using a Partner Integration.
- Manually add Pixel code to website.
- Email instructions to a developer.
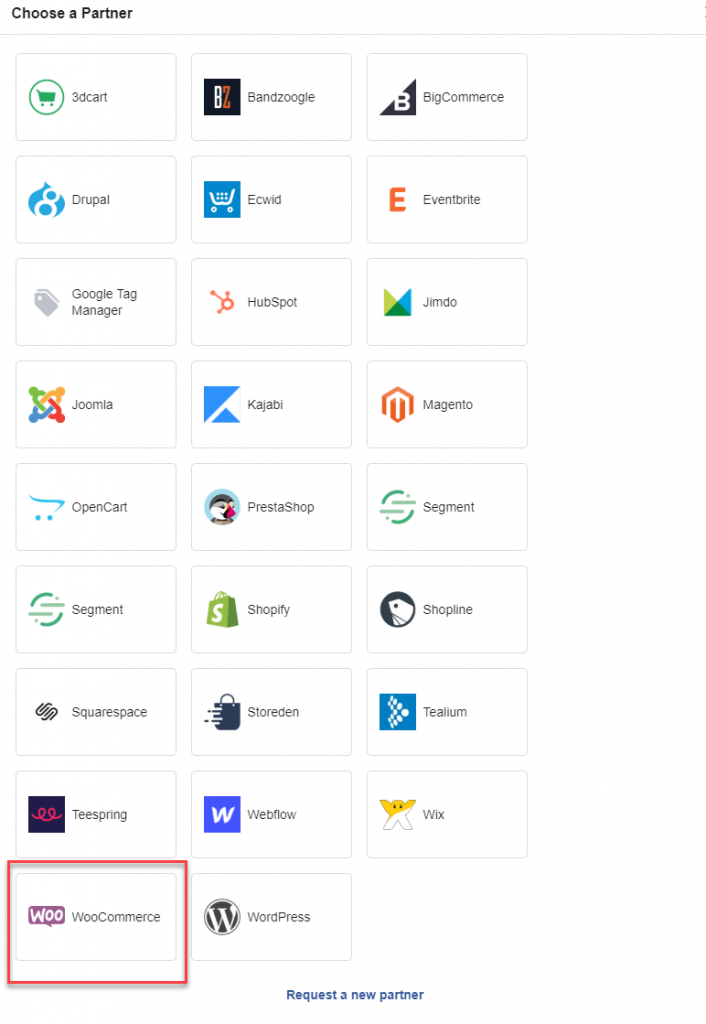
Now, to integrate it easily with the help of a plugin, you can choose the first option “Add code using a Partner Integration.”

This will lead to you to a range of options to integrate the Pixel. Scroll down and choose WooCommerce.
You can now connect your WooCommerce store.

In the next step, you can download the plugin that will help you with the integration of Facebook Pixel with your WooCommerce store. Click the Continue button.

Once you download the plugin and click the Continue button, you will find a set of instructions that will direct you to install and activate the plugin. Click the Continue button.

Next you will see an instruction to install the plugin on your WordPress site. You can click the Continue button.

The next will advise you to activate the plugin. Click the Continue button.

The next step is to verify the connection. This you will have to manage on your WooCommerce site.

At this point, you can leave this set up page and go to your website.
Step 3: Installing and activating the plugin on your WooCommerce store
Install the plugin like you would do with any other WordPress plugin. If you are not familiar with this, read our article that describes how to install a WooCommerce plugin.

Once you activate the plugin, you can open the plugin settings page for further configuration.

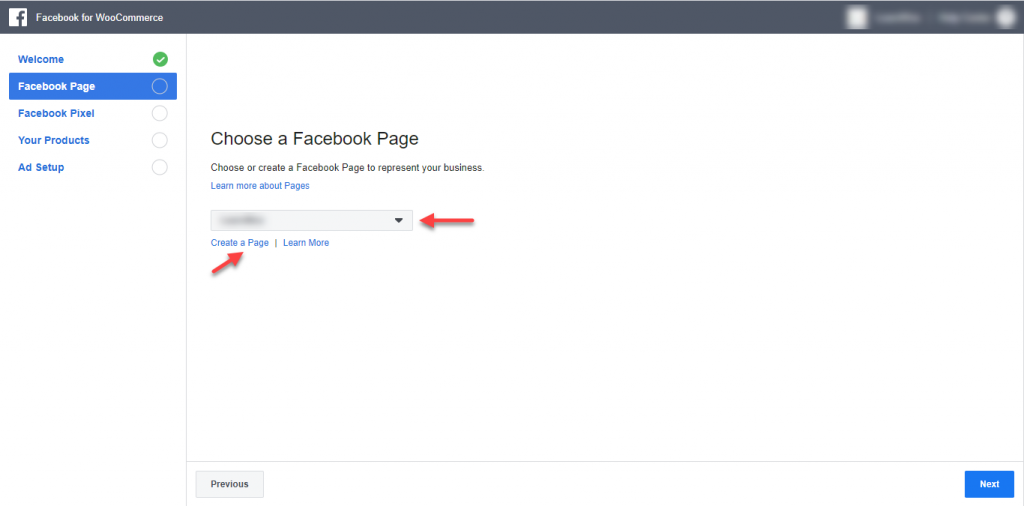
You will have to specify the Facebook page that will represent your business. If you already have a Facebook page for your business, you can use that. If not, you can create a new page at this step.
Next step, you can specify the Pixel that you have just created.
After that, you can import your products to Facebook.

Once all the products are imported, this process is done.
Now, you can go back and finish the verification step during Partner integration.
Step 4: Verifying the connection
Now, you can return to the Partner integration screen, and you will see the connection is already Active.

In the next step, you can specify your website url and click the button to open it.

Once the process is completed, you can test your Events.

As a next step, you can create ads using Facebook.
Advantages of using Facebook Pixel
Facebook Pixel is an analytics tool that will help you optimize your marketing activities through Facebook. Here is a look at some of the obvious advantages when you integrate it with your website.
Retargeting
One of the major advantages of integrating Facebook Pixel on your website is that it help you in retargeting. You will be able to present your products to customers who have already shown interest in your products. Retargeting has higher chances of conversion, as you already know the customers have some interest in the product.
Conversion optimization
Facebook Pixel will provide you better scope to optimize conversions on your store. You can optimize conversion events that are more closely related to business growth. This will help you be more in control of your analytics data as you can measure the efficacy of campaigns more clearly.
Helps you target customers based on value
By analyzing purchase history of a set of customers, you can always identify the ones who are more valuable to your business. The ones who have already spent considerable amount of money are more likely to purchase again from you. Facebook Pixel will help you target such customers.
Track customer behavior
Facebook Pixel helps you track customers who has interacted with your ads. This will help you understand the user behavior that leads to a conversion. You will be able to get a lot of insights about how customers are perceiving your website.
Help you build custom audience
Facebook Pixels will help you broaden your audience base. Based on the specific details of users who are already interacting with your site, it will help you build a custom audience. The data of existing users such as demographics, interests, etc., will be considered for this.
Exclude specific users from retargeting
Sometimes retargeting users who have already purchased the advertised product from you can backfire. It will create a bad user experience and a negative perception about your site. Thankfully, you can exclude such audience from your retarget campaign.
Use more reporting and advertising tools
Along with tracking important aspects of your business growth, Facebook Pixel will also encourage you to use other tools for Facebook advertising. Once you get comfortable in the environment, you will be using more tools and options.
We hope this article has helped you configure Facebook Pixel for WooCommerce. Please leave a comment if you have a query.
Check the video below:


")
")
")