
In the fast-paced world of e-commerce, standing out from the crowd is essential to the success of your online store. One effective strategy for enhancing the visual appeal of your WooCommerce store is by incorporating a scrolling effect to showcase your products through a Product Slider.
In this comprehensive guide, we will walk you through the step-by-step process of creating a Product Slider using two crucial plugins: Elementor and ShopLentor (formerly WooLentor).
Key Advantages of Adding a Product Slider
Adding a product slider to your website or online store can offer several key advantages, enhancing the user experience and potentially driving higher conversion rates. Here are some of the key advantages:
- Visual Appeal: Product sliders are visually engaging and can showcase your products in a dynamic and interactive way. This can capture visitors’ attention and make your website more visually appealing.
- Space Efficiency: Sliders allow you to showcase multiple products within a limited space. This is particularly useful for websites with a focus on aesthetics or limited page space.
- Highlight Featured Products: Product sliders provide an effective way to highlight specific products or promotions. This can be particularly useful for showcasing new arrivals, best sellers, or items on sale.
- User Engagement: Interactive elements like sliders can increase user engagement. Visitors may be more likely to interact with your website if they can easily browse through a variety of products without having to navigate to different pages.
- Improved Navigation: Sliders can serve as a navigation aid, allowing users to quickly browse through different product categories or collections. This can enhance the overall navigation experience and make it easier for users to find what they are looking for.
- Showcasing Product Features: If your products have unique features or details, a slider can be an effective way to showcase these aspects. For example, you can use the slider to display different color options, product angles, or close-up shots.
- Promotions and Discounts: Product sliders are a great way to promote special offers, discounts, or seasonal sales. The dynamic nature of sliders can draw attention to these promotions and encourage users to take advantage of the deals.
- Responsive Design: Many product sliders are designed to be responsive, meaning they adapt to different screen sizes and devices. This ensures a consistent and positive user experience across desktops, tablets, and mobile devices.
- Call-to-Action (CTA): Product sliders often include calls-to-action (CTAs) such as “Shop Now” or “Learn More,” or sliding arrows encouraging users to take specific actions. This can contribute to higher conversion rates by guiding users toward making a purchase.
- Analytics and Insights: Some product sliders come with analytics features, allowing you to track user interactions and gather insights into which products are gaining the most attention. This data can be valuable for refining your marketing and product placement strategies.
Creating a Product Slider(Using Plugins)
Step 1: Installing the Essential Plugins
Begin by installing the necessary plugins for your WooCommerce store.
- Elementor Installation:
Navigate to your WordPress Dashboard. Next, Go to Plugins → Add New → Search for “Elementor”
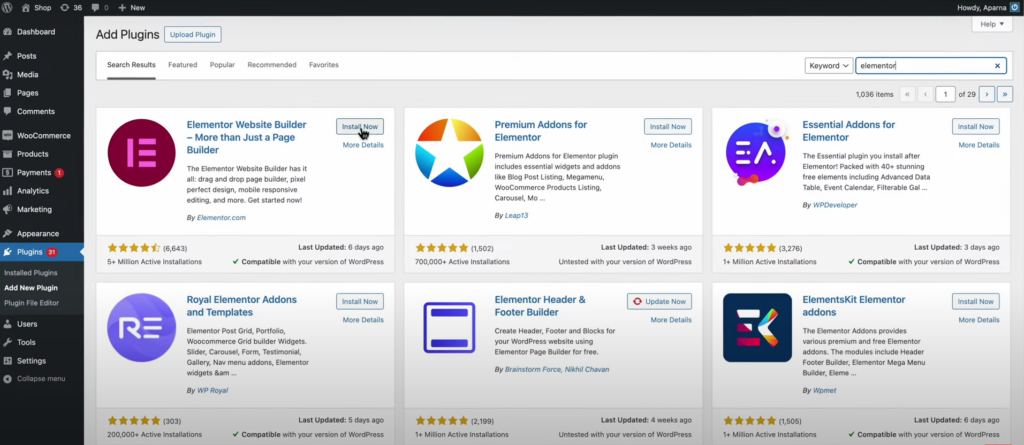
Install the plugin → Activate Elementor
- ShopLentor Installation:
In the WordPress Dashboard, click on ‘Add New Plugin’ → Search for ‘ShopLentor’
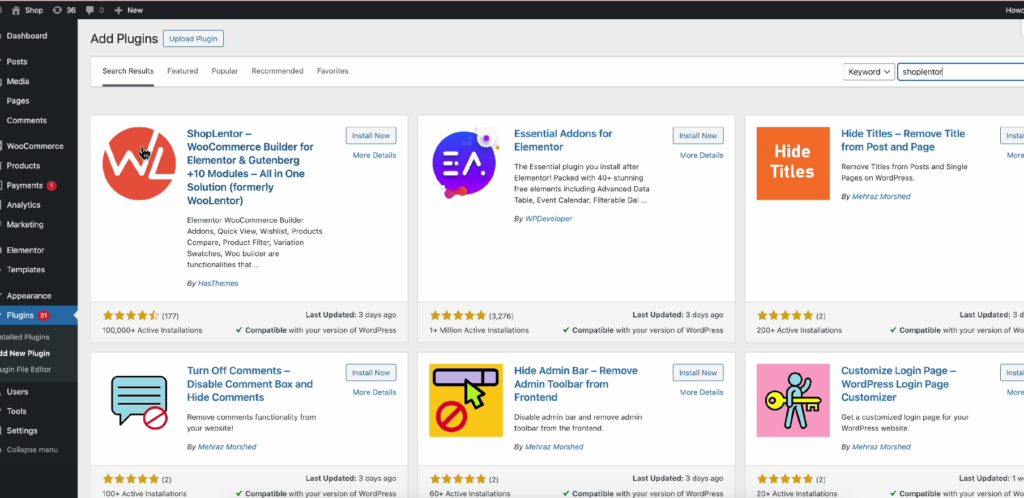
Install the plugin → Activate ShopLentor.
Step 2: Crafting Your Product Slider
Now that you have the plugins installed, let’s proceed to create an engaging Product Slider for your online store.
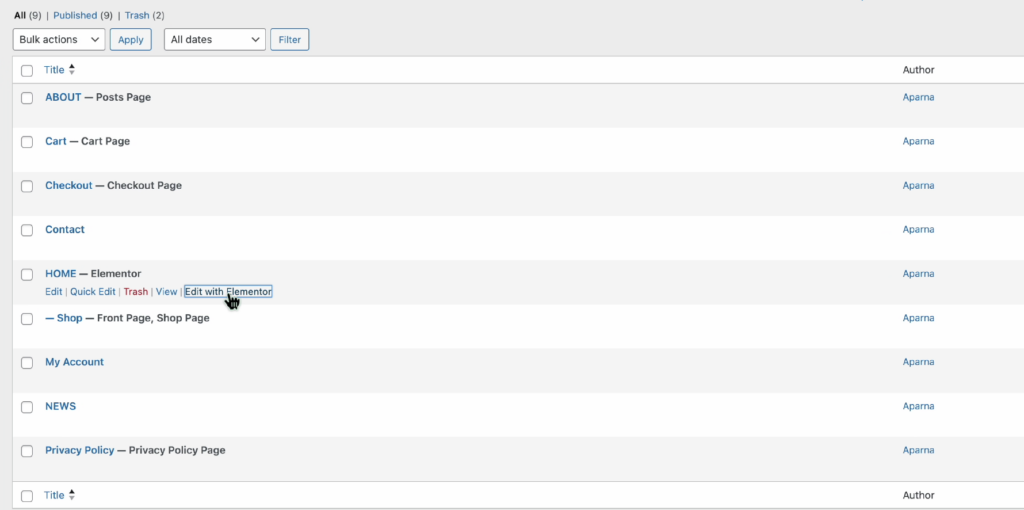
- Access your WordPress Dashboard → navigate to Pages.
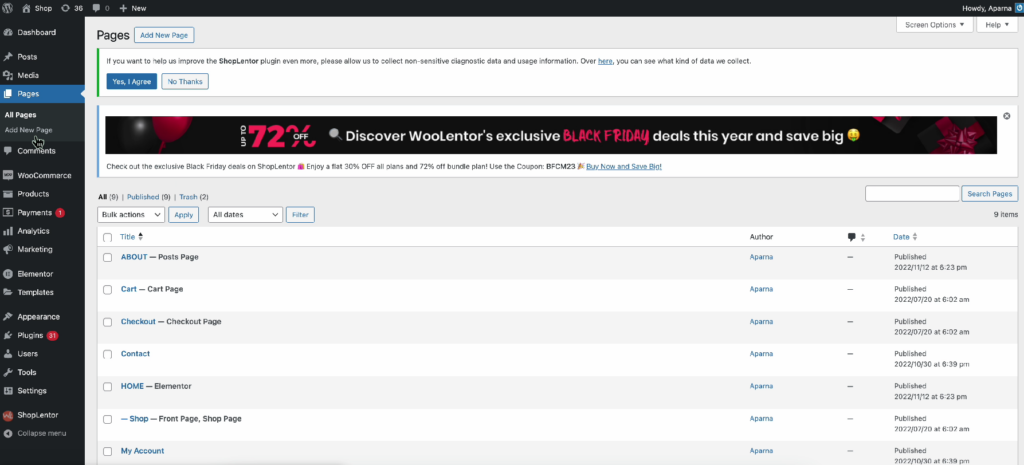
- Select the page where you want the product slider (e.g., homepage).
- Click on ‘Edit with Elementor.’
- In the left panel, locate the ‘Product’ widget.
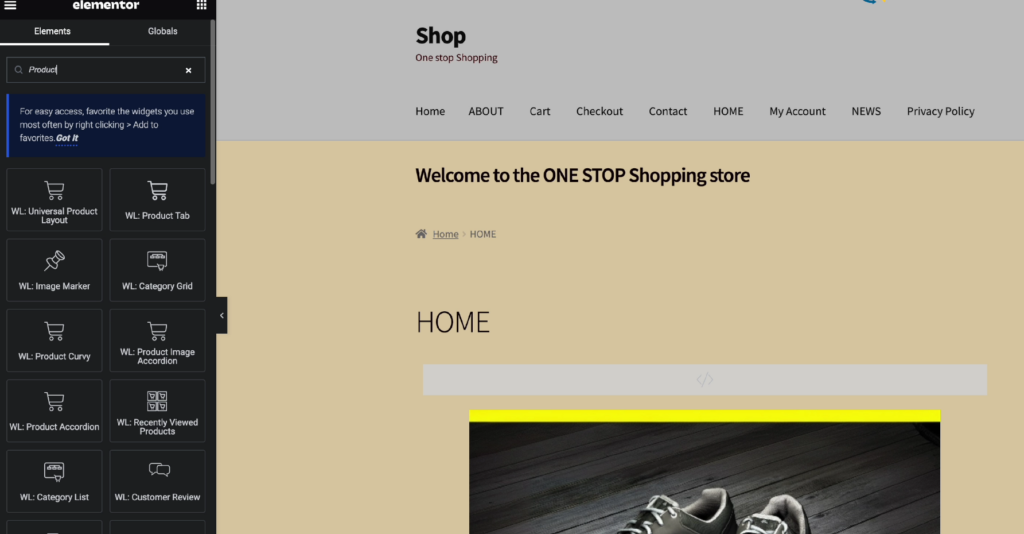
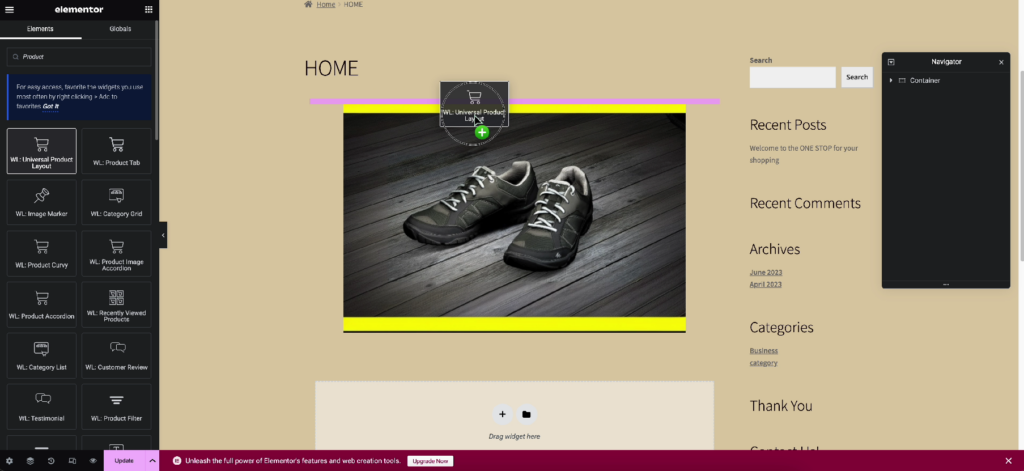
- Drag the ‘WL: Universal Product Layout’ widget to your desired location on the page.
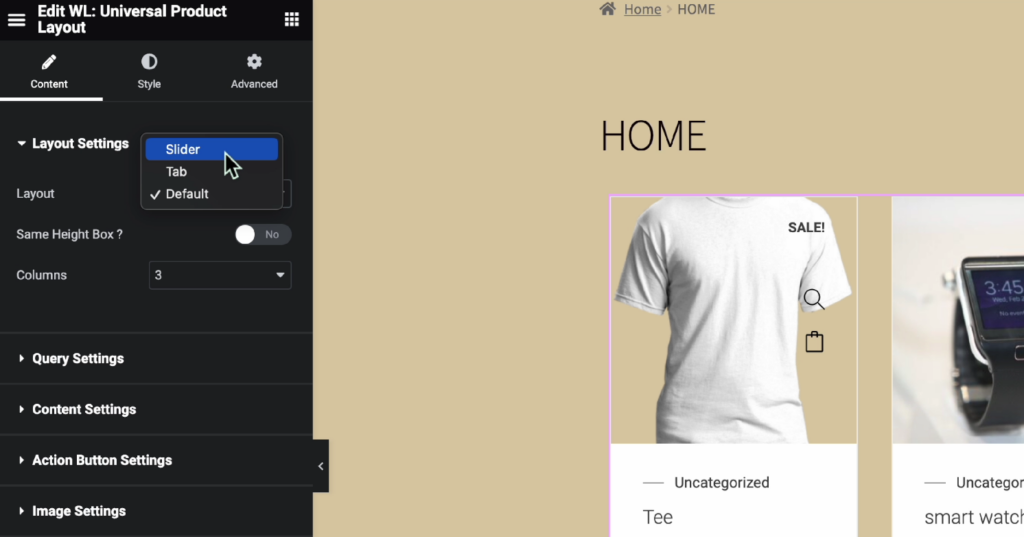
- Under layout settings, choose ‘Slider’ from the dropdown menu.
- Adjust query settings, such as increasing the product limit (e.g., 50).
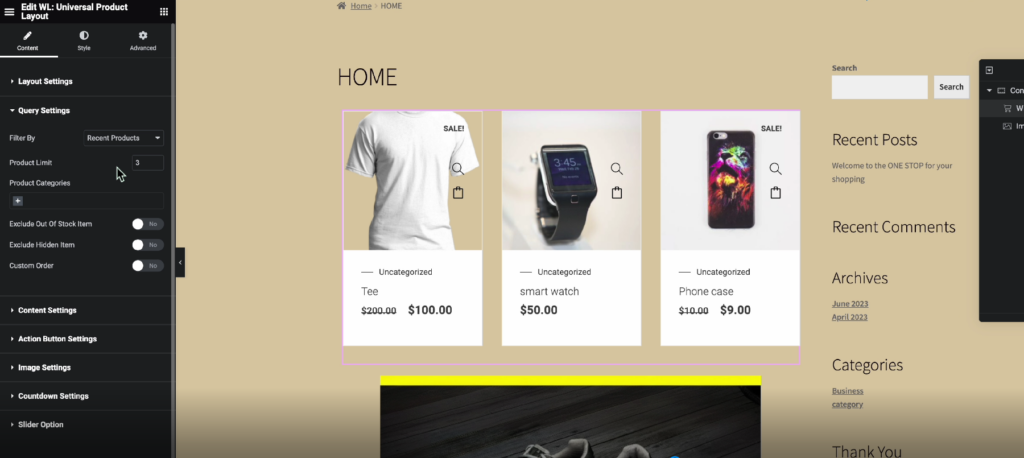
- You can also Customize additional settings, such as excluding out-of-stock items, exclude hidden items and custom order.
- Once done with all that, Click ‘Update.’
Step 3: Checking the Results & Enhancing the Shopping Experience
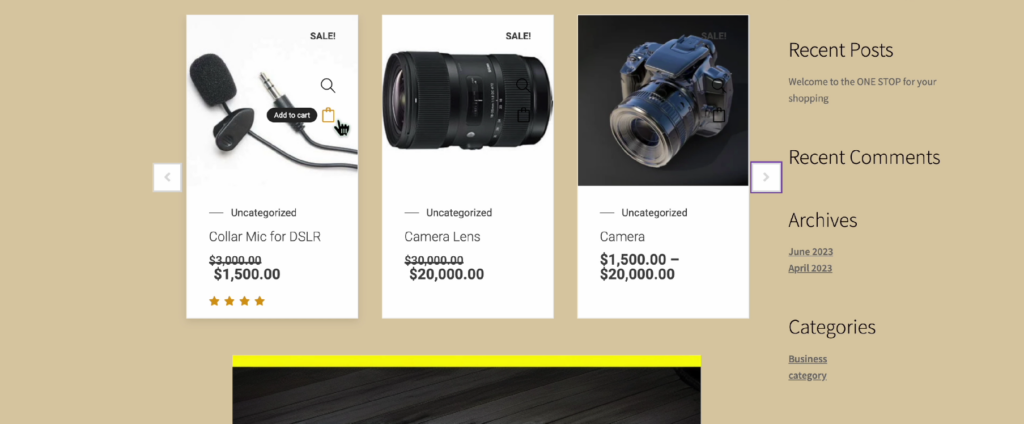
Next, Visit the frontend of your website to witness the transformation. Your homepage now boasts a dynamic product slider, allowing users to seamlessly navigate through your featured products.
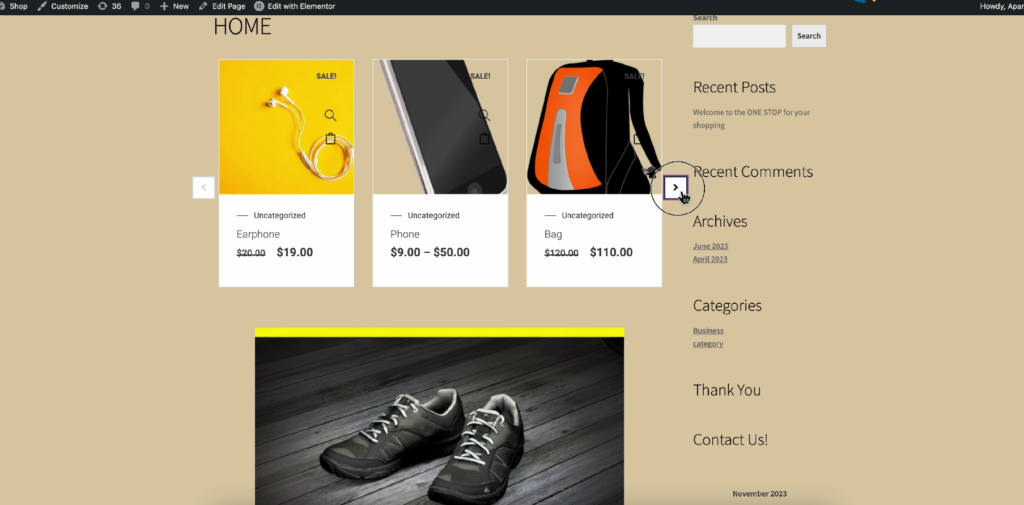
Each product within the slider is equipped with an ‘Add to Cart’ button, streamlining the shopping process for your customers.
Conclusion
In conclusion, integrating a Product Slider into your WooCommerce store is a straightforward process that significantly enhances the overall shopping experience. Furthermore, staying abreast of modern payment gateways like UPI ensures that your online store is equipped to meet the evolving needs of your customers.
A well-designed Product Slider is more than a showcase; it’s a narrative. It guides visitors through a curated selection, offering a modern and dynamic perspective on your products.
Now armed with this tool, pay attention to user feedback, experiment with layouts, and elevate your online store’s aesthetic appeal to keep pace with the ever-evolving expectations of today’s digital shoppers.
If you are someone who is more comfortable with video content, then here is a detailed video describing how to add a scrolling effect to your WooCommerce products.


")
")
")