")
Last updated - March 13, 2024
Crypto is taking the world by storm as Bitcoin, Etherium, and the new meme coin named Dogecoin is already accepted by major eCommerce websites. In this article, we will learn how to set up a crypto payment gateway on WooCommerce. Before discussing the how-to guide we shall take a close look at the merits and demerits of using crypto as payment.
Benefits of Using a Crypto Payment Gateway on your eCommerce Website
- Crypto is widely accepted by major brands, even countries are giving legal money tender status to Bitcoin.
- There is very little or no interference by the government while transferring crypto assets.
- You can make international transactions with very low or no transfer fees.
- It takes just a fraction of seconds to transfer payment using crypto coins.
Demerits of Using Crypto Payment Gateway on your eCommerce Website
- Crypto is highly volatile so you can never be sure when the market will boom or fall.
- Many countries are trying to ban crypto dealings so you should be aware of the government status on crypto in your country.
- There is a potential for a high loss of funds if the crypto market goes haywire.
- Hackers and black markets pose a high threat to crypto payments.
Therefore, I would advise you to be considerate while dealing with crypto assets. With huge potential for growth this market also poses a threat of loss of funds. This guide does not provide any financial advice and the reader’s discretion is required. If you have decided to include a crypto payment gateway on your eCommerce store, we can move further.
In this guide, I will use GoUrl Bitcoin Payment Gateway. It’s easy to customize, 100% free with open source code, and does not include any transaction fees. You can also choose another plugin by reading this article on the Best Cryptocurrency Plugins for WordPress 2021
Firstly, go to the website gourl.io and create your account. If you own your website you can choose the option Monitiser – Sell your files online or if you are the original owner you can go ahead with the option Bitcoin payment box for your website.
Setting Up an Account on GoUrl
Go to Account, click the button I’m a human being, and proceed further to register a new account.

Fill in the relevant details. This process is simple like creating any other account online.
Once you are done click the Register button. You will receive a confirmation email on your email id once you confirm it. You will see a login window. Simply log in using the id and password you used in the earlier step.
Once you are done, proceed further by clicking the option ‘Create New Payment Box’ and you will see a form like below.

Payment Box Name: Insert your website or store name (don’t worry this will only be visible to you)
Coin Name: Choose a relevant Cryptocurrency according to your choice to receive payments. You can see the supported cryptocurrency on GoUrl below.

Type of Payment Box: You can choose paymentbox or captcha box as a payment button to display on your website.
Your External Wallet Address: You can use your crypto wallet address from any major crypto exchange or crypto wallet. You will see a receive or deposit crypto address, just copy that and paste it here.
Lock External Address Forever: If you don’t want to change your wallet address anytime in the near future use this box otherwise leave it blank.
Notification By Email: Insert your email id to receive notification on your email whenever a customer sends a payment through this crypto payment gateway.
Callback Url: You can leave it blank. This option allows the Urlgo server to notify your website every time payment is received.
Use on Adult/Gambling Websites?: If you want to allow crypto payment on adult and gambling websites then use Yes. Otherwise, choose the No option.
Verifying it’s you: Click on get code to receive a confirmation mail on your email id to confirm using the above-mentioned details.
When you are done, click the Save button.
You can now access your details through the View Mode Window.

You can keep this window open until we make the required changes on the WordPress dashboard to use the Crypto payment gateway. You will need the Public key and Private key in the following steps.
To get started you need a WordPress website and WooCommerce plugin. Follow these 2 articles on how you can set up both on your hosting server.
How to Install and Set Up a WordPress WooCommerce Plugin
Installing and Setting up GoUrl plugin on WordPress
If you have already installed both you can follow the following steps.
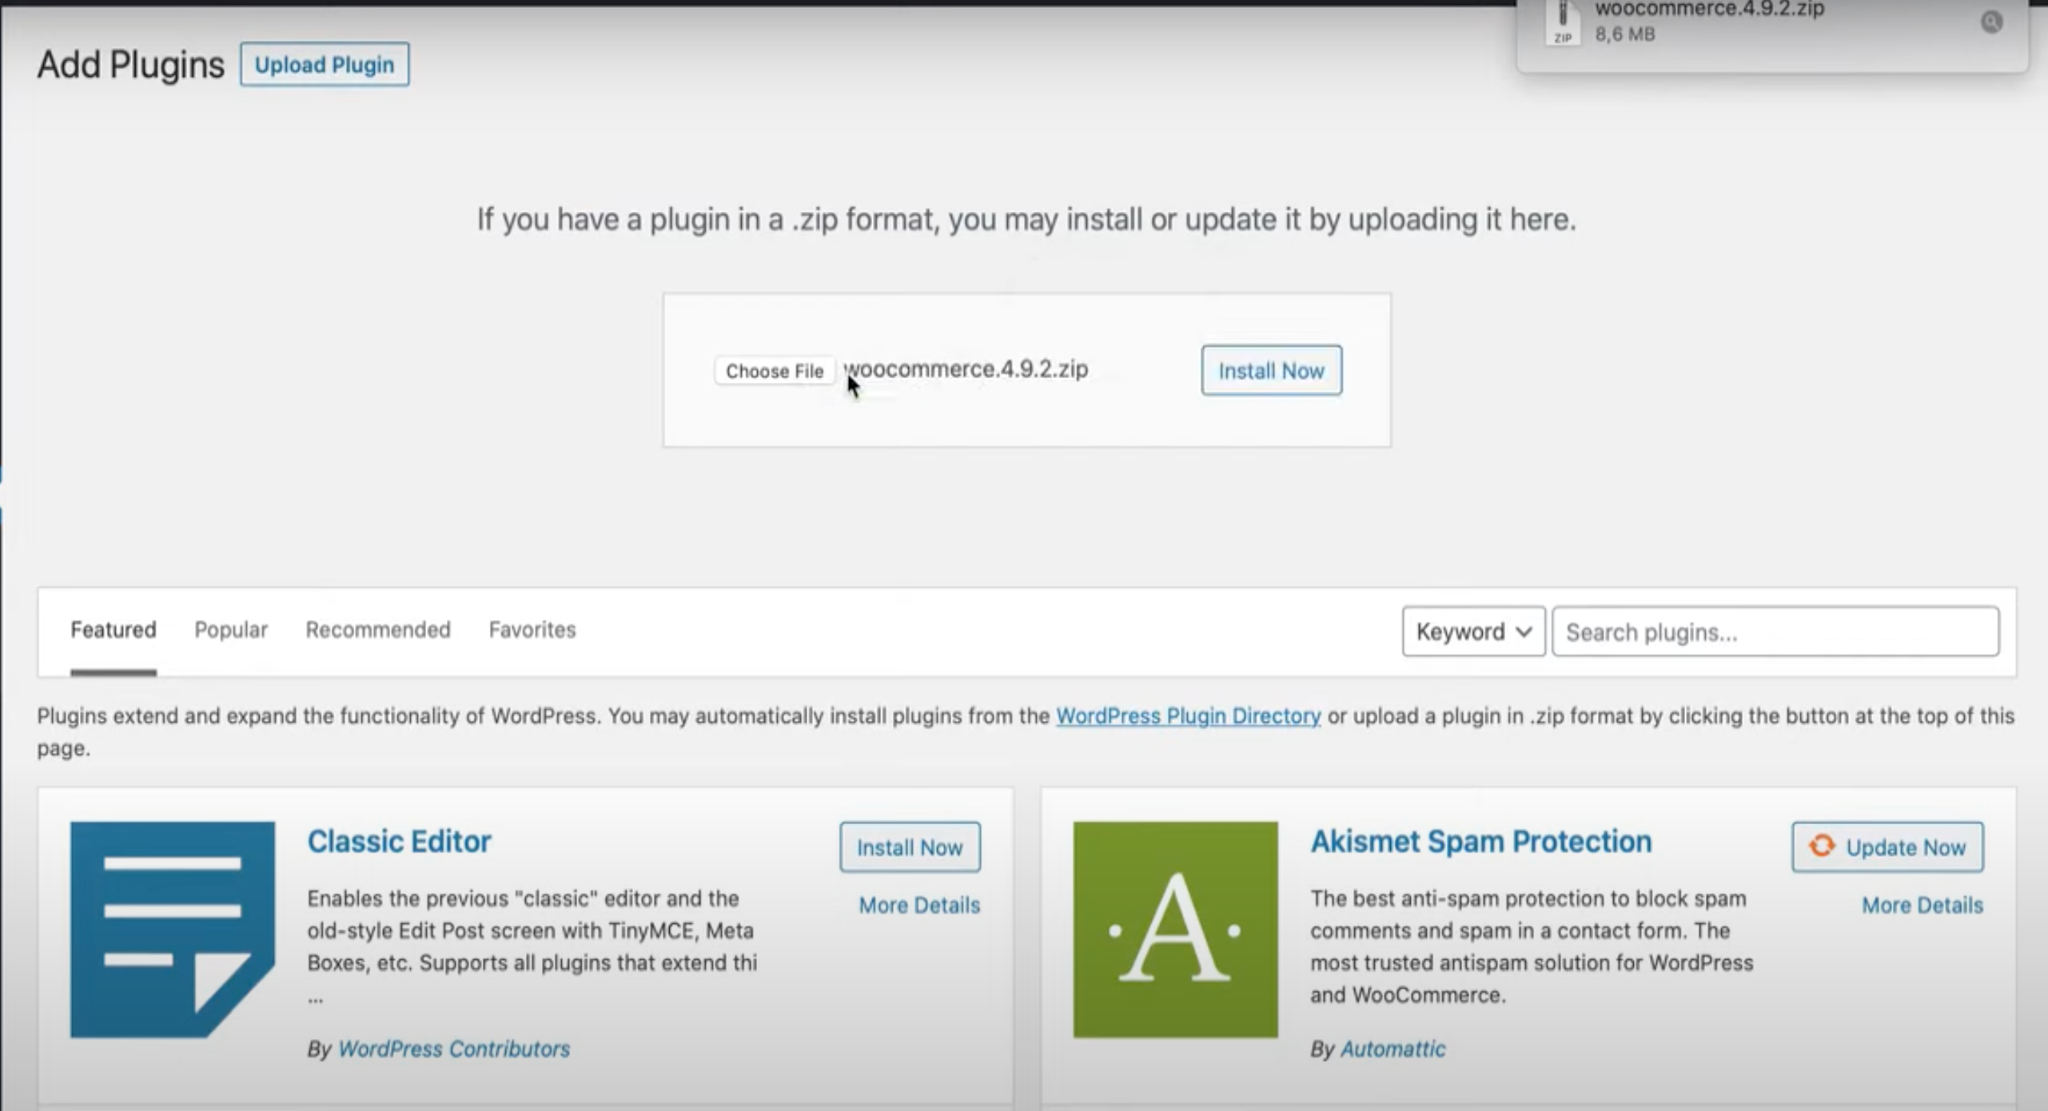
- Go to Plugins > Add New
- In the search box type “GoUrl Bitcoin Payment Gateway”

Here, you will see two plugins namely GoUrl Bitcoin Payment Gateway & Paid Downloads & Membership and GoUrl WooCommerce – Bitcoin Altcoin Payment Gateway Addon. Install both, then click the Activate button.
- Now you will see an additional tab “GoUrl Bitcoin” on your WordPress dashboard. From there, go to the settings option.
- Scroll down until you see Cryptocurrency options.

- From there choose your selected coin and copy-paste the Public Key and Private Key provided in the View Mode window, by the GoUrl website in the above steps. For example, I have used the Bitcoin payment. Save once done.
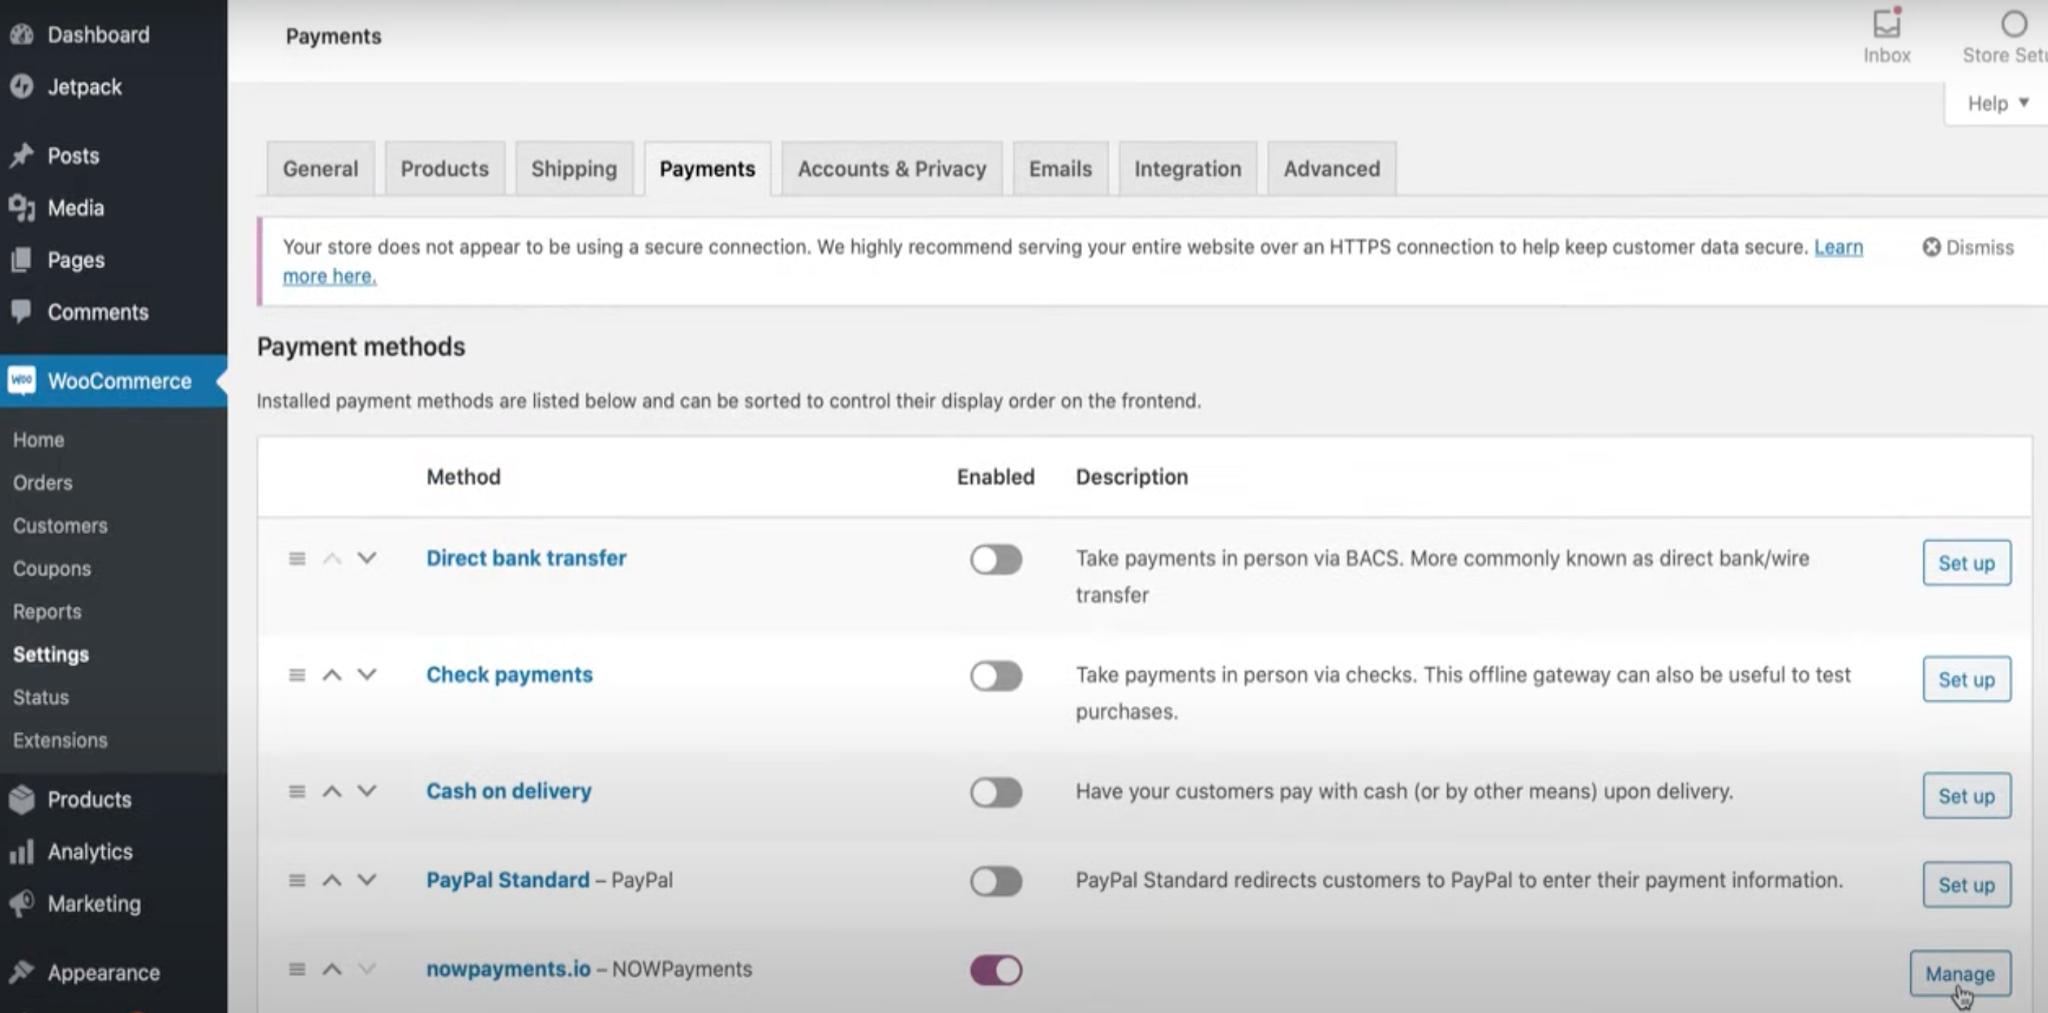
- Go to WooCommerce > Settings, from the available options select Payments.
You will see different payment options provided by WooCommerce, scroll down to the last option where you will see the Bitcoin/Altcoin option. See that the button is activated, then click Save changes.

You are all done with the backend setup of your cryptocurrency payment gateway, now let’s visit the frontend of the website and see how it works.
Select the desired product from the shop option on your website.
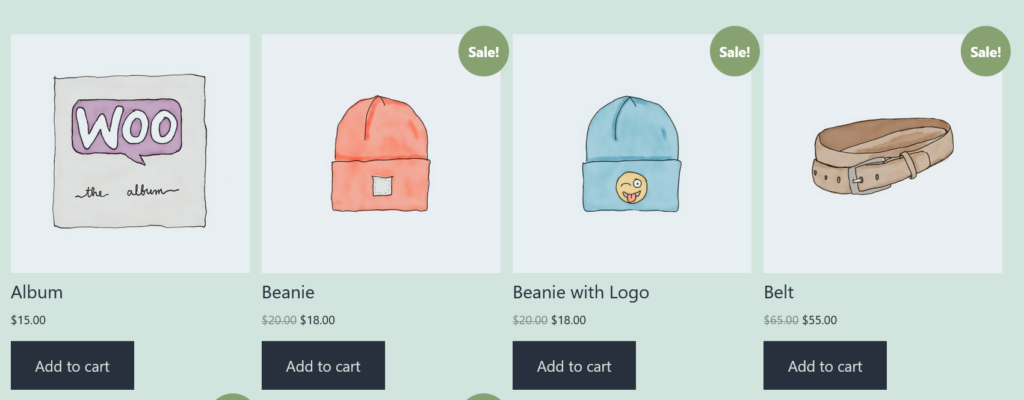
Click the Add to cart button.
Click the Proceed to checkout button. This will take you to the payment window where customers can fill in their billing details and see payment options like below.
Click the Place order button. This will take you to the next window where you can scan or copy-paste the address to make the payment using Bitcoin or other altcoins.

Just go ahead and use this guide on how to set up crypto payment gateway on WooCommerce. I would again emphasize that this article does not in any way promote any financial advice so be considerate while using your crypto assets. If you have any queries you can mention them in the comments below I will try my best to resolve them.
NOWPayments
You can use NOWPayments payment gateway for WooCommerce as well. All you need to do is to follow these simple steps:
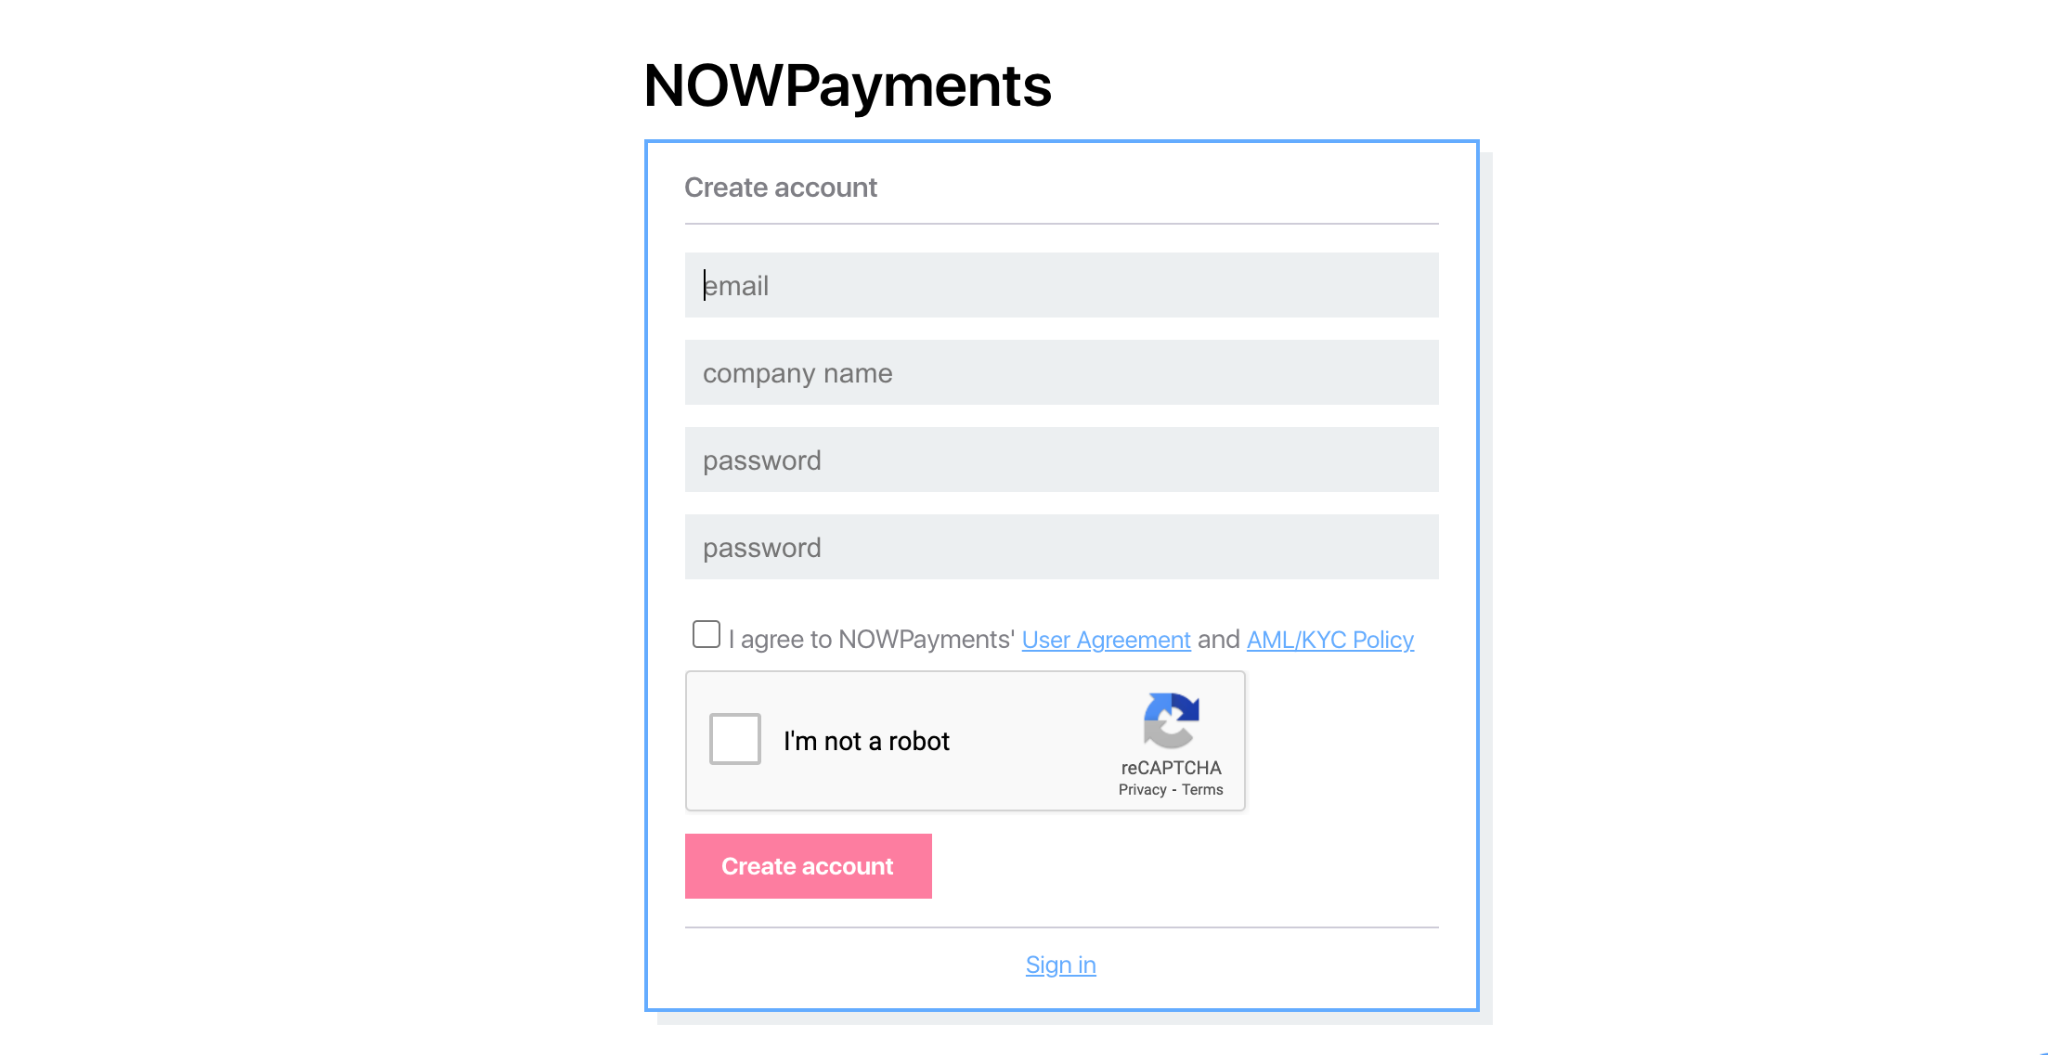
1. Sign up for a NOWPayments account. It’s completely free!
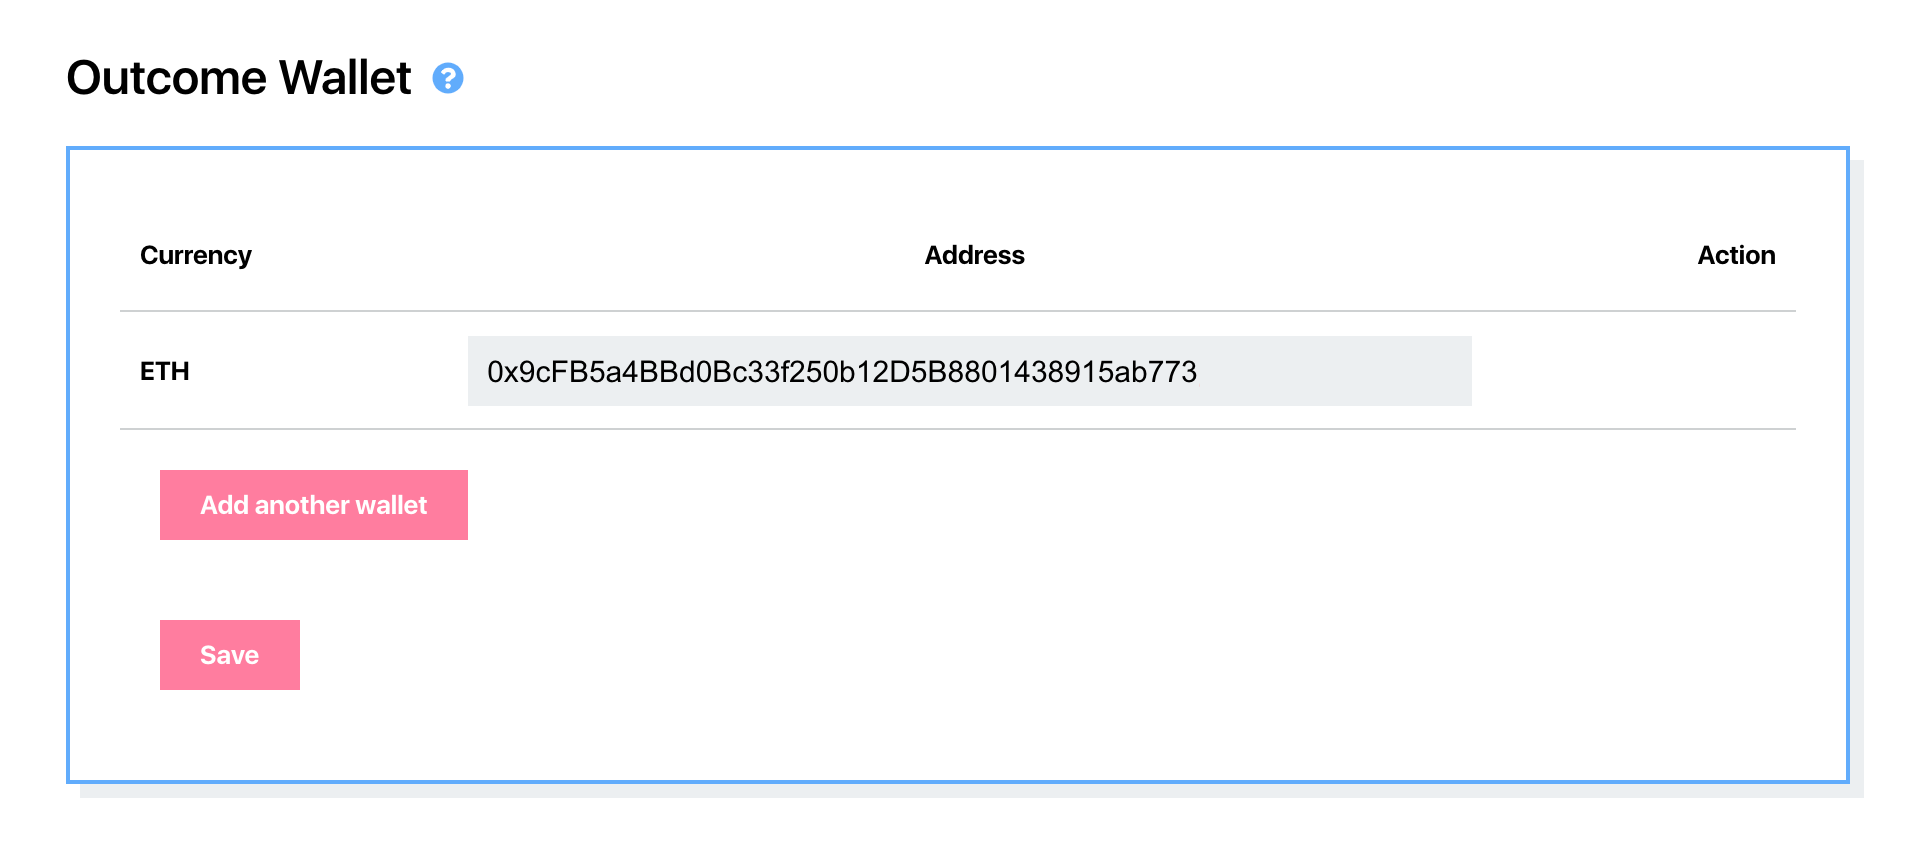
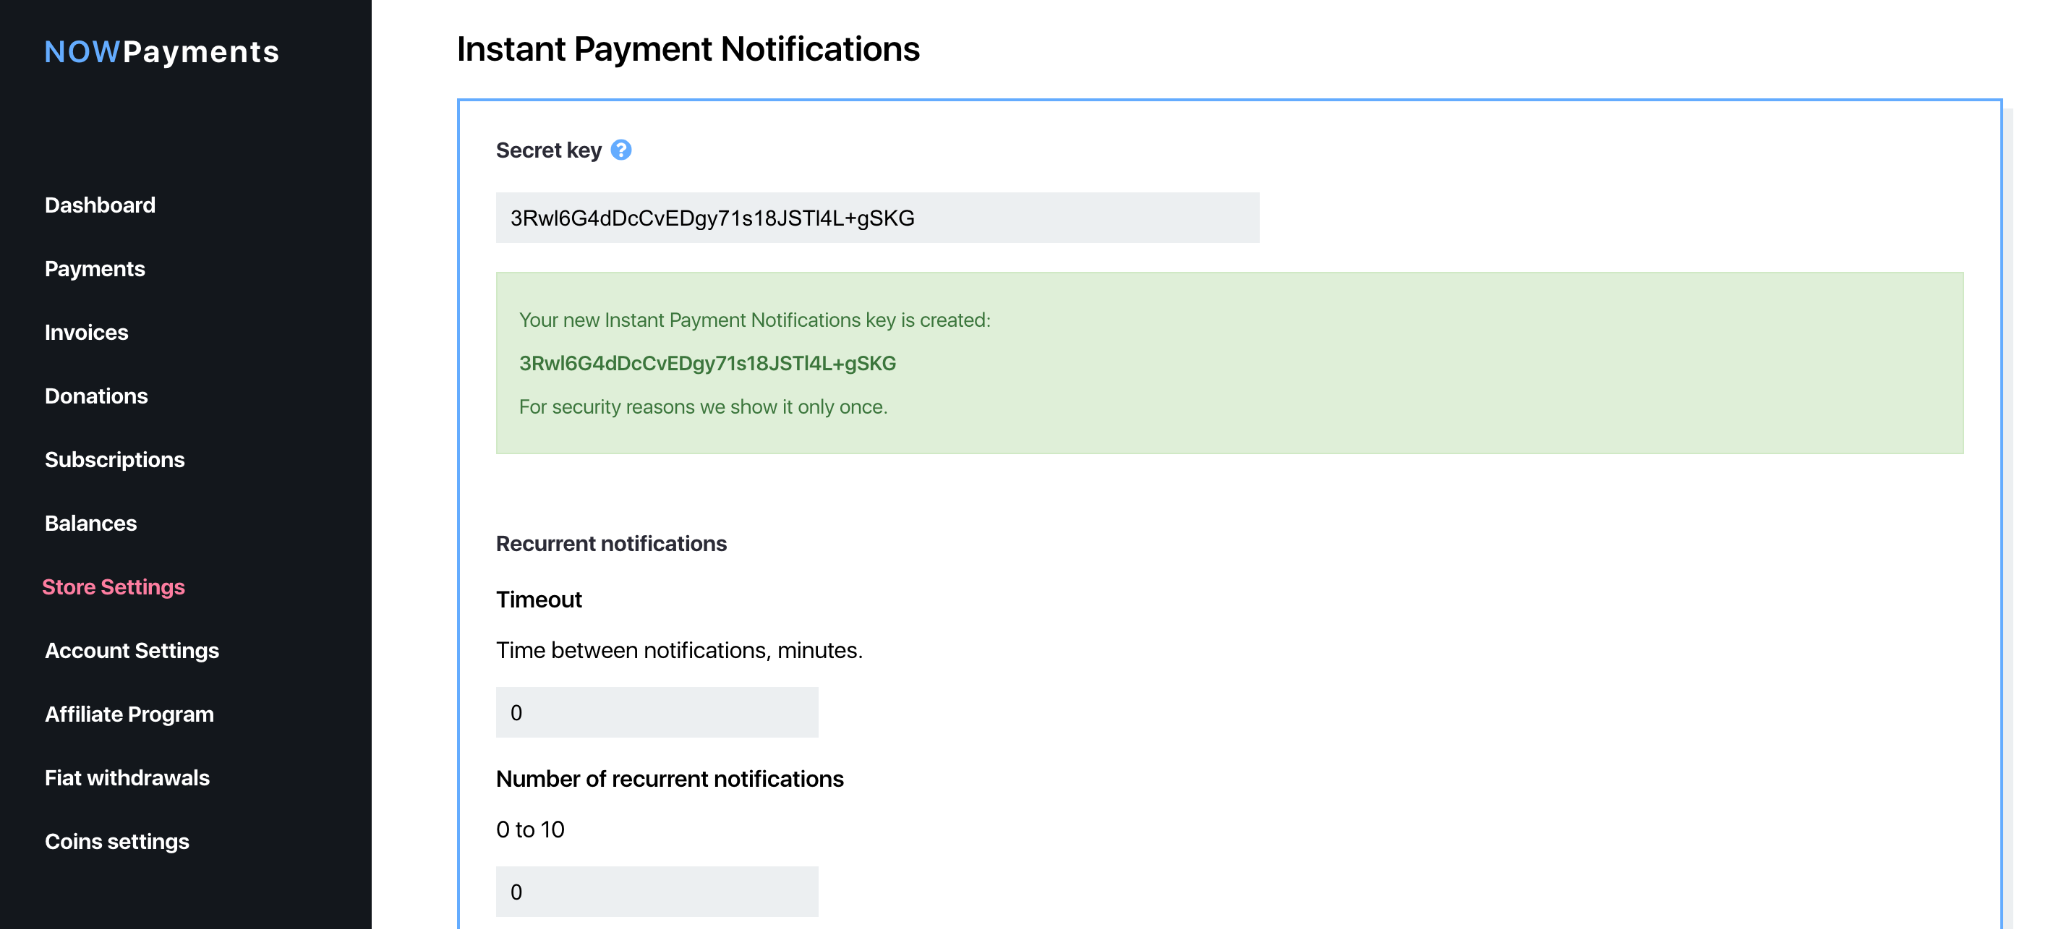
2. Configure you store settings: specify wallet address, generate API Key and IPN key

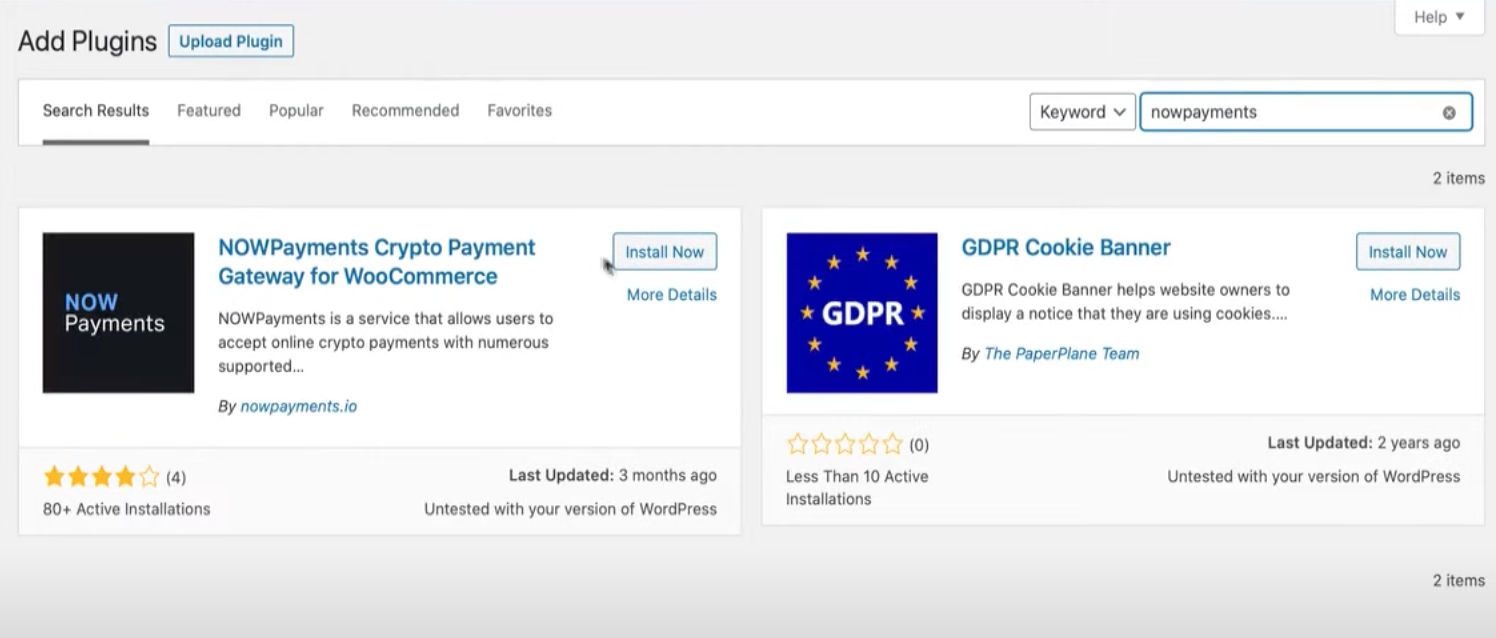
3. Install the WooCommerce plugin
1. Upload the nowpayments-payment-gateway-for-woocommerce directory to the /wp-content/plugins/ directory.
2. Activate the plugin through the “Plugins” menu in WordPress.
3. In the WooCommerce “Settings” page go to the “Payment Gateways” tab, after that click “NOWPayments”
4.Check “Enable NOWPayments” and enter your NOWPayments API Key and IPN secret key.
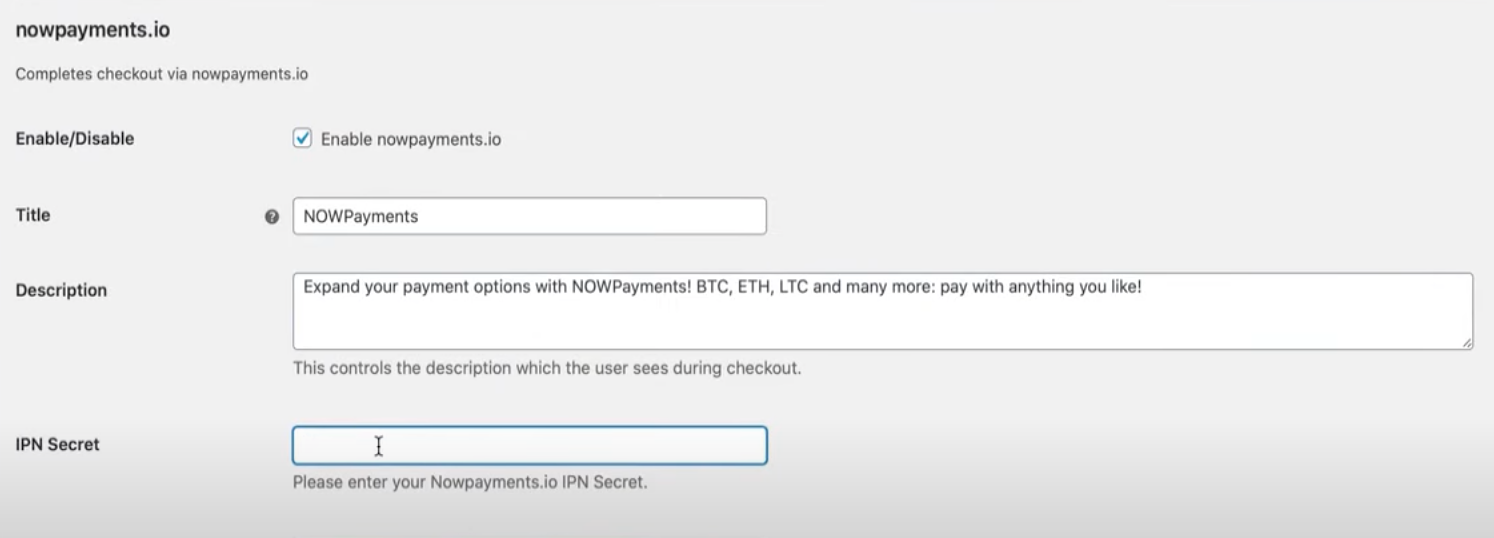
5.Click “Save changes” and voila — the gateway is active!
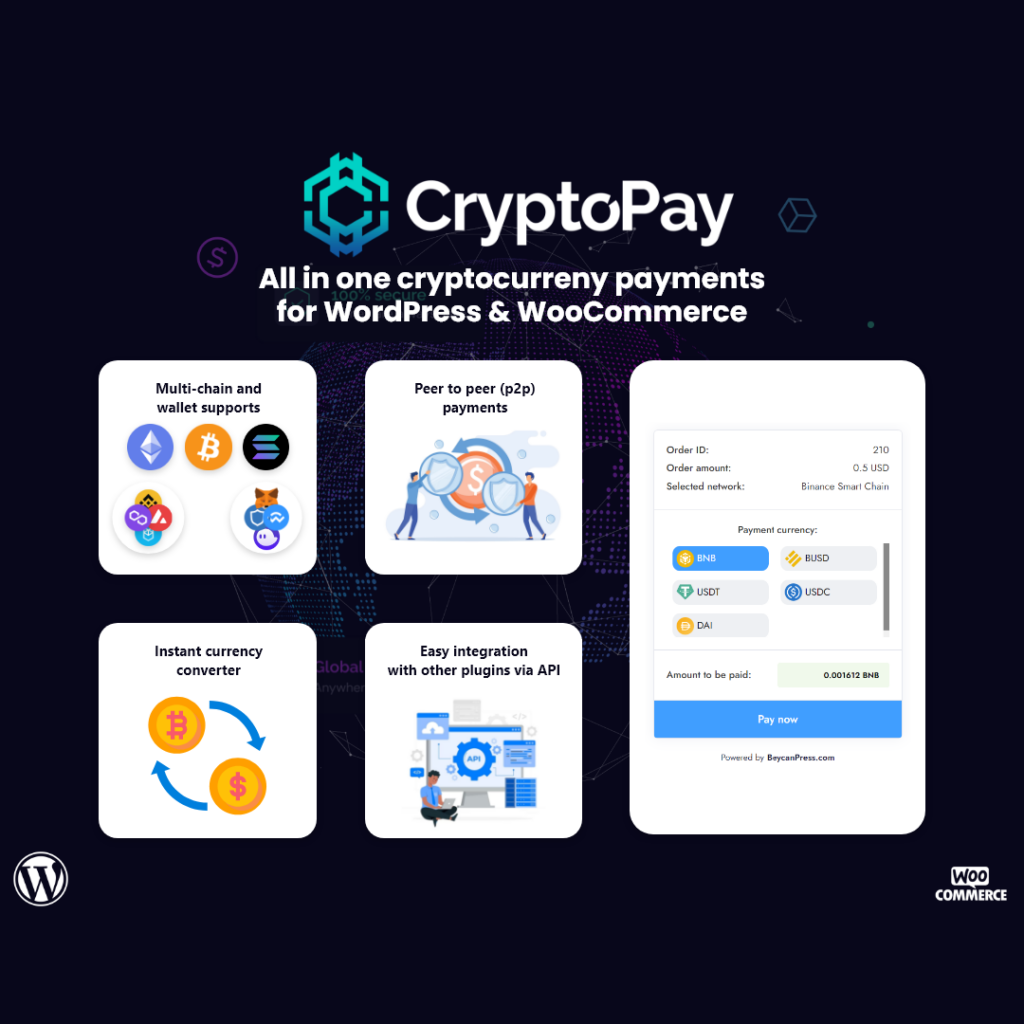
An additional plugin to set up WooCommerce Cryptocurrency Payment Gateway for WordPress is the cryptocurrency payments for woocommerce.
With CryptoPay, you can receive crypto payments from supported blockchain networks such as Bitcoin, Solana, Tron, especially EVM-based blockchain networks, and the currencies (tokens) under these networks. In addition to built-in WooCommerce support, it can be integrated with other plugins thanks to its API.
Demo site to try the plugin.
Further reading
Is Bitcoin a Viable Alternative to Traditional Payment Gateways
WooCommerce Stripe Plugins – Alipay, Apple Pay, Subscriptions, and more…


")
")
")