
Last updated - March 8, 2022
You might not be aware of the term carousel but still see them frequently in the digital marketplace. An image carousel is used in most new-age websites: sliding images including briefs about the product or services that the businesses offer. The images automatically rotate and go in and out of the view.
Image carousel effectively keeps the website visitors hooked for longer as sliding images make them more curious about the product or service that the business offers. In some cases, the image sliding is not automated, and the visitor manually has to rotate the image to reveal the next slide.
Make an Image Carousel in WordPress
Depending on the business tone, the image carousel can include some bold statements and reveal a lot about business without a long-form description. If you have longed for learning ways to incorporate an image carousel in your website, you have come to the right place.
We are going to be describing the process of installing the Smart Slider 3 plugin in word press. There are several other tools for the job, and the installation process might be similar to Smart Slider 3.
Before jumping into the tutorial, there is one little warning. If you are selling products on a website, then opting for an image carousel may not be the smartest option, as far as conversions are concerned. But if you are running photography or designing a website and want it to look aesthetically pleasing, read through the entire blog.
Start with Choosing Image Size
Smart slide 3 will resize the image in wordpress based on the selected presentation format. So, if the images are large, the tool will size it down and vice versa. And, you might be familiar, when the small images are zoomed in, the quality starts to deteriorate. So, try not to include images smaller than the Carousel’s dimension.
Moreover, large images look better in Carousel but also have higher download time. So, you have to strike a balance between quality and size, so it still looks great in the Slider.
One Small Tip: Image carousels slide horizontally, so choosing wider images will be more appealing than square ones.
Installing Smart Slider 3

The Smart Slider 3 installation process is pretty much the same for any other tools available in the market. To get started, first, log into your word press admin dashboard. On the left-hand side, you will see a navigation panel with many different options to choose from. From the options, choose the plugin and click on the “Add new” link.
A search bar will appear in front of you. Search for Smart Slider 3 in it. Once the plugin is installed, please click on the activate option.
Starting Image Carousel Journey
Smart Slider 3 uses images from the media library, so ensure to upload some images before you start making the Slider. You can go through their tutorial video to get better insight into how to start selecting images and adding them to your presentation format. Press on the Smart Slider 3 and get the “Learn Smart Slider 3” introductory video that provides in-depth knowledge of how to go about the tool.
You can take the help of the video or just read this article to get started.
Choose the basic option from the menu.
- Give your Slider a name to make your Carousel easier to locate when handling multiple carousels at a time.
- Width and Dimensions affect the size and shape of the Slider. Ignore selecting any pixel you want to configure to take up the full width of the device or browser.
- Choosing default width and dimension would set the Carousel at the present width and size while choosing the “Full width” option would ignore any dimension and make the carousel spin around the entire width of the windows.
After optimizing the image, press “Create”.
Adding Images to the Slider
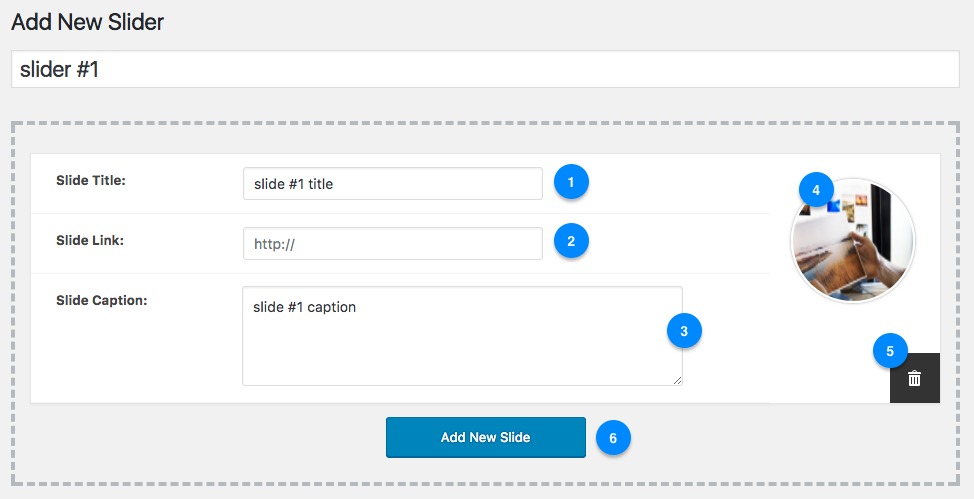
Once you have configured the default size and width of the Carousel, the next obvious step is to fill the Carousel with appealing images. For this, follow the steps below:
- Click on the Add Slide Images in Smart Slider 3.
- You will get the option to select an image for your Slider. Click on that option.
- Choose the images from the library of wordpress.
- Carousel will then present the selected images. Once you are satisfied with the selected images, click on the “Publish” section.
If you plan to insert a slider inside code just copy the PHP code from the tool or select the post editor option.
When you start writing a new blog for the website, the smart slider three option will appear on the page. If you are using a classic editor, click on the smart slider icon. Now, select the customized Slider you prepared before, and once you publish the post, the Slider gets uploaded to the website and ready for the visitors to see.
The Carousel will forward or backlinks at both sides of the sliders to manually slide through images.
By default, the carousel images would not slide automatically, but you can change that.
Automatic Cycle for Carousel Images
In the WordPress admin dashboard, click on the Smart Slider 3 link and select the edit option. Choose the “Autoplay” style and press “Enable”. The default time between the switch is eight seconds. Now save the updated setting from the Save button on the right-hand side of the panel.
Using the Carousel as Widget
Smart Slider can also be used as WordPress Slider Image. These sliders can be added anywhere as a widget, like a sidebar.
- You will see a navigation panel on the left-hand side. Click over appearance and then the “Widget” link.
- When you see the “Available widgets” section, click the “Smart Slider” button.
- Select the zone where you want the image displayed and select the “Add widget” button.
Images or No Images is the big question
Website designing and development is subjective, and what others might find appealing, some might not. It goes through several phases of updates and modification, and the Image carousel was once the most in-demand requirement in websites when businesses started incorporating it everywhere.
The above discussion has given step by step guidance on adding an image carousel to the website. The process is not complex and requires patience and expertise in selecting relevant images to boost the website’s appearance. Carousels would be highly engaging for a creative website, while it would not be helpful in an e-commerce website.
So, next time you are planning to add vibrant images in the sliders, consider assessing whether it would add value to the website or impact the conversion rate to a significant extent.


")
")
")
Nice hack, Ankit. Could you please suggest me any good WordPress content slider plugin? I’m looking for a good one. Thanks for your post.
You can check this article hope this helps.
https://learnwoo.com/woocommerce-product-slider-plugins/