")
So you’ve built a WordPress website and now you want to start sending emails to your subscribers or customers directly from your site. The problem is that most web hosts block sending email through PHP to prevent spam. The solution is setting up an SMTP service to handle sending your emails reliably.
In this tutorial, we’ll walk you through how to set up SMTP email on WordPress so you can start engaging with your readers and customers through email.
By the end of this article, you’ll have an SMTP service all configured and set up to handle your email sending, and you’ll be ready to start emailing your lists and see your open and click rates increase. So let’s dive in!
Why Do You Need SMTP for Reliable WordPress Email?
If you want your WordPress site to reliably send emails, you’ll need to set up SMTP (Simple Mail Protocol Transfer). The default WordPress email configuration uses your hosting provider’s mail server, which can be unreliable and even block emails as spam. By setting up SMTP, you’ll have full control over your email delivery.
An SMTP service allows your WordPress site to send emails through a dedicated email delivery provider. Services like SendGrid, Mailgun, and Amazon SES are popular choices. They provide optimized infrastructure and settings tailored for high email deliverability.
Using a dedicated SMTP provider is the best practice for any serious website. With just a few clicks, you can have a professional email delivery system set up for your WordPress site. Your readers will appreciate receiving emails reliably, and you’ll have one less technical headache to deal with!
Choosing the Best SMTP Plugin for WordPress
To get reliable email sending set up on your WordPress site, you’ll need an SMTP plugin. There are a few good options, but we’d recommend going with WP Mail SMTP.
Why WP Mail SMTP?
WP Mail SMTP is free and trusted by over 3 million websites. It lets you send emails through SMTP instead of the default PHP mail function in WordPress. This means:
- Your emails are less likely to end up in spam folders or get bounced.
- You’ll get helpful error messages if there are issues.
- It works with all major email services like Gmail, Outlook, and more.
Features of WP Mail SMTP
- Supports popular mailers such as Google, Amazon SES, Mailgun, and more.
- The entire setup process is smooth and easy to follow.
- Easy to transfer from an old SMTP server to WP Mail SMTP.
- View email logs and store records. (Pro)
- Store all email attachments if needed. (Pro)
- Utilize the reports and analytics for better optimization. (Pro)
WP Mail SMTP makes sending WordPress emails incredibly easy. With reliable delivery and useful features, it really is a must-have plugin. Your subscribers and customers will thank you!
Configuring WP SMTP Plugin Settings
To send reliable emails from your WordPress site, you’ll want to configure the WP SMTP plugin. This plugin allows you to use an SMTP email service to handle your outgoing email, rather than relying on your web host’s default PHP mail function.
Installing the WP SMTP Plugin
In your WordPress admin, go to Plugins > Add New and search for “WP Mail SMTP.” Install and activate the plugin. Alternatively, you can download the plugin from the link above and go to Plugins > Add New > Upload Plugin and install it from there.

Setting Up WP Mail SMTP
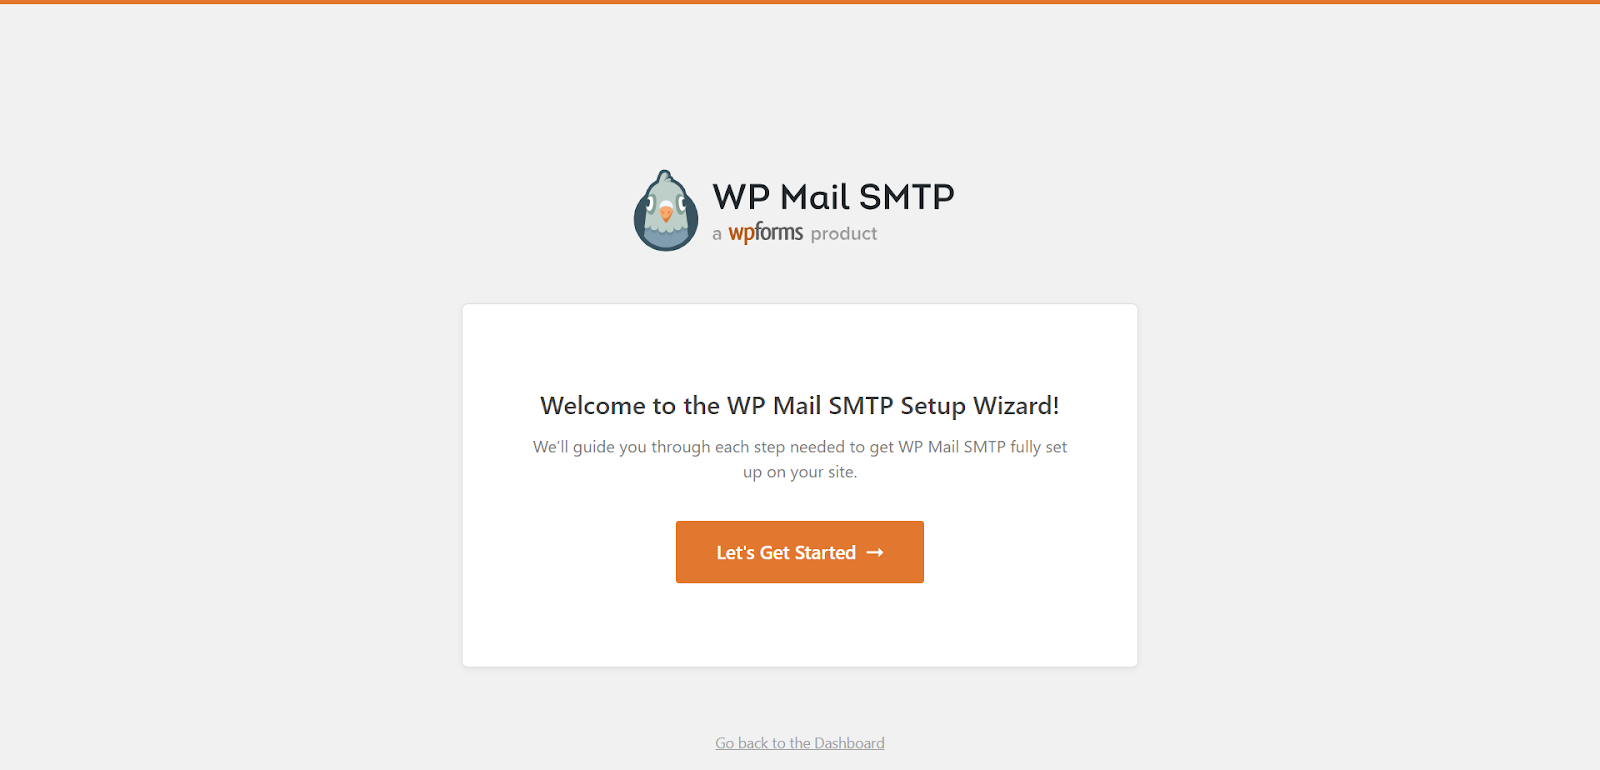
Once activated, you will be redirected to the WP Mail SMTP setup page. Once here, click Let’s Get Started.
Choosing the SMTP Mailer
First, you’ll need to sign up for an SMTP service like SendGrid, Mailgun, or AWS SES (Simple Email Service). These services are designed specifically for sending transactional emails and have high deliverability rates.
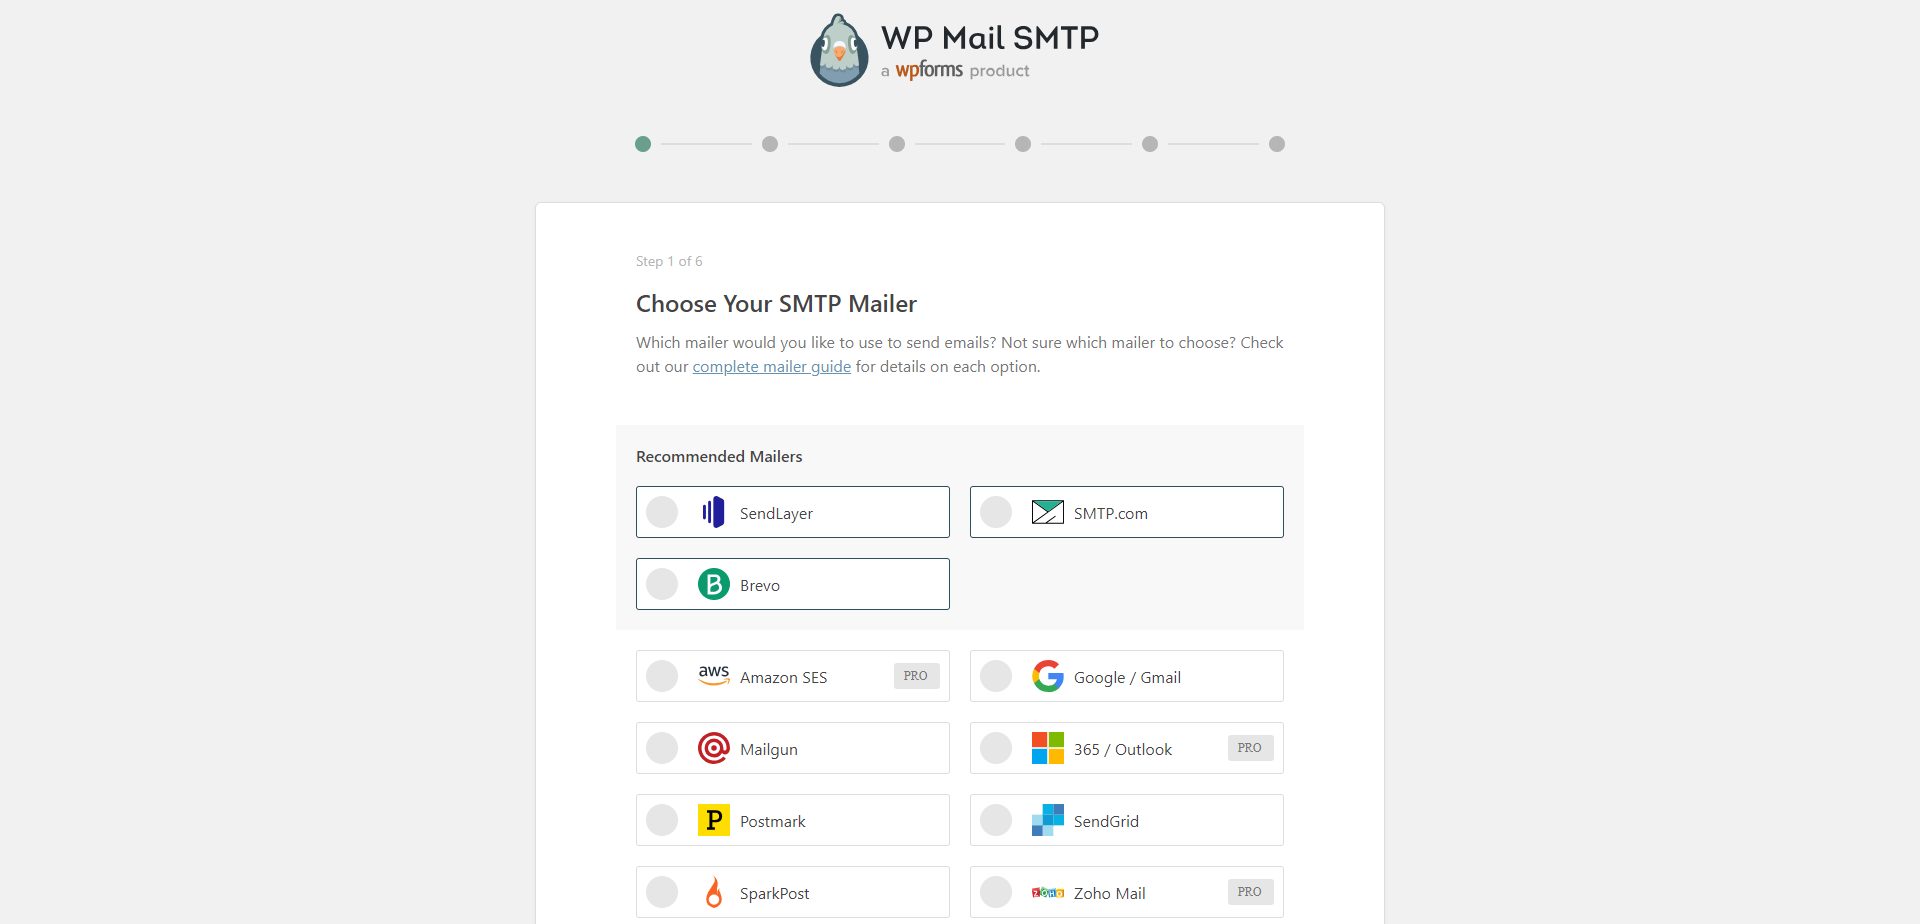
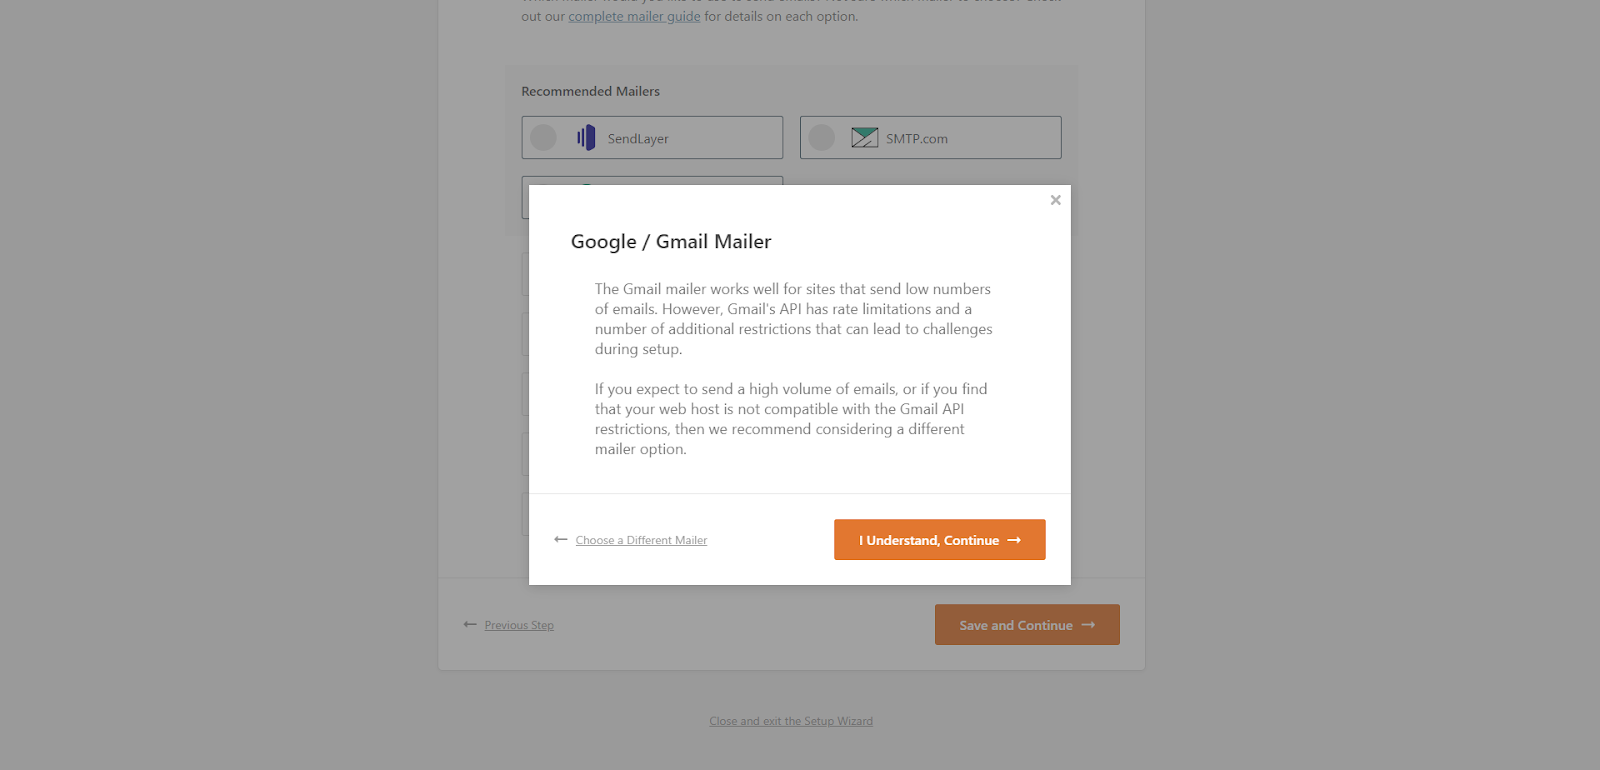
If you wish to start off with a free mailer, you may choose Gmail. Keep in mind that Gmail has certain restrictions and is ideal for low-volume businesses. Once you have selected the mailer, click Save and Continue.
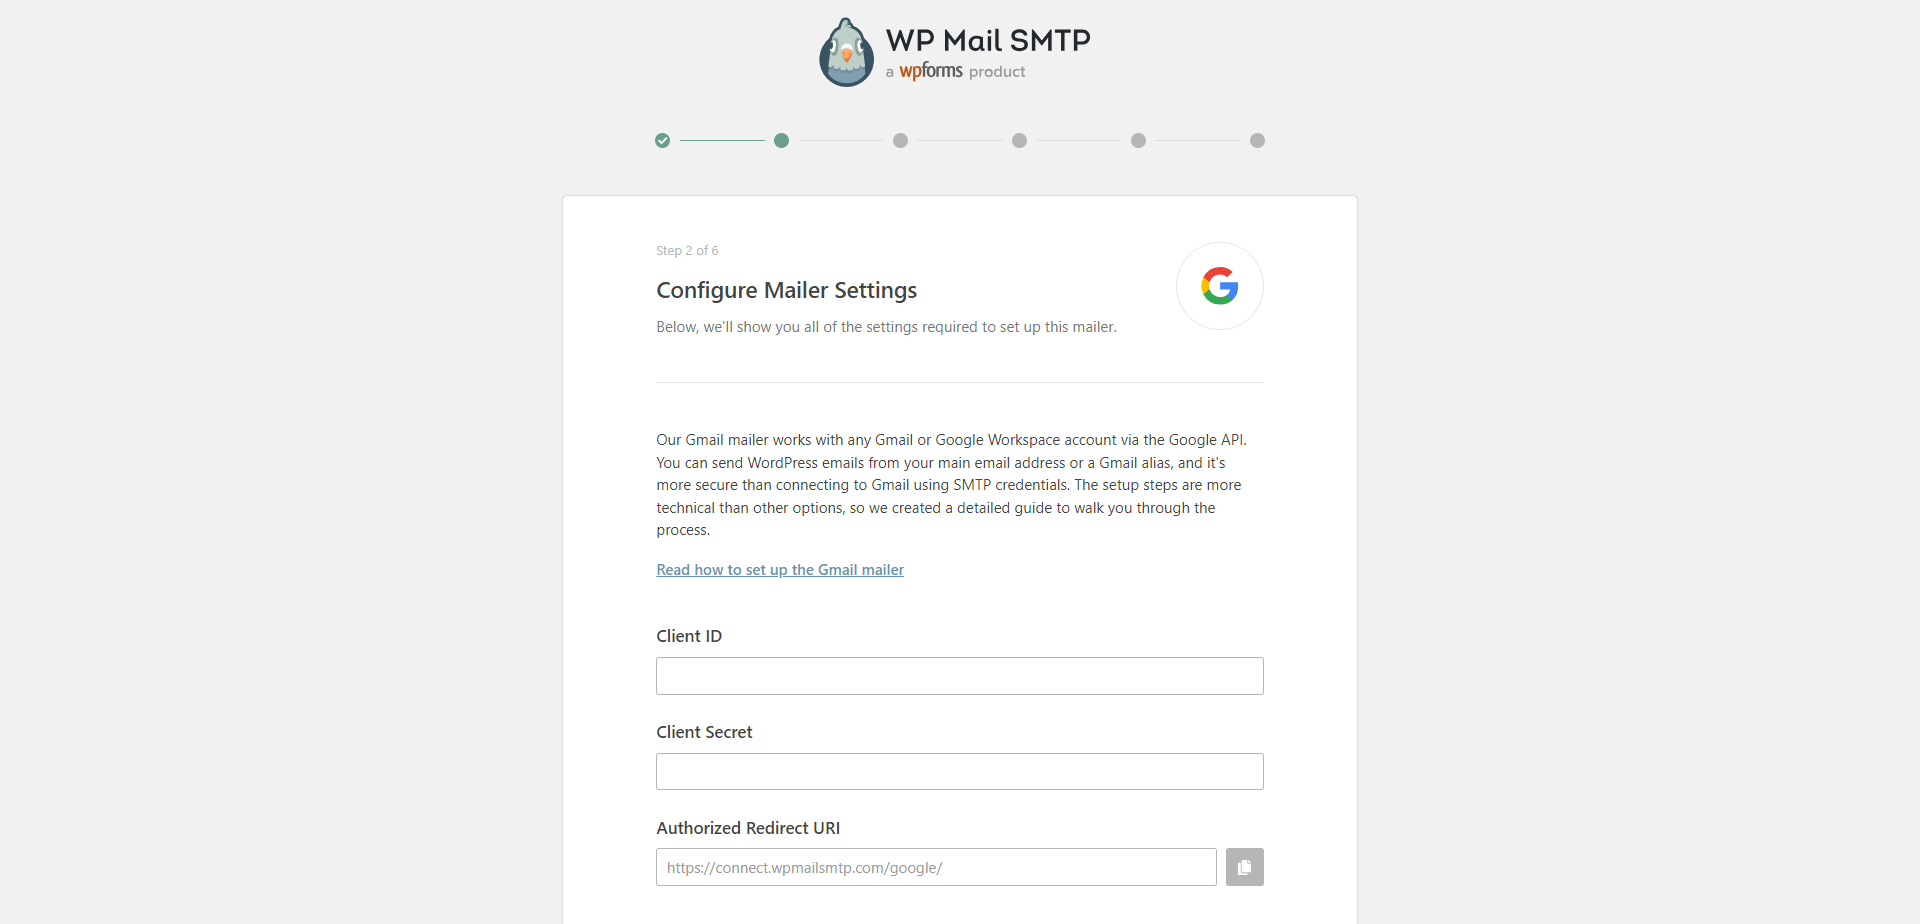
Configuring the SMTP Mailer
For the sake of this demonstration, we will continue with Gmail. As soon as you have selected the mailer, you will need to enter the Client ID and Client Secret. To do so, go to your Google Cloud Console and log in from your business account.
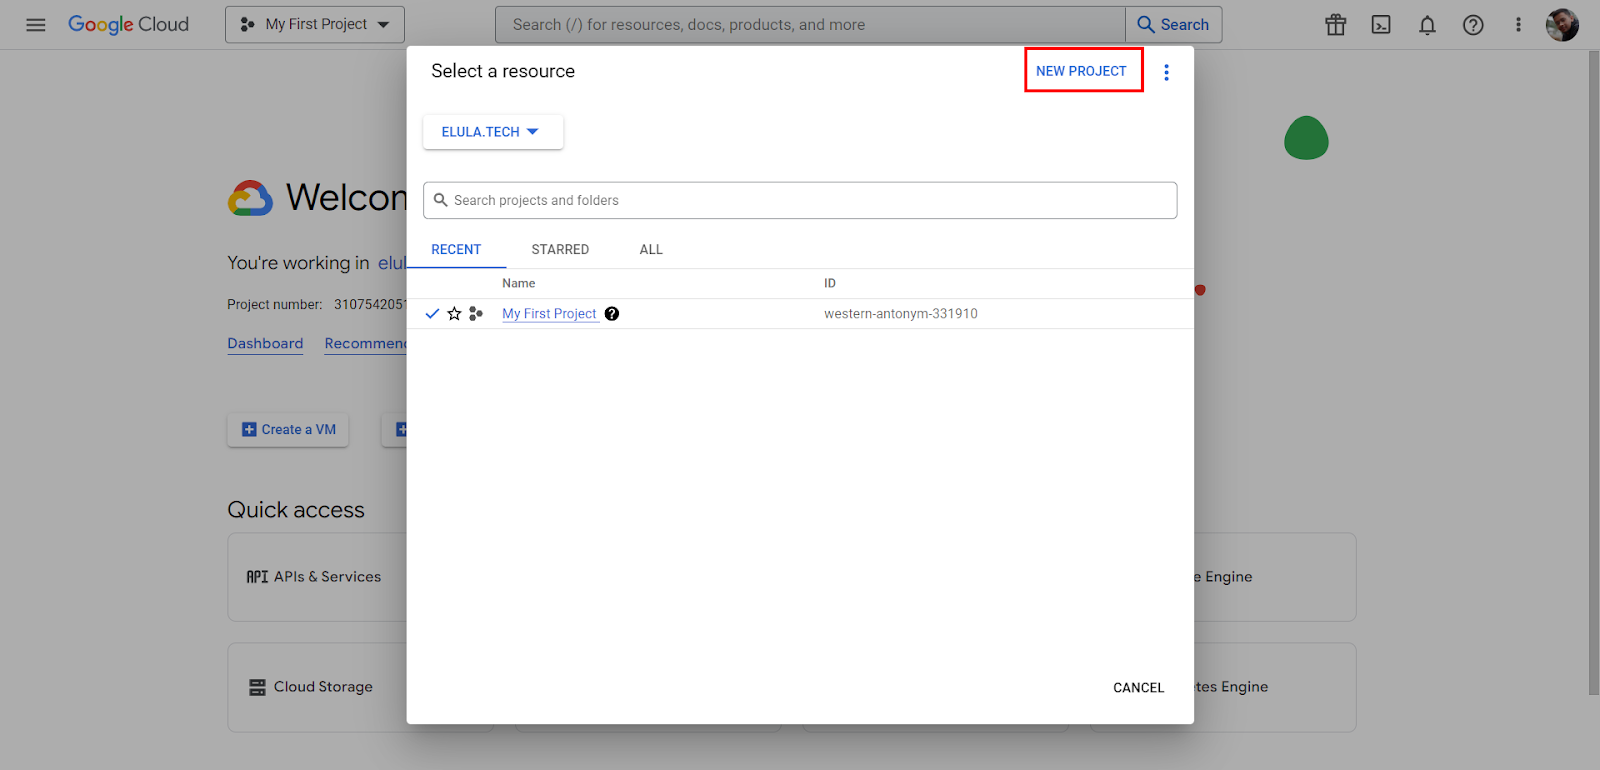
Now go ahead and click on the drop-down at the top and select New Project.
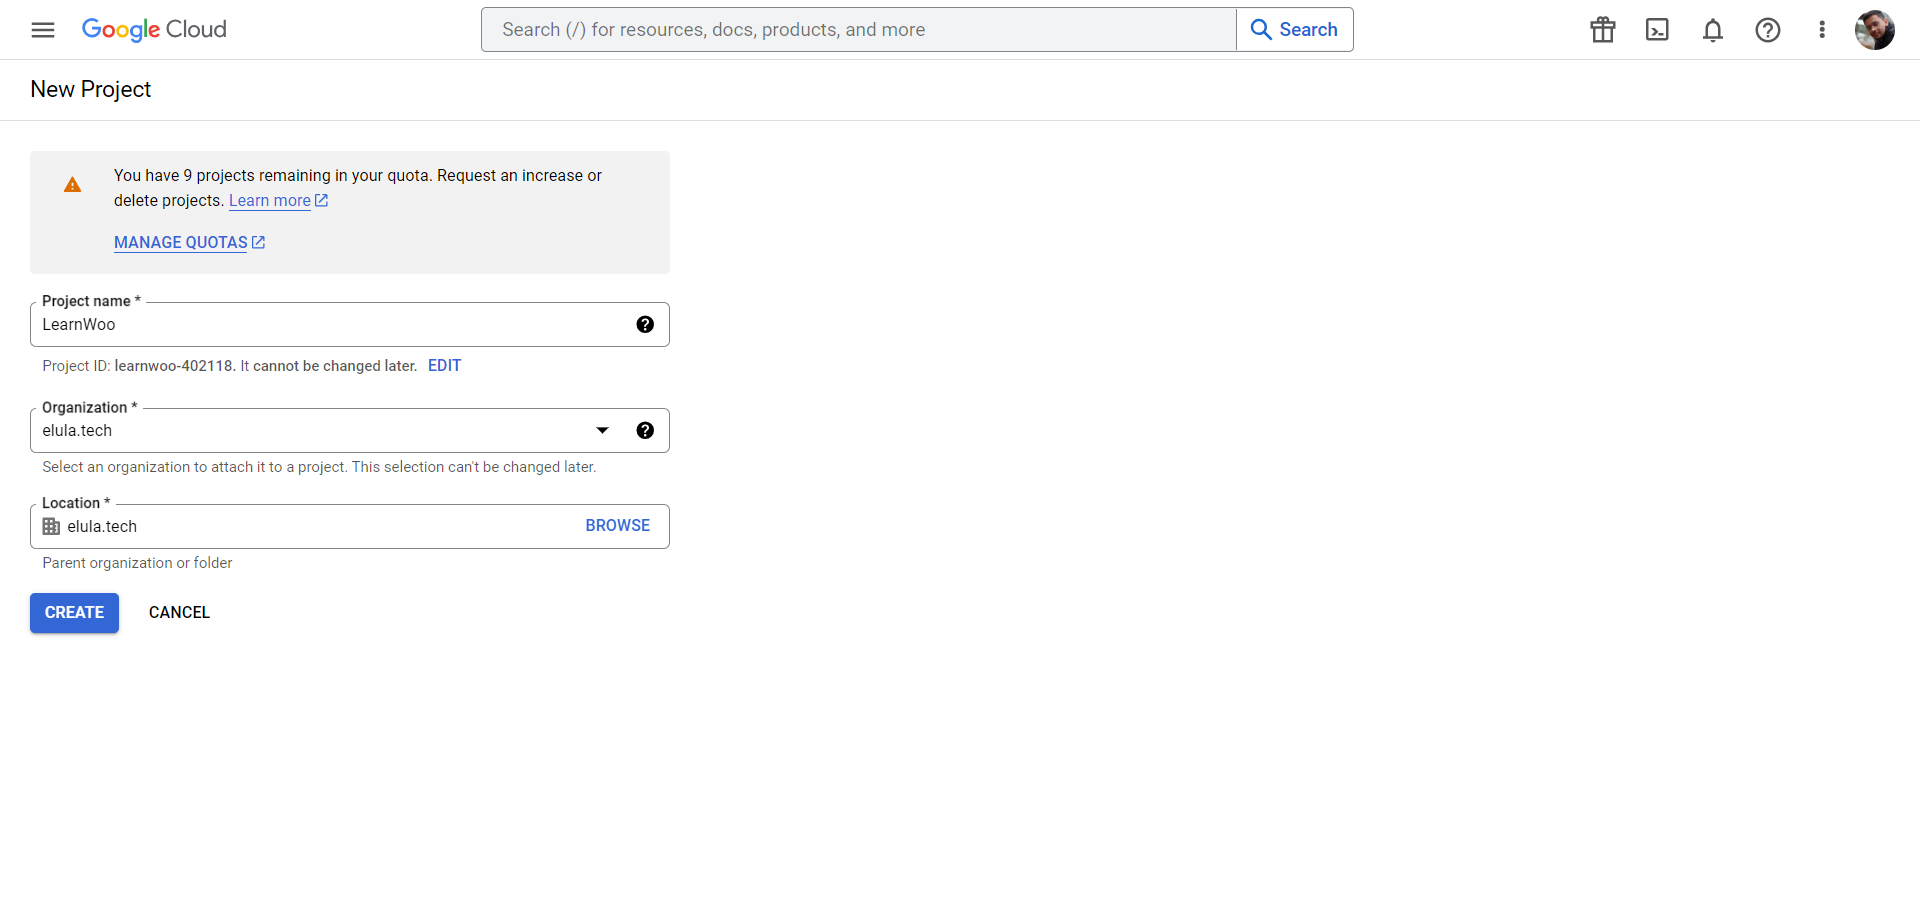
Provide a name for the project, choose the organization if you have multiple, and the location. Once done, click Create.
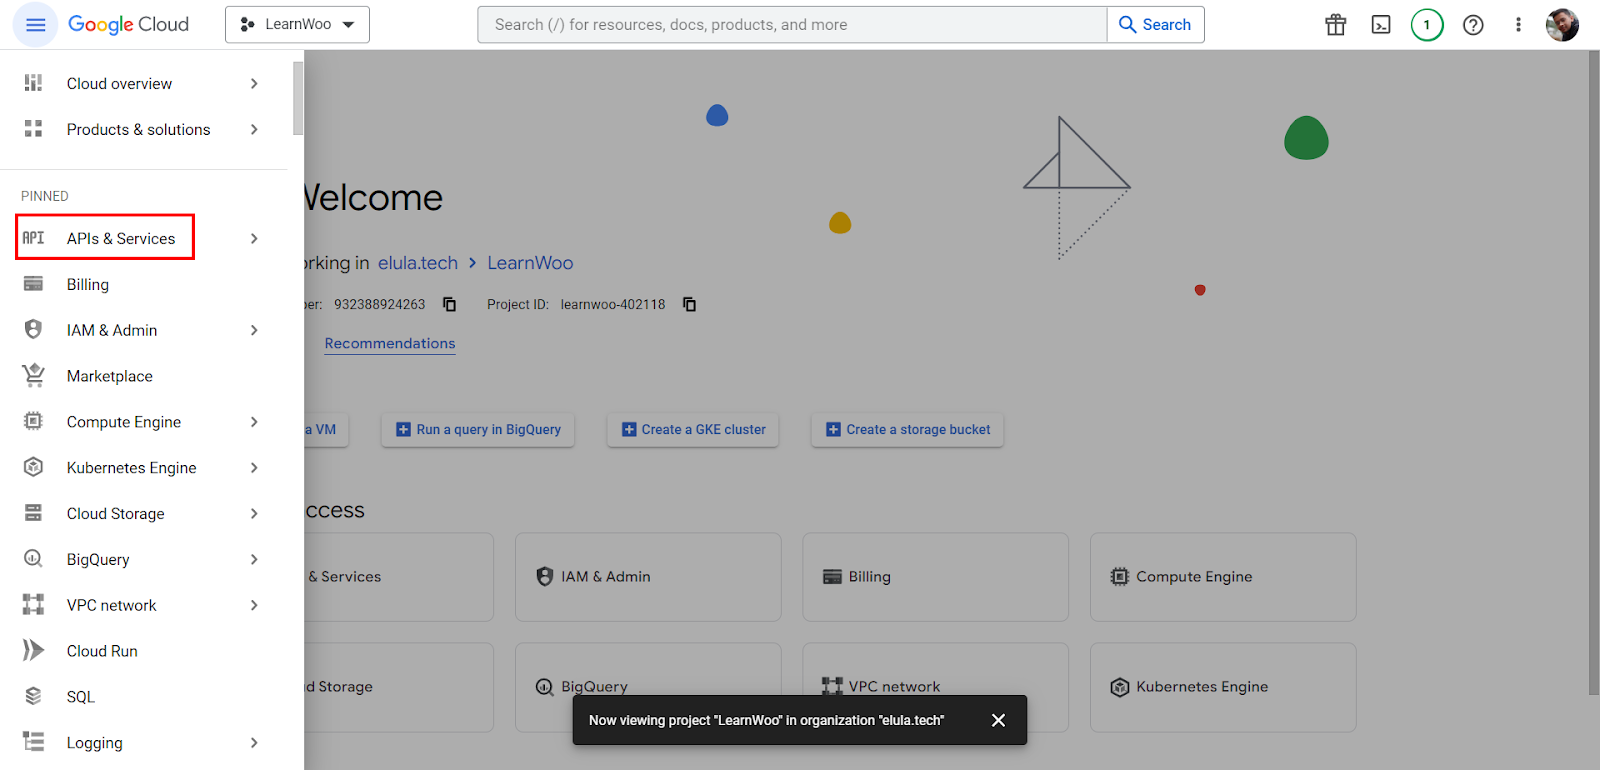
Now go to the side panel on the Google Cloud Console and click on APIs & Services. Over here, click on Enable APIs and Services. This will direct you to the API Library.
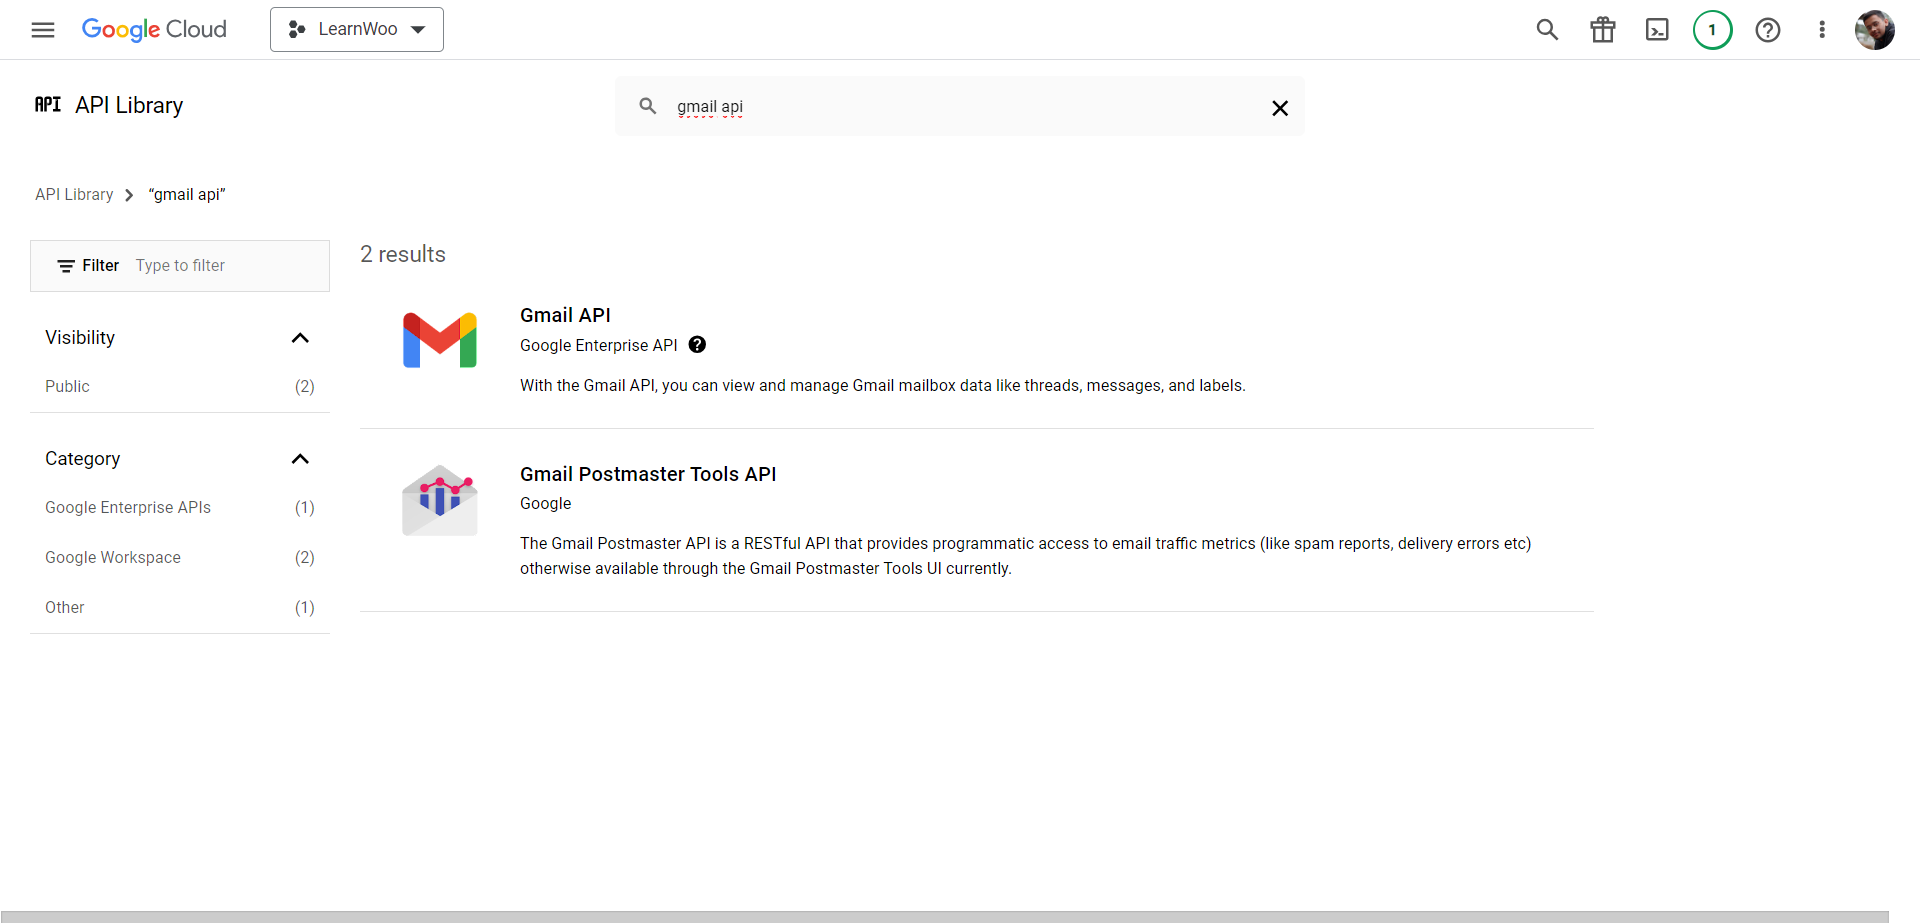
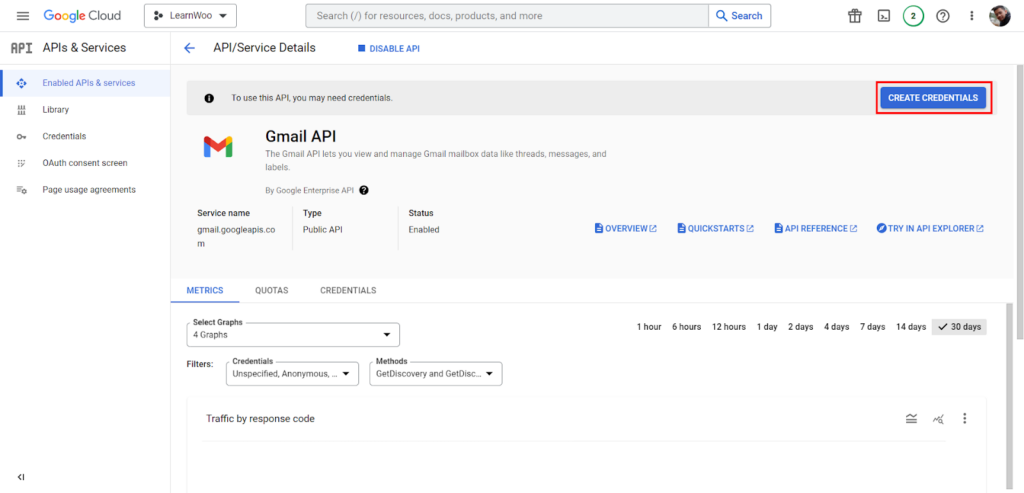
Search for the “Gmail API” in the search bar and enable it. Once the API is enabled, click on Create Credentials.
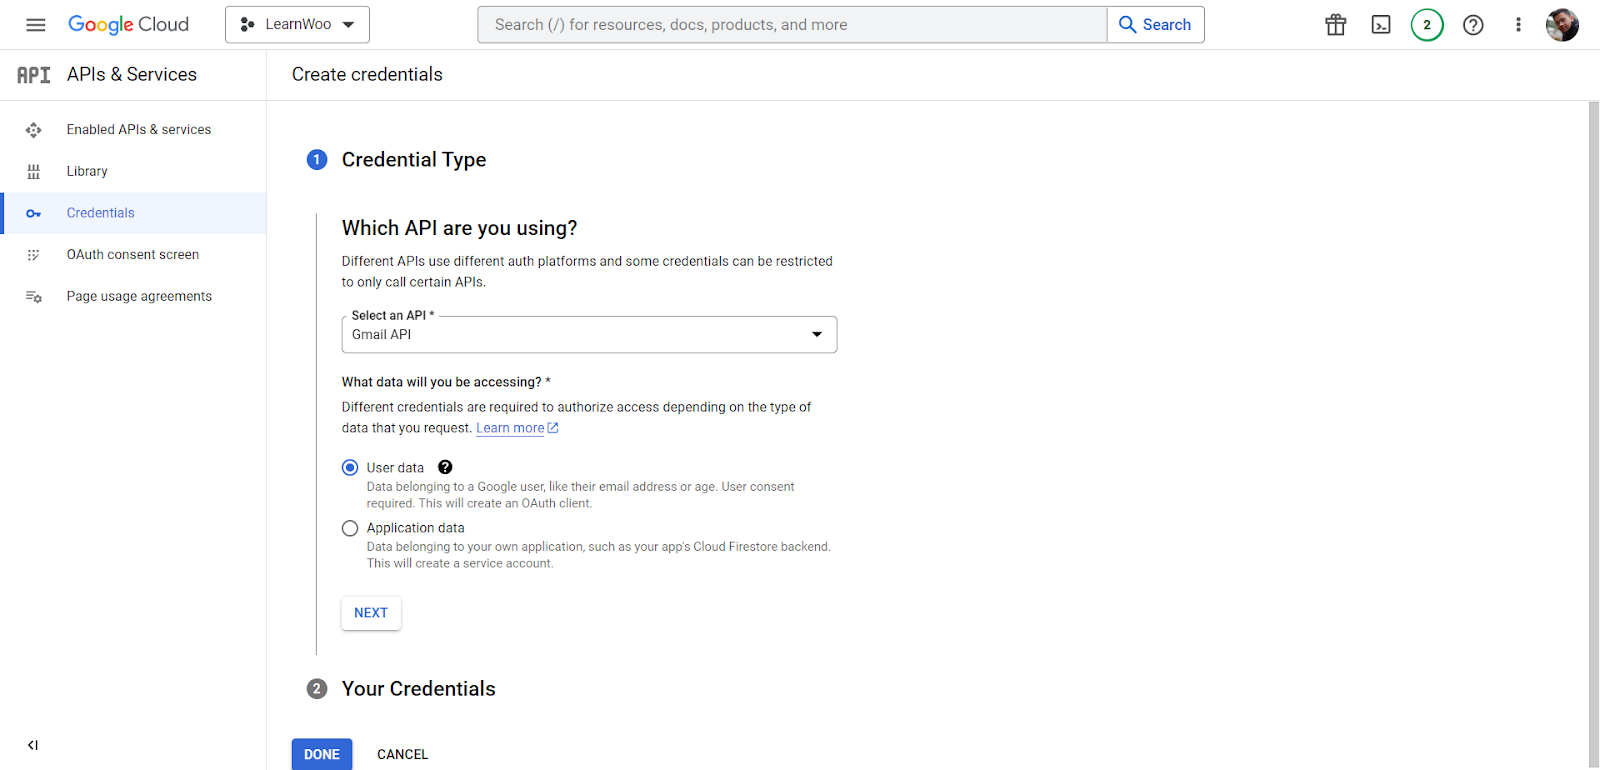
Now go ahead and choose the Credential Type. You can choose between User Data and App Data. The former creates an OAuth Client that requests authorization for data belonging to a Google user such as email address, age, etc. The latter creates a service account that requests authorization for data belonging to your application. We will choose User Data.
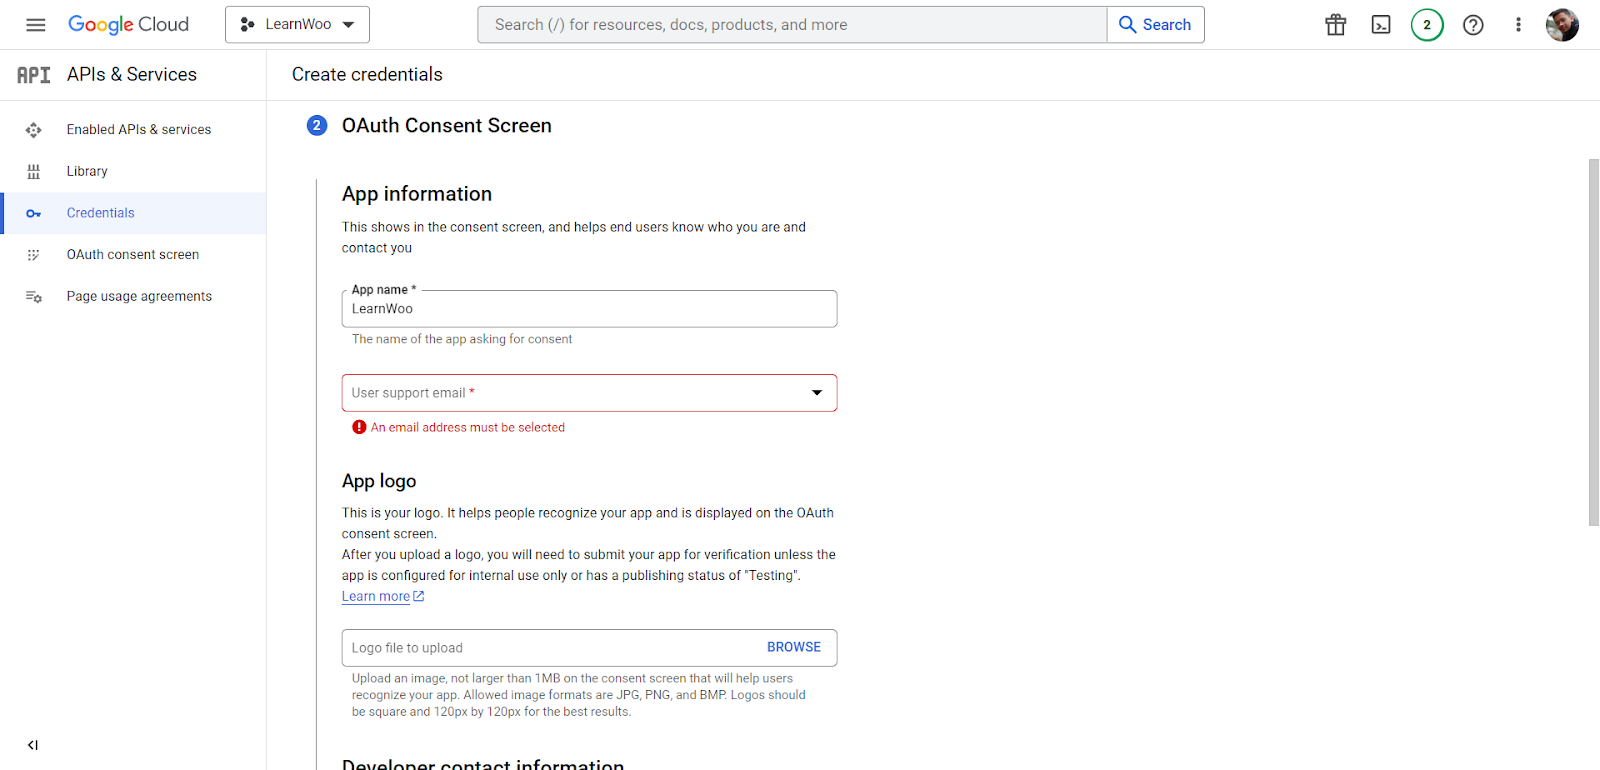
Next, under the OAuth Consent Screen section, provide the app name, user support email (From Email), app logo, and developer contact information. The last field is for Google to send email notifications regarding any project changes.
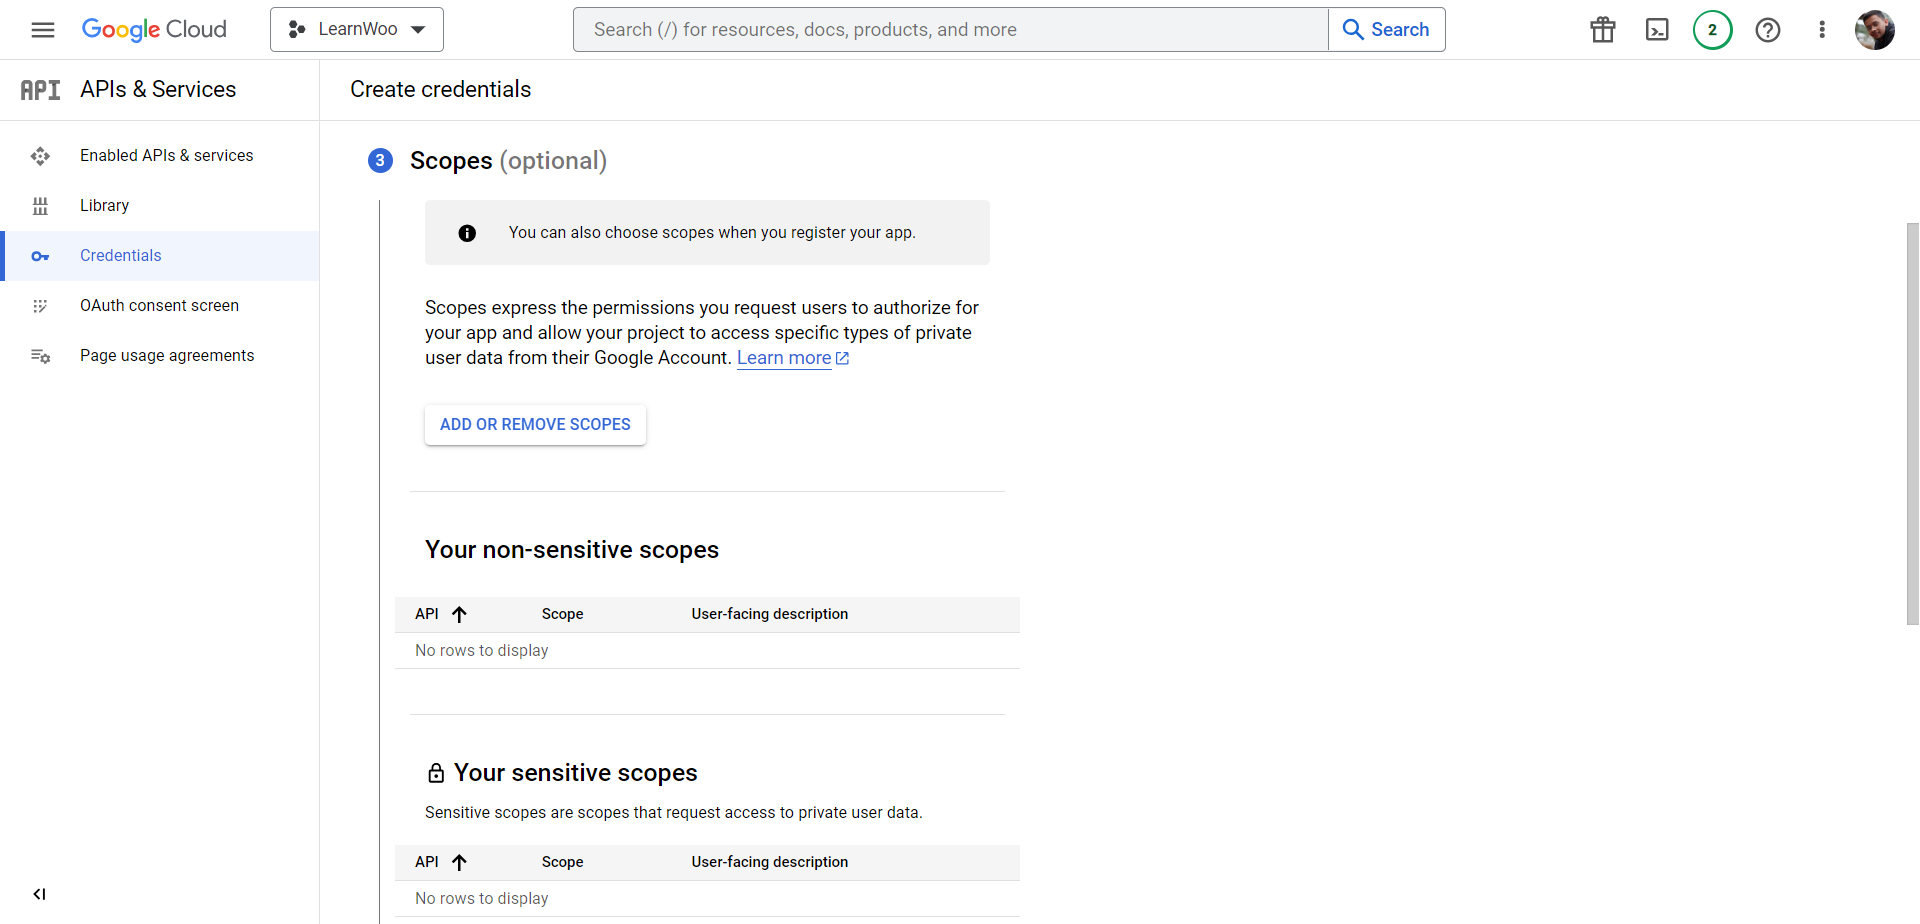
Now select the Scopes. You can choose the Non-Sensitive Scopes, Sensitive Scopes, and Restricted Scopes. These are the various permissions your app will request from the user’s Google account in order to continue.
Next, go ahead and choose the application type and name under the OAuth Client ID section. We will be choosing Web Application since we are using a website.
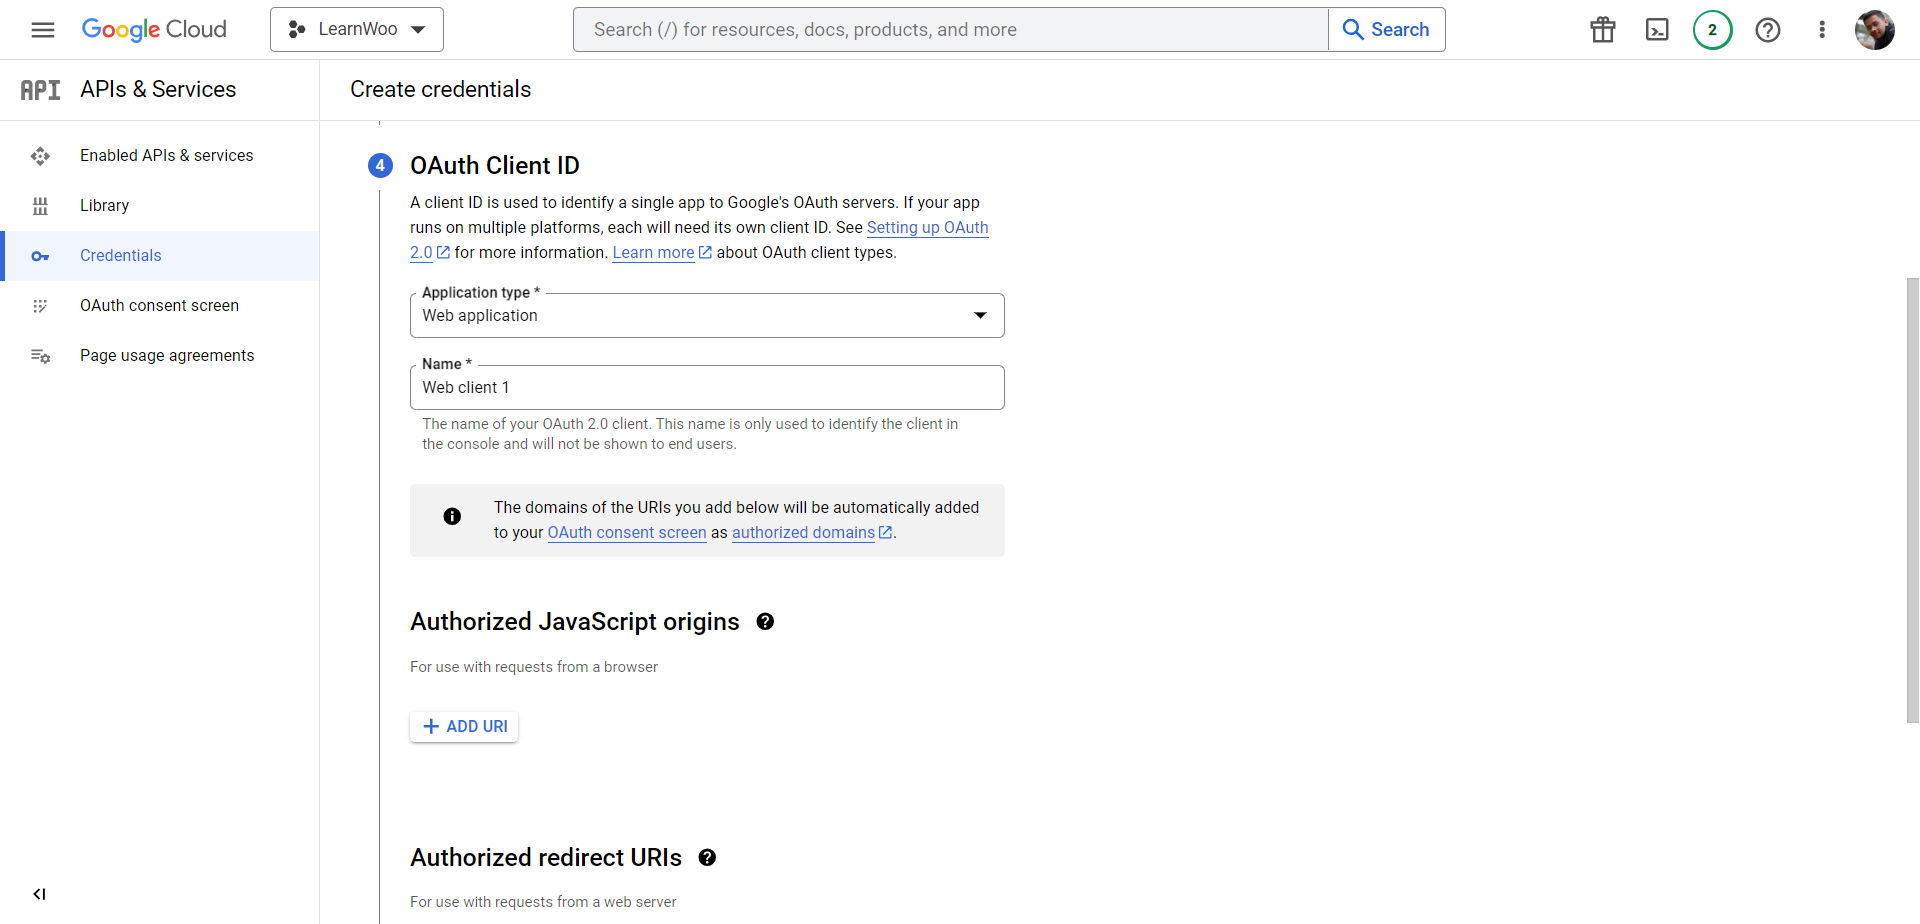
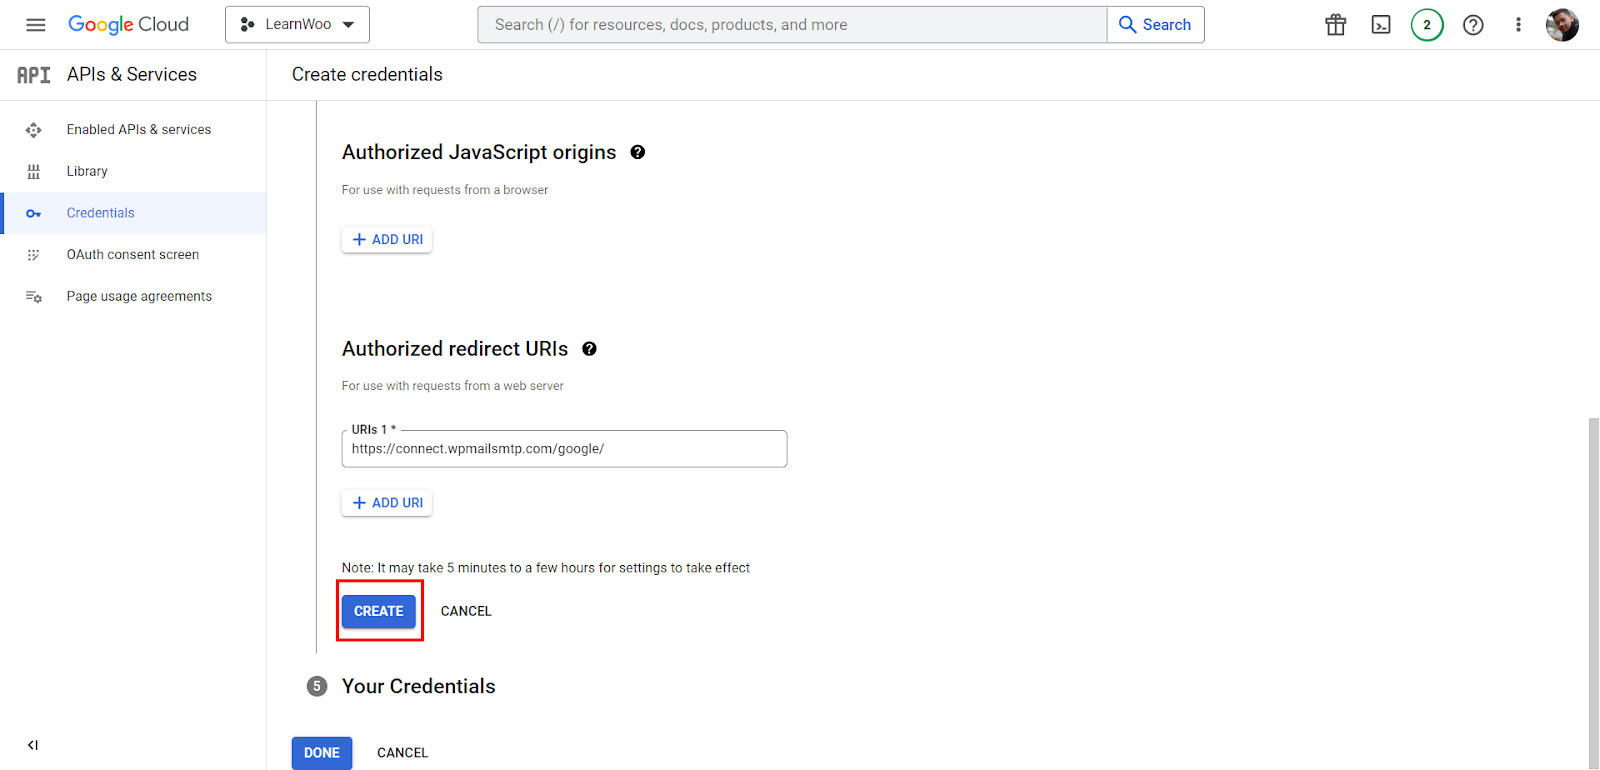
Finally, you have two options to authorize the plugin and your account. You can choose between Authorized JavaScript Origin and Authorized Redirect URLs. We will choose the latter and click on Add URL.
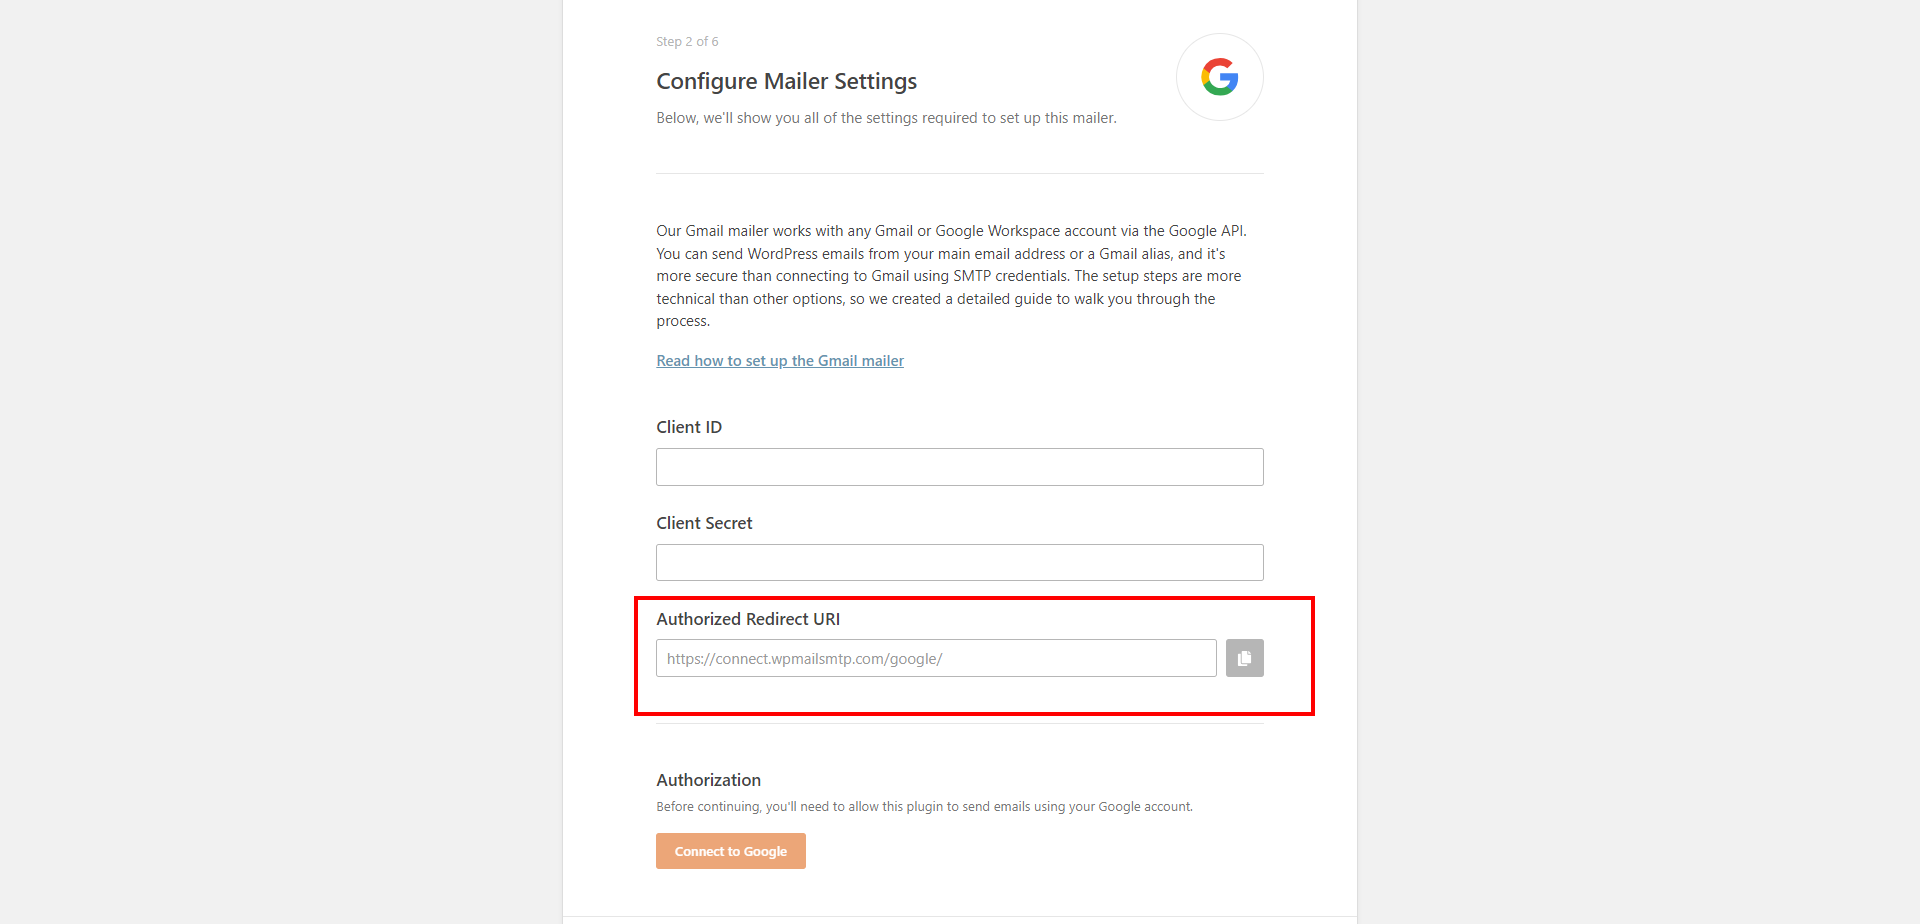
Head back to the WP Mail SMTP setup wizard, copy the Authorized Redirect URL, and paste it into the previous section. To receive the API Credentials, click Create.
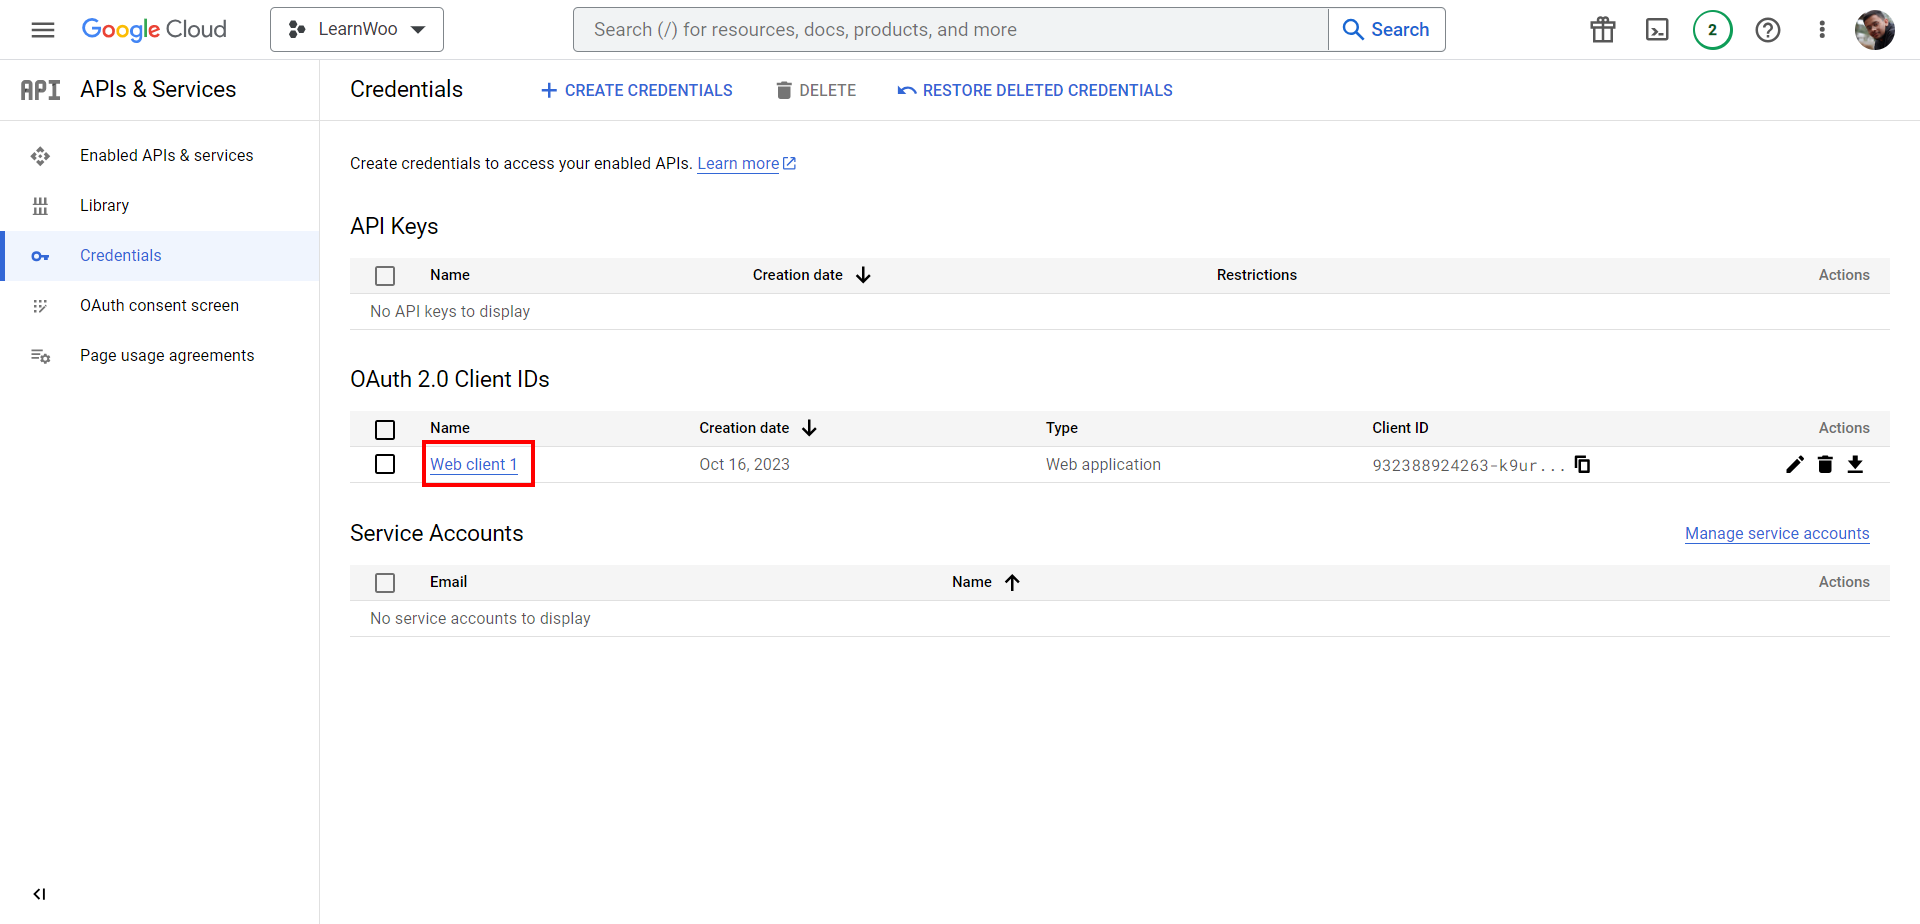
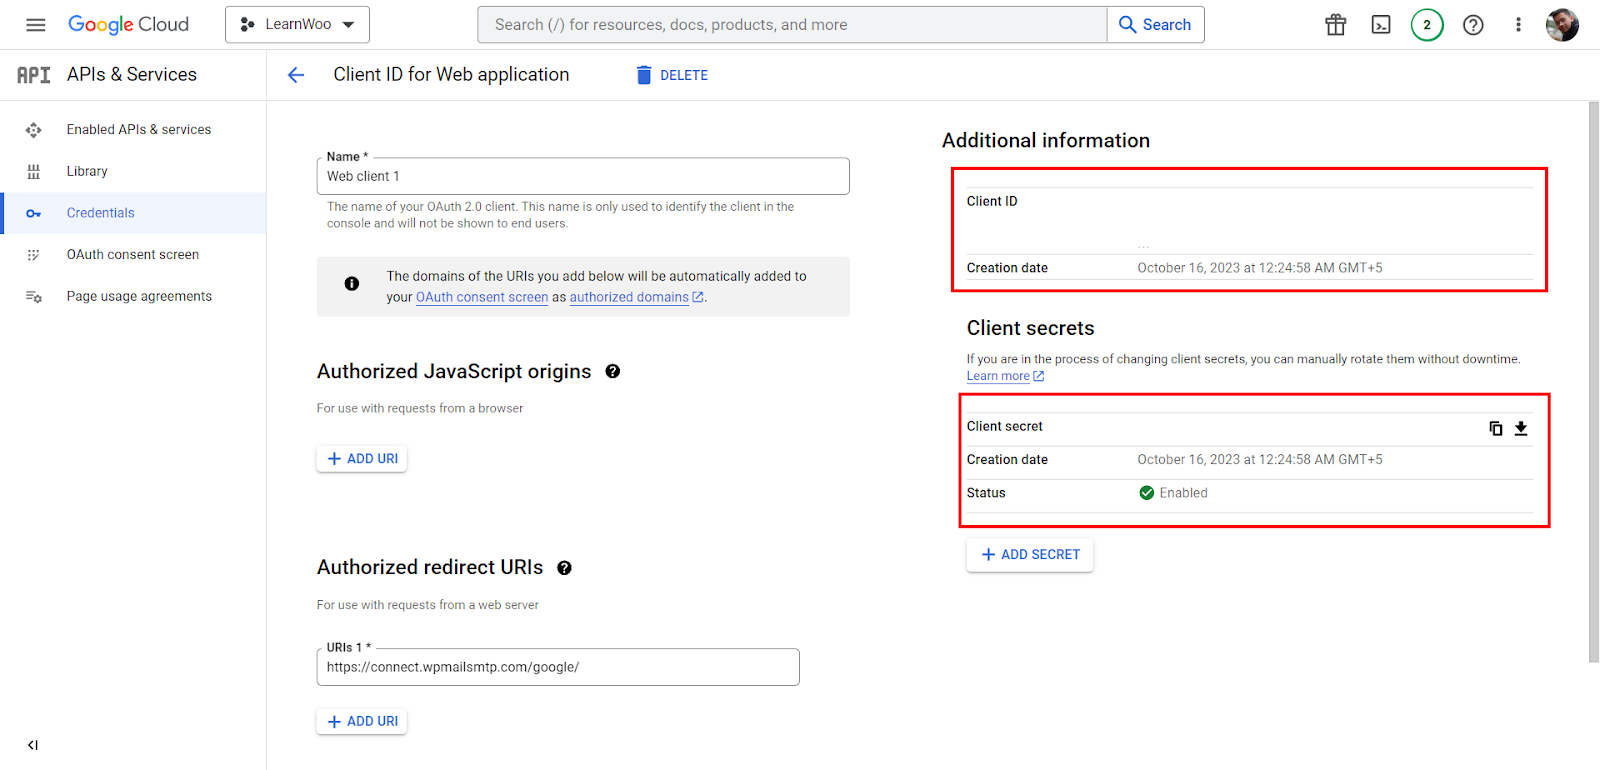
To copy your API Credentials, go to the Credentials tab under APIs and Services and click on the newly created OAuth 2.0 Client ID. This will display your Client ID and Client Secret.
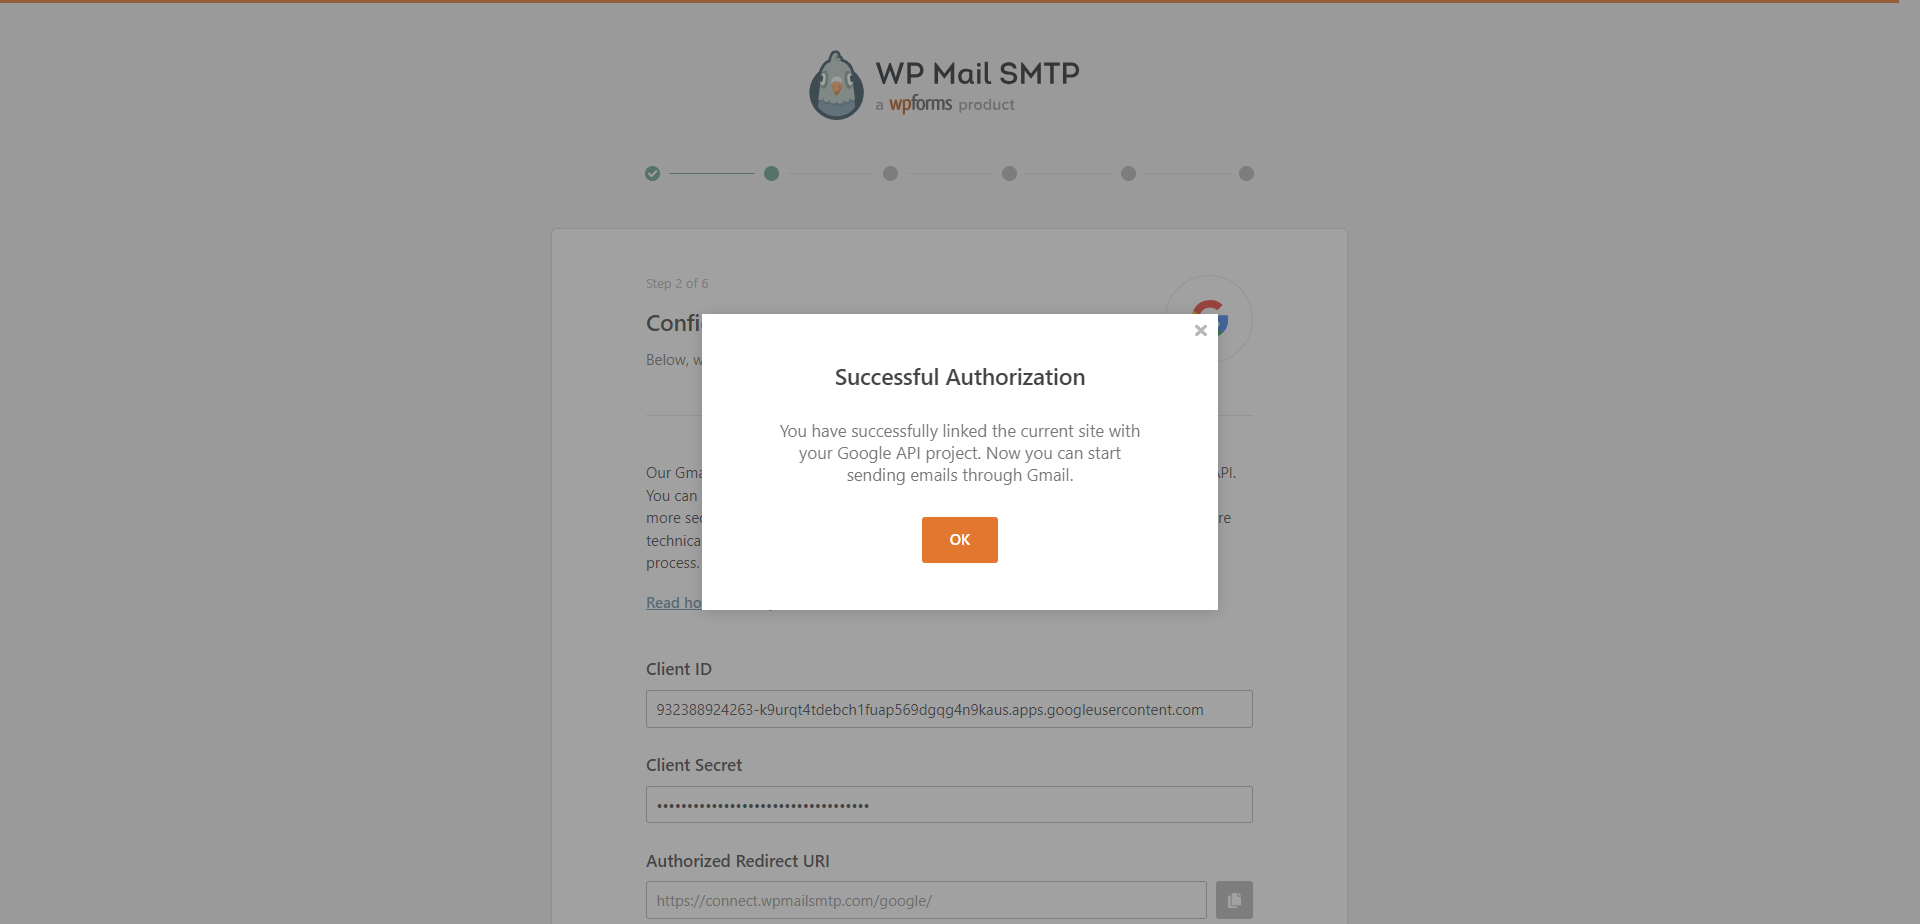
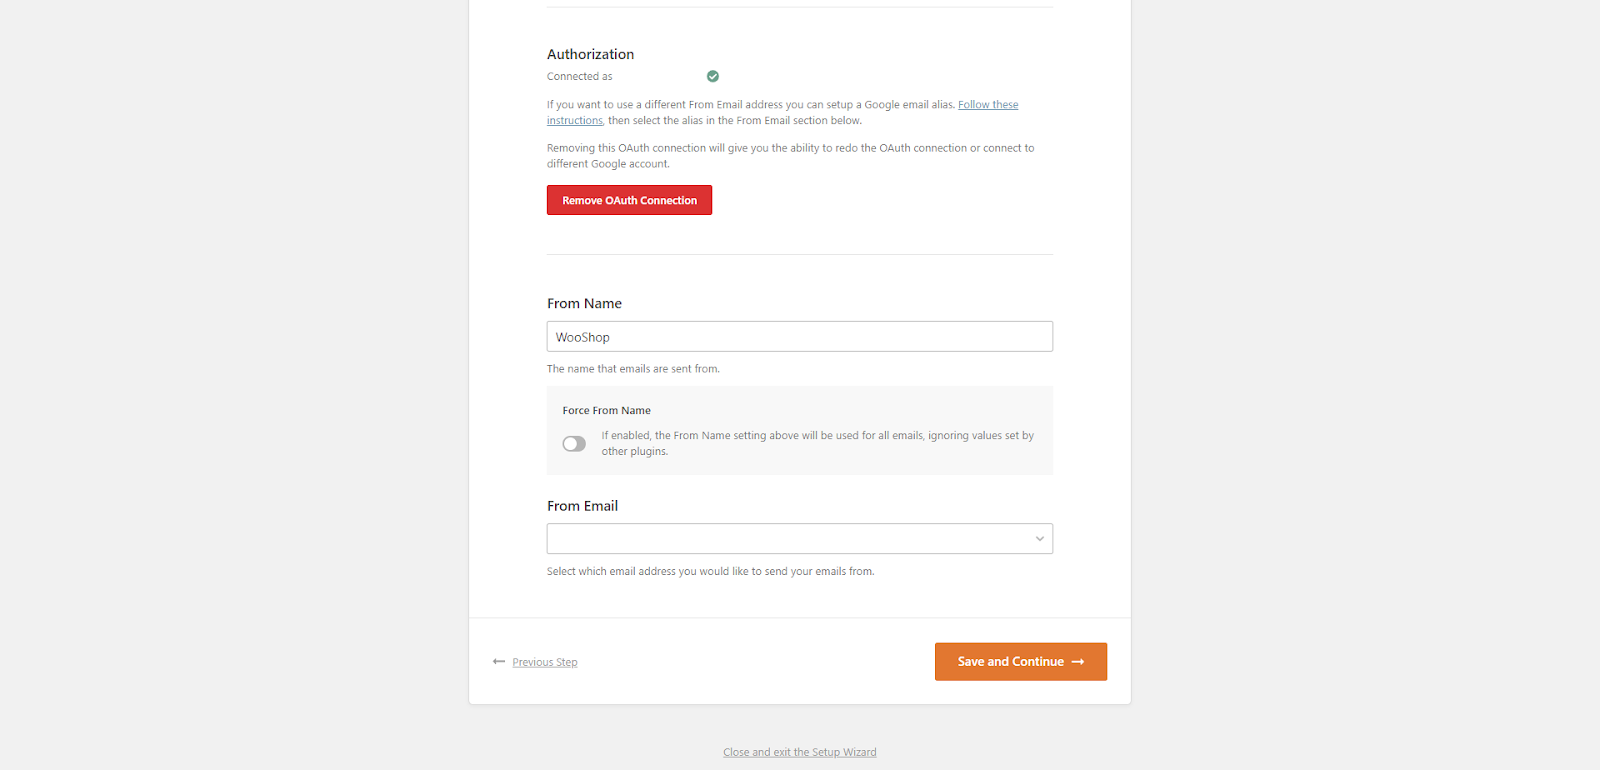
Circle back to the WP Mail SMTP setup wizard and paste the Client ID and Client Secret in their respective fields. To link your account, click Connect to Google and allow permissions to your Gmail account.
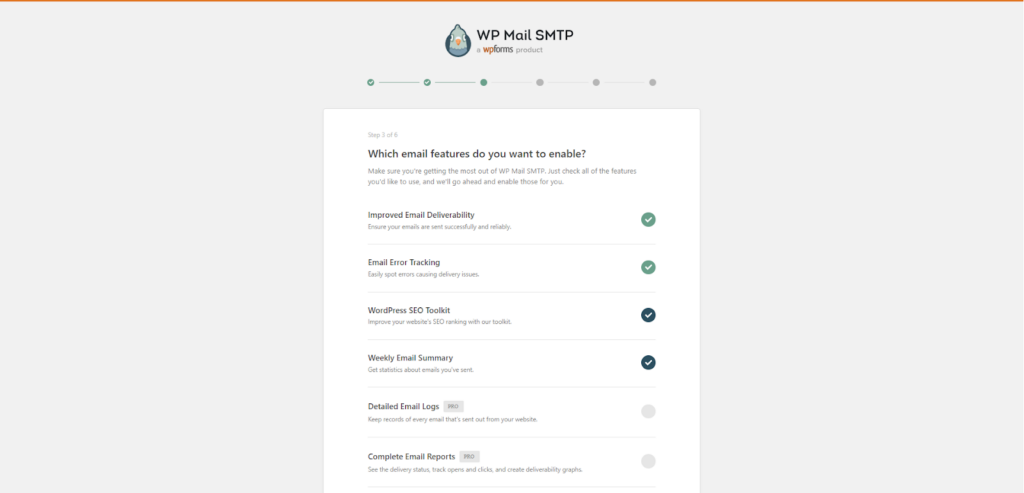
Moving on, enter a From Name (This is the name that will show up on the customer end) and a From Email. On the next page, select the features you wish to activate (certain features are premium and will be charged for).
If you wish to receive recommendations from WP Mail SMTP, enter your email address or skip the step.
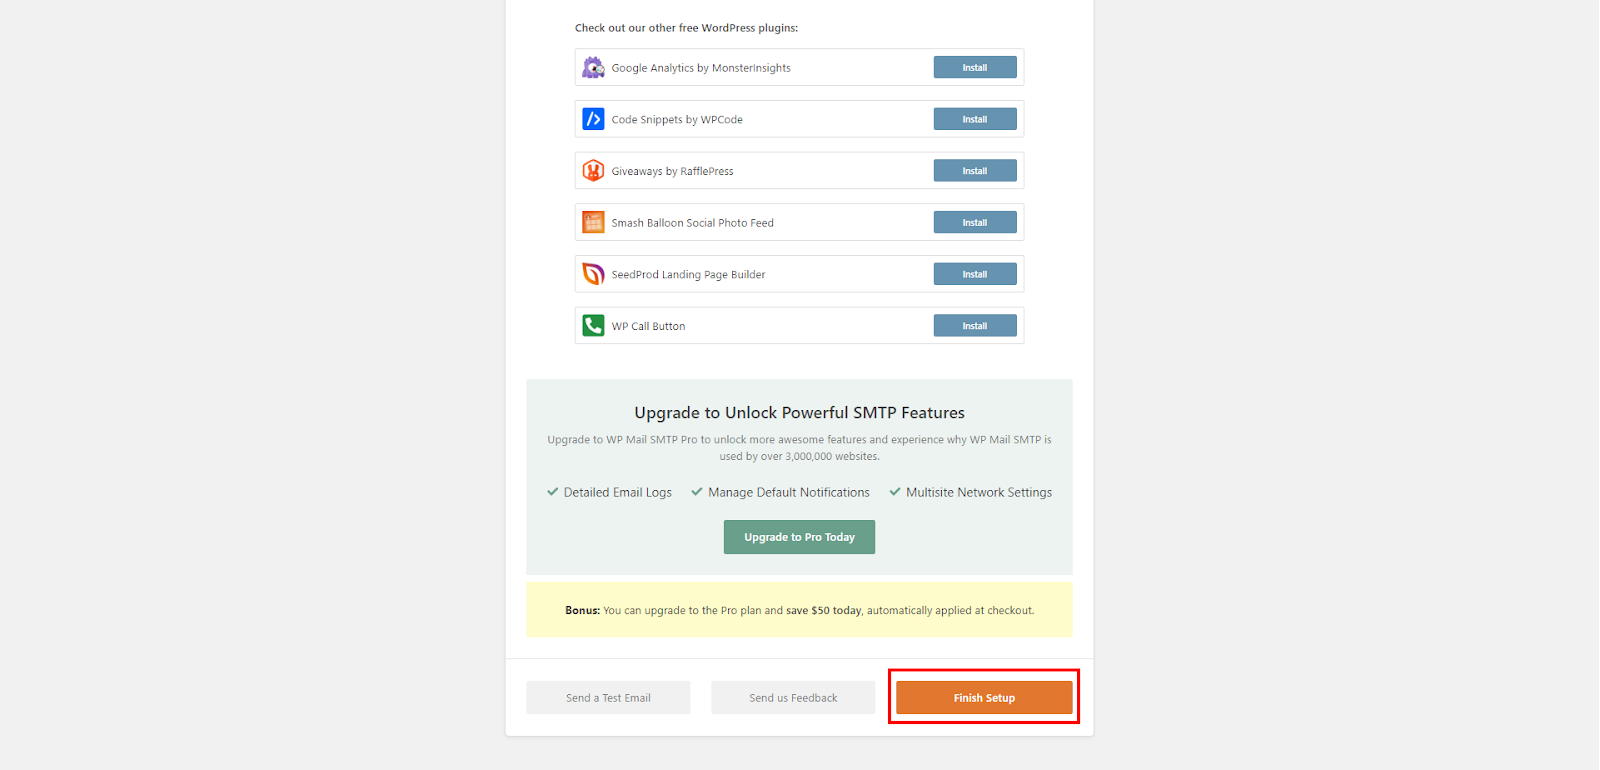
If you selected any of the premium features in the previous section, enter the License Key or skip the step. Finally, go ahead and click Finish Setup.
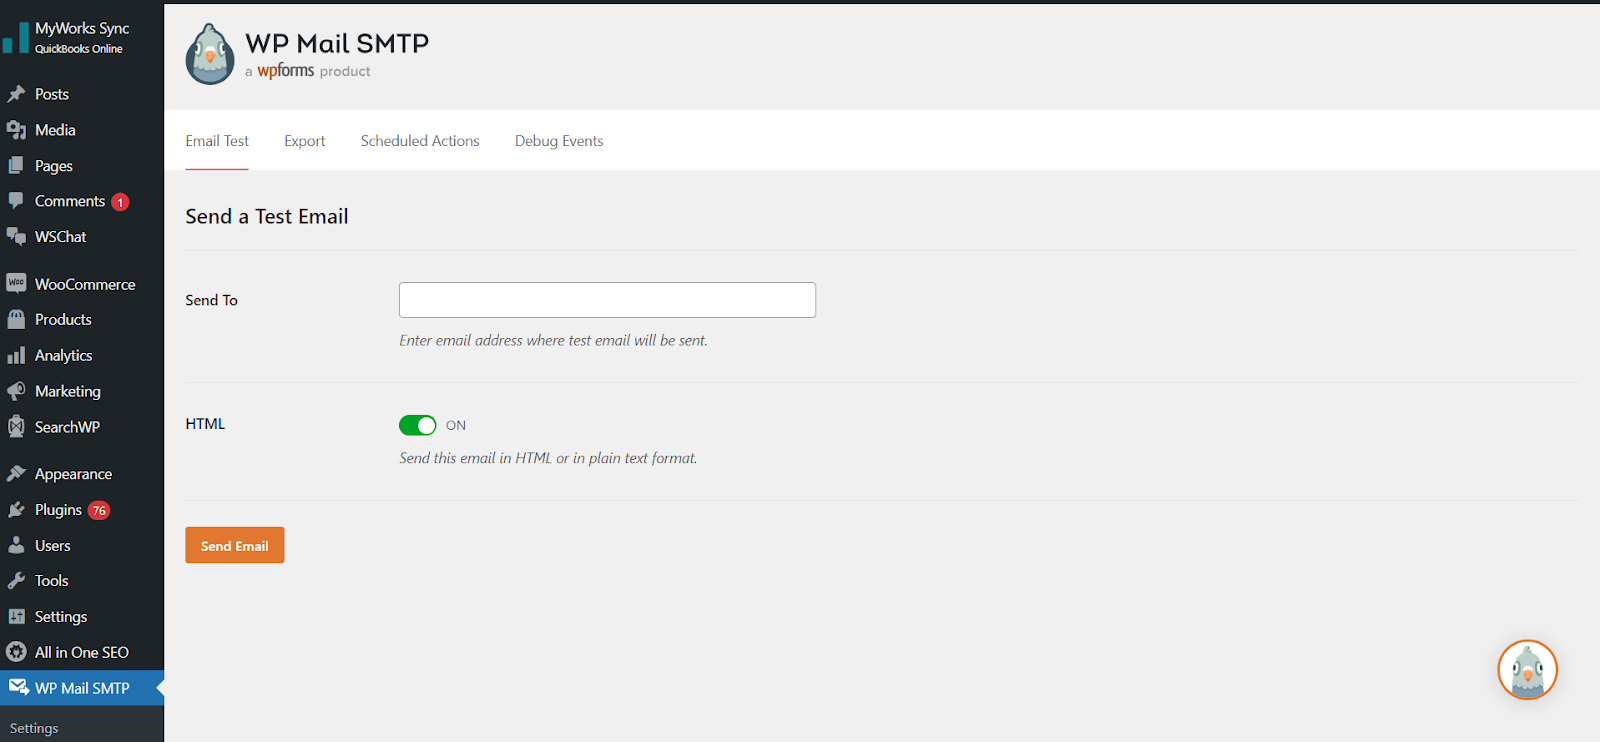
Testing Your Email Setup
To test that emails are now being sent properly through your SMTP service, go to Dashboard > WP Mail SMTP > Tools. Enter an email address to send a test email and click Send Email.
Below is a screenshot of the test email we sent. As you can see, it includes all the details and looks professional.
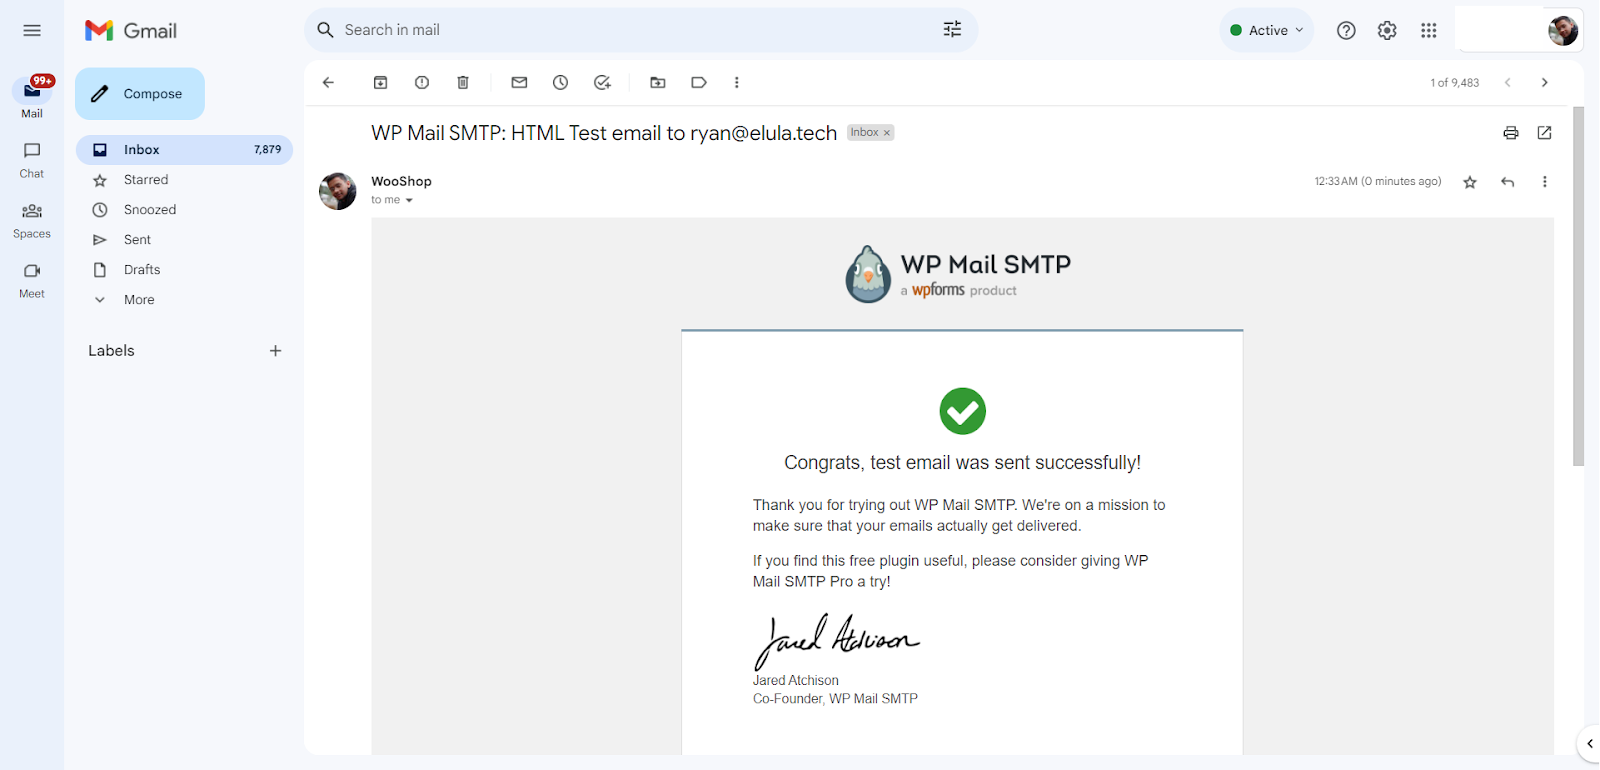
If the email does not come through, double-check your SMTP settings. You may need to contact your SMTP provider’s support to troubleshoot further. But once configured correctly, your WordPress emails will have a much higher chance of reaching your subscribers’ inboxes!
Troubleshooting Common WordPress SMTP Issues
If you encounter issues sending emails through your WordPress site, don’t panic. Here are some common SMTP problems and how to fix them.
Authentication Errors
The most common issue is incorrect SMTP authentication details. Double-check that you entered the right host, username, password, and port number. Also, confirm that your hosting provider or email service hasn’t changed any of these recently.
Firewall Blocking Port 25
Many hosting providers block port 25 to prevent spam. You’ll need to use a different SMTP port, usually 587 or 465. Update your SMTP settings to use one of these ports instead.
Plugin Conflicts
If another plugin is also being used to send emails, it can interfere with your SMTP setup. Disable any other email-related plugins to ensure there are no conflicts.
Server Errors
Error messages like “503 Service Unavailable” mean there’s an issue with your hosting provider or email service. Contact them to report the problem and get help resolving server-side errors.
Emails Ending Up in Spam
If recipients report that emails from your site are going into their spam folder, it’s usually an issue with SPF, DKIM, or DMARC authentication. You may need to update DNS records to authenticate your sending domain. Many SMTP plugins provide guidance for setting up email authentication to prevent spam.
Troubleshooting SMTP issues may require some time and patience, but resolving them will ensure reliable email delivery from your WordPress site.
If you wish to see a visual demonstration of the above-mentioned process, check out our YouTube video on the same topic:
Conclusion
So there you have it, a step-by-step guide to setting up SMTP email in WordPress so you can reliably send emails from your site. While it may seem complicated, if you follow the walkthrough and double-check your settings, you’ll be up and running in no time.
Once configured, you’ll have peace of mind knowing your emails are being delivered and your subscribers are staying engaged with your content. No more worrying if your newsletter or email actually made it to your readers’ inboxes!
SMTP email is a must for any professional WordPress site, so take the time to get it set up – your email list and readers will thank you.
We hope this post has helped you set up an SMTP email on your WordPress site!


")
")
")