
Last updated - November 21, 2022
Do you want to learn how to disable WordPress plugins if WordPress crashes?
Disabling WordPress plugins is usually a simple task. You do it by going to the Plugins section of your WordPress dashboard and simply clicking on the deactivate button next to the plugin’s name.
Simple enough, right?
But what if you don’t have access to your WordPress backend because a plugin you just installed crashed your website?
Don’t panic because the solution is much simpler than you might think.
Here are the three ways to disable WordPress plugins if WP crashes.
1. Deactivate WordPress Plugins Using FTP
The best option after losing access to your dashboard is to delete the plugin with the help of an FTP client.
This method requires some technical knowledge, but anyone with basic WordPress training should be able to do it with the help of our tutorial.
Disable A Particular Plugin Via FTP
When your website crashes, it’s always important to remember what your last actions on the website were.
Whether you installed a new plugin or updated an existing one, knowing exactly which plugin caused the crash will greatly reduce debugging time.
Below is a simple step-by-step tutorial that will help you delete and deactivate the problematic plugin in no time.
- Install a FTP client like Filezilla. You can check their official documentation for more detailed instructions.
- Connect to your host through the FTP client. You need your host address, FTP username, and password for that. (Contact your hosting if you don’t have login credentials.)
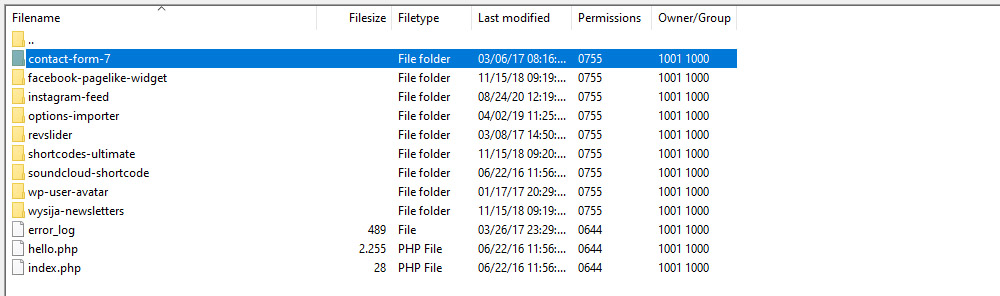
- Navigate to /wp-content/plugins/ folder once connected to your website through the FTP client.
- Find the plugin you want to delete on the right side of the screen where all the plugins are listed.
- Delete the whole folder (all files are inside the folder).
- That’s it! The plugin is now removed from your WordPress website.
- The WordPress dashboard is now fully functional again and you can head to the Plugins tab and make sure the plugin is deactivated and deleted.
The host address is a physical address of a computer in a network. On the Internet, a host address is the machine’s IP address.
So to make it simple, this is the address to your server that you got from your hosting provider.
It’s usually similar to your domain name, for instance, ftp.domainname.com. You usually receive all the necessary details about your hosting when you first purchase it.
If you lost this piece of information, I advise that you contact your hosting provider before taking any further steps.
Disable All WordPress Plugins Via FTP
If you are unsure which plugin is causing issues on your website, then debugging will take a bit longer.
First, you must ensure that one of the plugins is the culprit, not the WordPress theme.
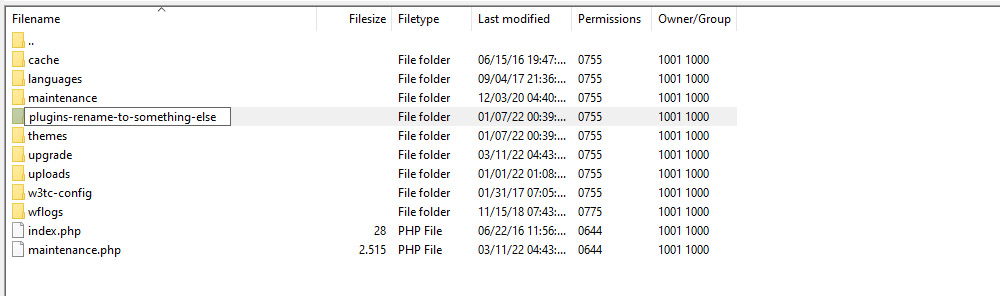
There is a simple “hack” that you can use by renaming the plugins folder to plugins_temp or any other name that differentiates from the default name.
After you rename the folder, go to your website and refresh the page. If it starts working again, it’s definitely one of the plugins causing the issue.
In this case, there are two different methods that you can use.
You can rename the directory back to the original name and then start renaming or deleting each plugin one by one.
Make sure you refresh your website every time you rename the plugin. Once the website starts working again, you will know which plugin is malfunctioning.
The only issue with this approach is that your website will be offline until you find that one plugin that is causing the issue.
And this can take a while if you have a lot of plugins.
A more elegant solution is to create a new (empty) folder, name it plugins and then start moving the plugins from the old directory (now named plugins_temp) to the newly created one.
Your website will stay online and work properly for the whole duration of the process. If you can’t afford any downtime on your page, then this method is the way to go.
Compared to the first method, the downside is that transferring folders of some complex plugins can take a long time (WooCommerce, for instance) and if you have several plugins like that, the process will take a lot longer.
So it’s up to you to decide which method works best in your case.
2. Deactivate WordPress Plugins Using phpMyAdmin
Make sure you are very careful before you start interacting with phpMyAdmin.
All operations involving databases are very delicate and many things can go wrong very fast.
It’s not a bad idea to make a backup first so you’re not sorry later.
Login to your hosting dashboard (cPanel) and find the phpMyAdmin in the databases section.
Click on it and proceed to the next screen.

After you log into your phpMyAdmin account click on the databases button in the menu.

Select your WordPress database if it is not already selected. After that, you will be able to see WordPress database tables.
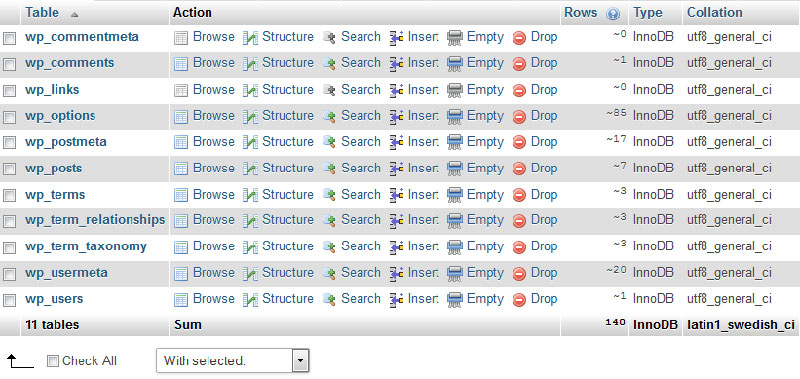
Click on the wp_options table. Inside it, you will see rows of different options. Scroll down until you find the option active_plugins and then click on the “Edit” Link next to it.

You will see a text field with a lot of data in it. This is a list of all your active plugins.
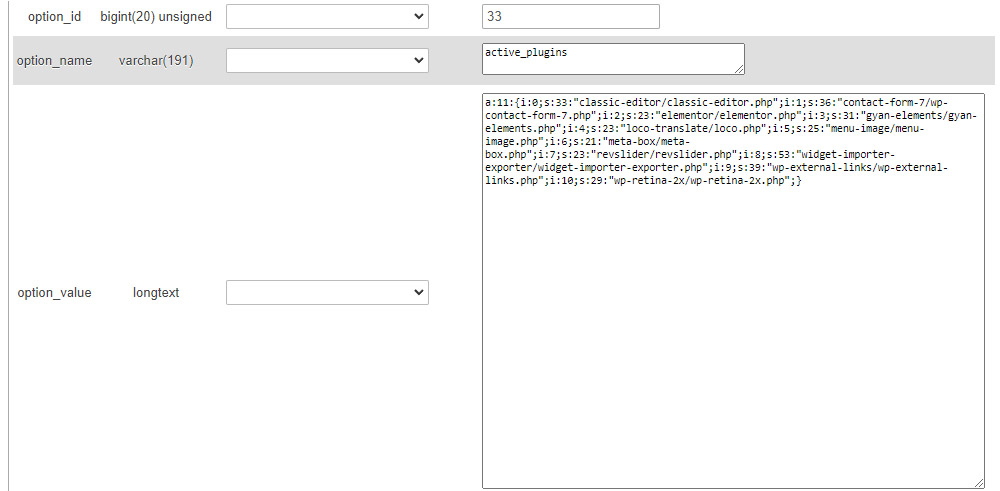
Now replace this text block with a simple a:0:{} and then click on the Go button to save your changes.
And that’s it. You successfully deactivated all WordPress plugins with the help of phpMyAdmin.
If one of the plugins is the culprit for your malfunctioning website, then everything should work fine now.
You can now start reenabling plugins one by one to isolate the problematic plugin.
The alternative option to find all active plugins is to click on the SQL button (instead of the databases button) and enter the following query in a presented text box:
SELECT * FROM wp_options WHERE option_name = ‘active_plugins’;
This will take you to the same text box where you replace the existing text with a:0:{} string and click the Go button.
3. Deactivate WordPress Plugins Using WP-CLI
You can also disable a WordPress plugin using the WordPress Command Line Interface, or WP-CLI.
- Log in to your web hosting account.
- Change directories to the root directory containing your WordPress installation with the user@wordpress [~]$ cd ~/public_html/ command.
- Use command user@wordpress [~/public_html]$ wp plugin list to see all the active plugins.
- Deactivate a plugin using the command: user@wordpress [~/public_html]$ wp plugin deactivate plugin-name
In the code above, you need to replace the plugin-name with the actual name of the plugin (for instance, classic-editor or jetpack).
Please note that this method is only for advanced users and should not be used lightly.
Bonus: Why Can A Plugin Crash WordPress?
Usually, WordPress plugin developers test their code thoroughly before uploading it to the WordPress repository.
And all the plugins are tested by experienced reviewers to ensure everything is compatible and works properly with the latest version of WordPress.
But, every now and then, an issue can be overlooked, and a malfunctioning plugin is approved to the repository.
Or you upload a plugin that hasn’t been updated in a long time. And this can crash your website.
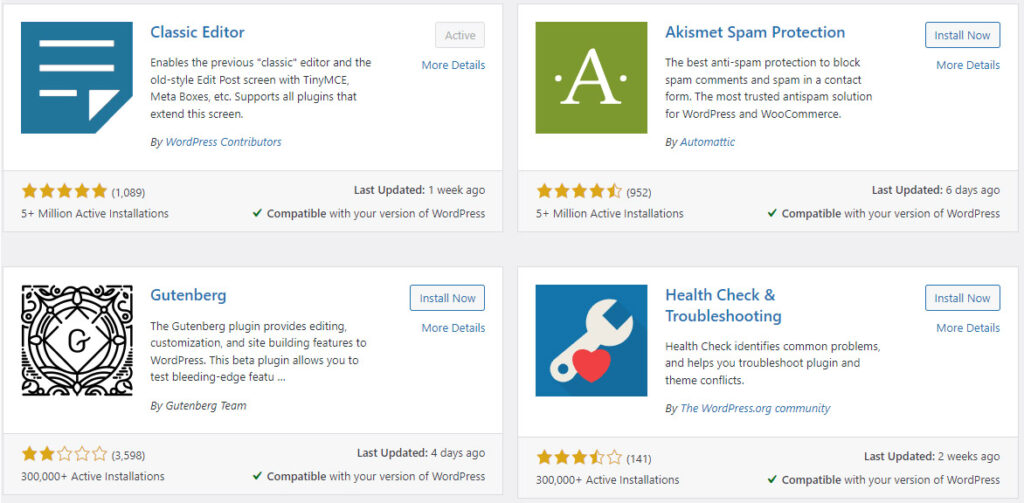
So always make absolutely sure that the plugin is compatible with your version of WordPress. You can always check that when adding a new plugin in the bottom right corner of the plugin description.


")
")
")