Last updated - July 19, 2022
If you want to track your WordPress website’s conversion and traffic efficiently and easily, Google Tag Manager is a great tool to do just that. In this article, you’ll learn about Google Tag Manager and how you can integrate it with your WordPress website in a few simple steps.
What is Google Tag Manager?


A website’s analytical data like traffic and conversions is essential for tracking its performance. These analytics are tracked using code snippets added by their respective website owners. And often, multiple codes are required to gather the data.
Google Tag Manager is a tool that helps website owners add and manage these scripts from a single dashboard. It offers built-in tag templates for Google’s marketing platform tools like Adwords, Google Analytics, and DoubleClick.
The tool also works with several third-party analytics and tracking platforms. Plus, you can add your own code using customer HTML.
Google Tag Manager incorporates all your tracking scripts into a single script that’s easy to add and manage. And considering the fact that Google has provided an official plugin to make the integration easier, the whole process can be finished in a matter of minutes.
Here is a video with some of the best tools to check WordPress site traffic:
Getting Started with Google Tag Manager
Head over to the Google Tag Manager website to get started. Here, click the “Start for free” button in the top right.
The website will ask you to sign in to your Google Analytics account to get access to Google Tag Manager. If you don’t have a Google Analytics account, you can create one easily.
After signing in to your Google Analytics account, follow these steps:


- Click “Create Account”.
- Set a name for the account.
- Select a country from the dropdown.
- Type a container name.
- Choose your targeting platform(s) between web, iOS, Android, AMP, and Server.
- Click “Create”.
- Accept the terms and conditions.
Setting Up the Site Kit by Google Plugin


After completing these steps, you’ll receive a code snippet to be inserted into the head and body tags on your website.
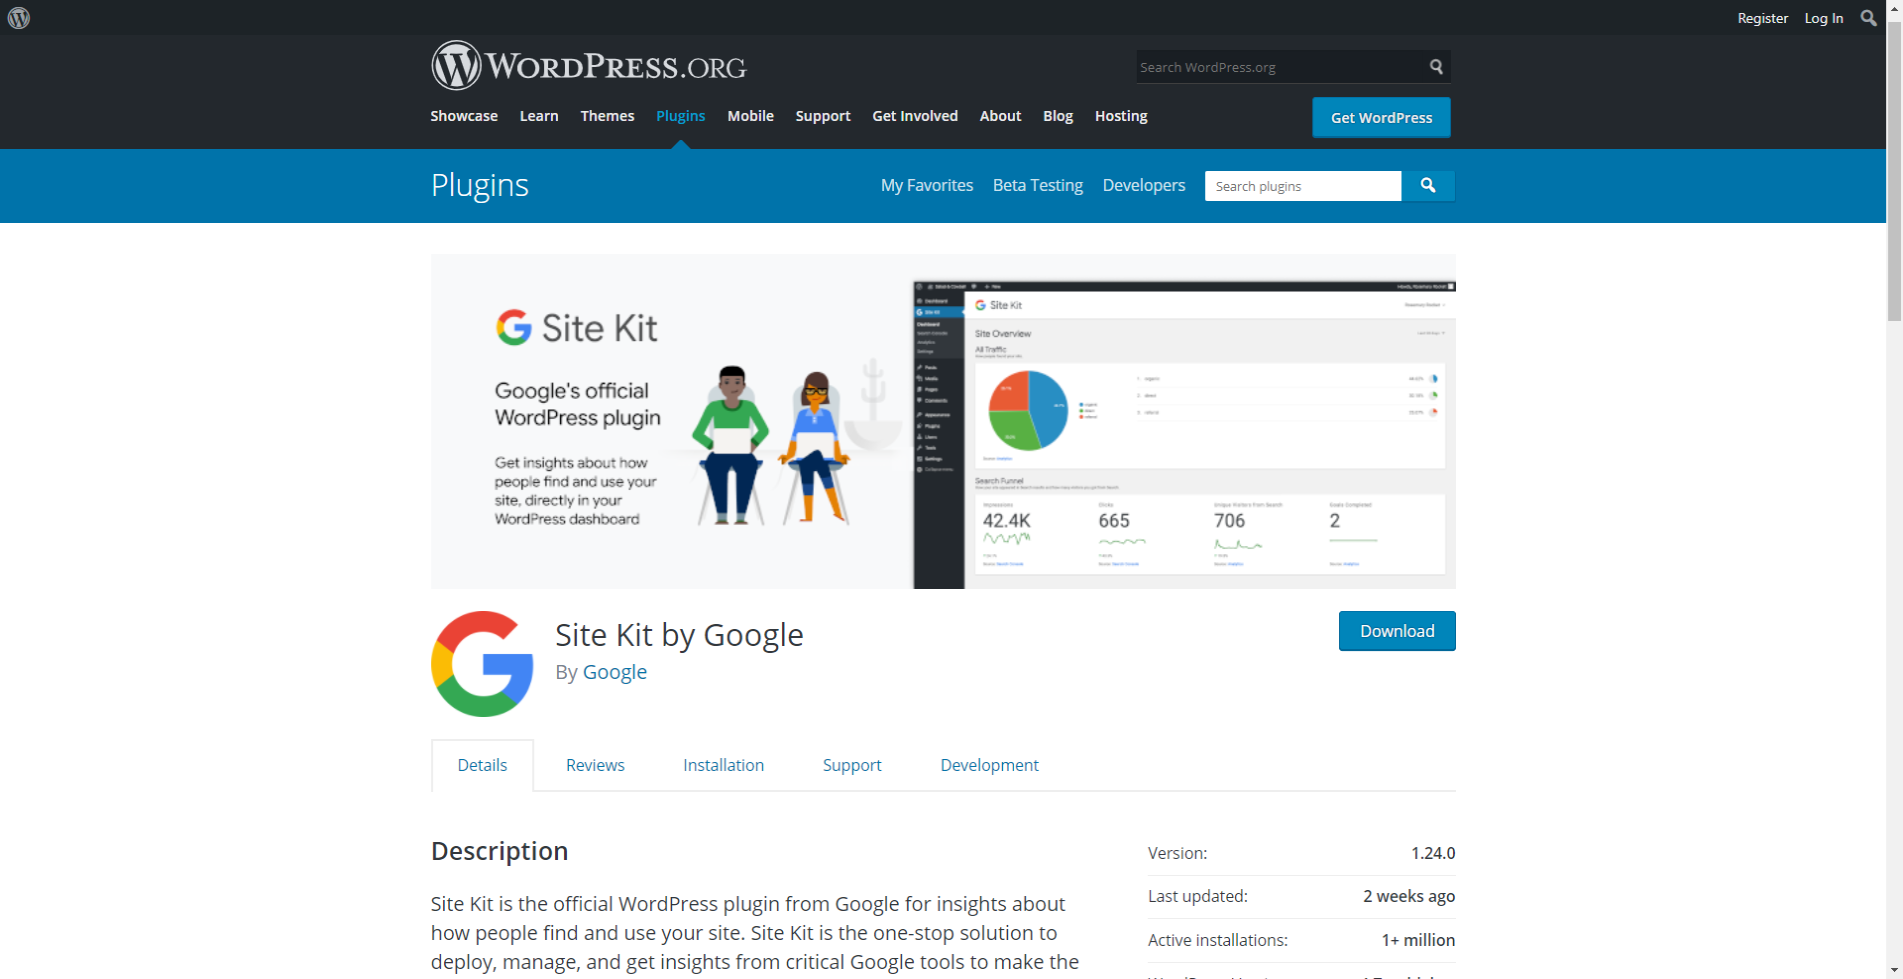
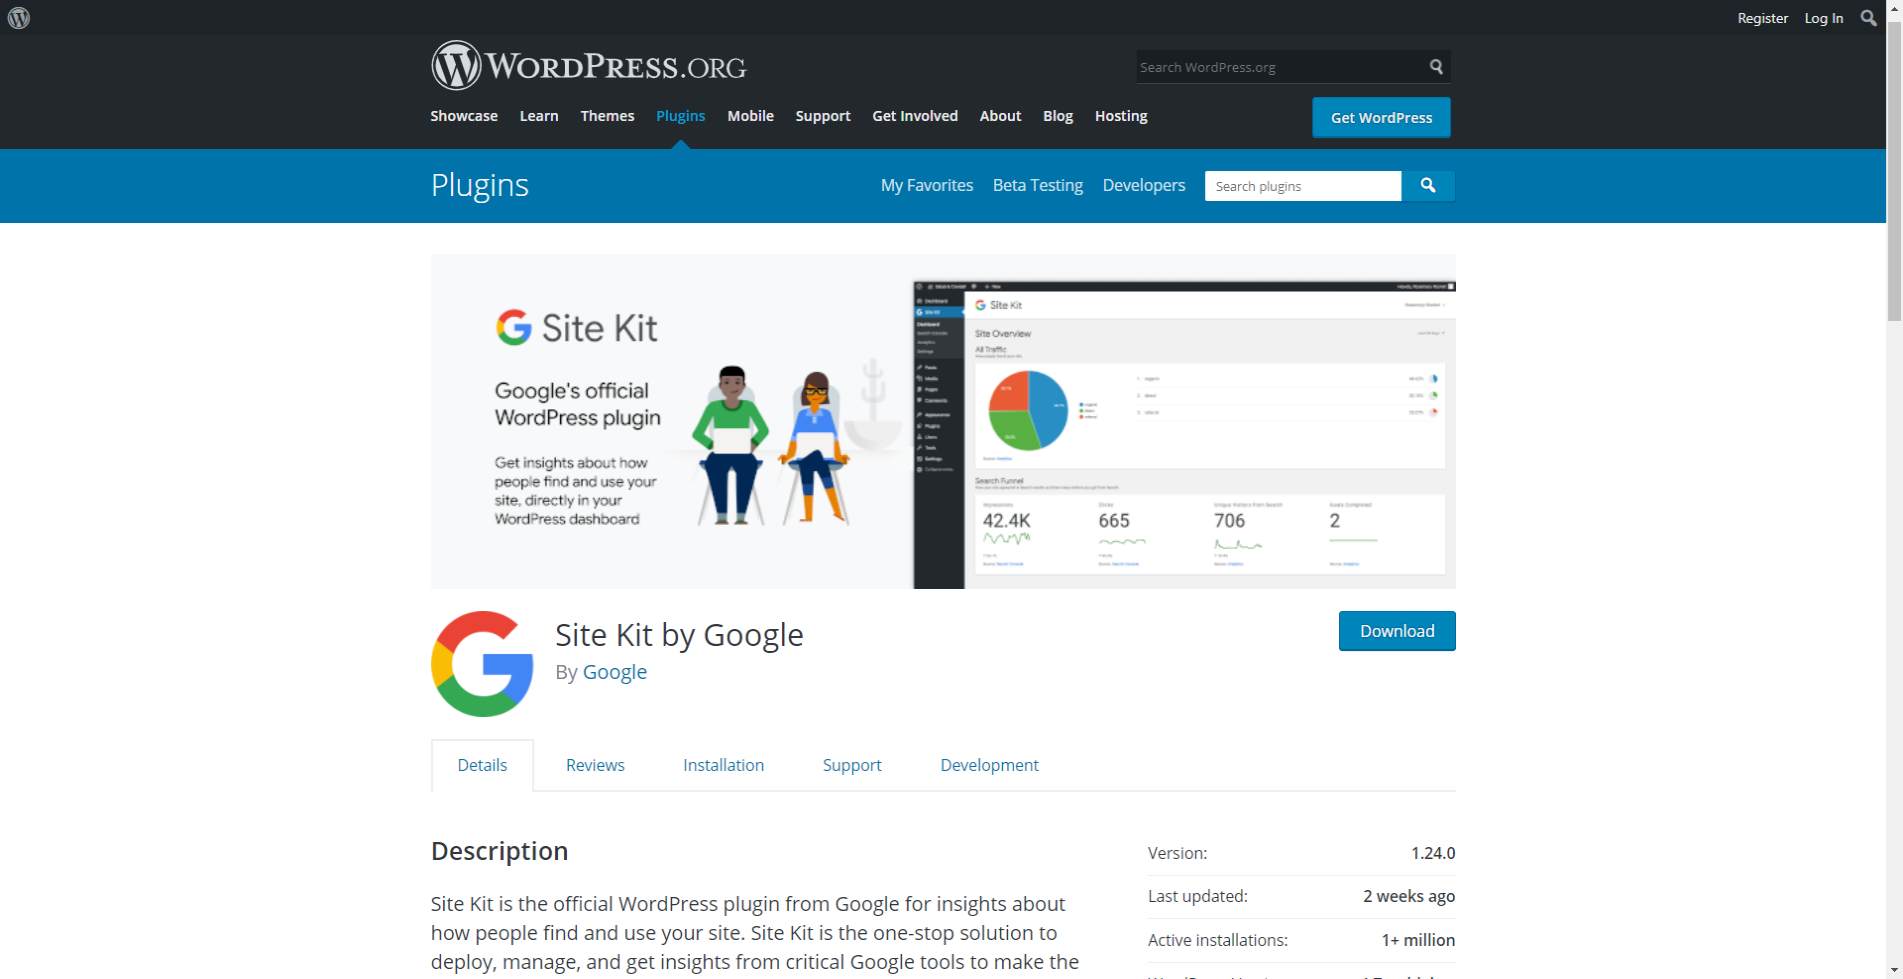
Though you can paste the snippets directly into the code, the easiest way to do it is by using the Site Kit plugin by Google. You can find it in the WordPress repository.


After activating the plugin on your WordPress website, you need to follow these steps to set it up:


- Click “Start Setup” to configure the plugin.
- Sign in to the Google Account that you used for the Google Analytics account. Grant the required permissions after signing in.
- Click “Proceed” to verify the ownership of your account.
- Then click “Allow” to link your website to the Google account.
- Finally, click “Add Site” to set up the search console for the website.
We’ve successfully set up the plugin, so let’s head to the WordPress dashboard.
Integrating Google Tag Manager with WordPress
On your WordPress dashboard, you’ll notice that a new tab called “Site Kit” has been added. Click the “Settings” option under it. Then select the “Connect More Services” tab at the top.


Before we can set up Tag Manager, we need to activate Analytics for our website. So click “Set up Analytics”. You’ll again have to sign in to your Google account with which you’ve signed up for Google Analytics. You also need to grant the required permissions.
With the service connected, select the Account, Property, and View settings. Then click “Configure analytics”.
You need to select the Account, Property, and View settings to enable Analytics.
Now head back to the connect more services option under Settings. And click “Set up Tag Manager”.
We’ll have to sign in to the same Google account and grant permissions a final time. On the next page, select the Account and Container you want to track. Then click “Confirm and continue”.


With that, our WordPress website has now been successfully integrated with Google Tag Manager.
You can now track your WordPress website’s conversion and traffic efficiently and easily. However, if you want the process to be simplified even more, check out the video below:
If you prefer a video version, please check out this video:


